
Introduction
The actual screen cannot be detached from the front cover, so if its the cover that is broken, an entire new module will be needed. This will basically be a complete tear down of the phone, as most pieces will be removed to reach the screen.
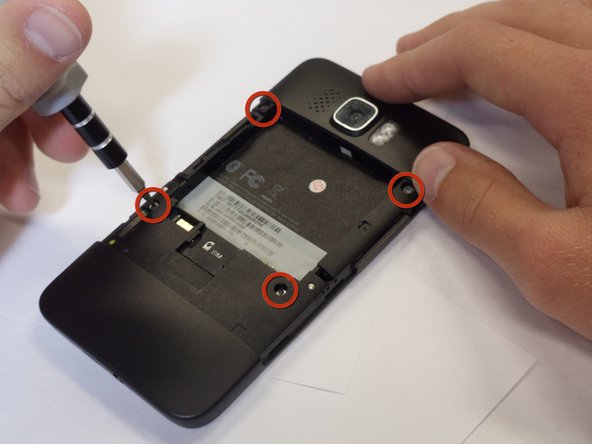
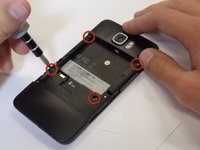
What you need
-
-
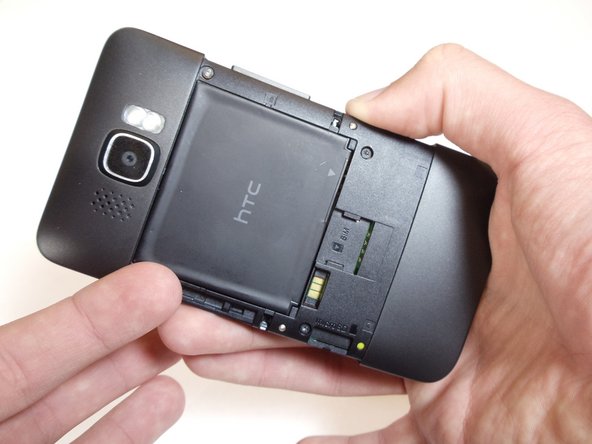
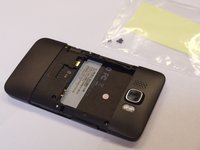
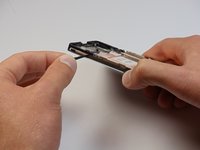
Carefully pull the rear cover from the back of the phone.
-
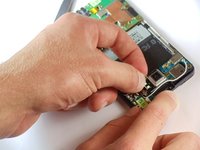
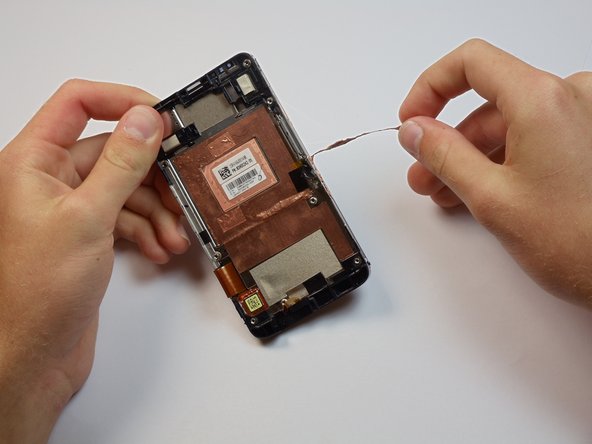
Place a finger beneath the small lip on the left side of the battery.
-
-
-
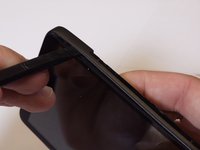
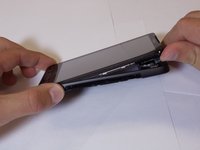
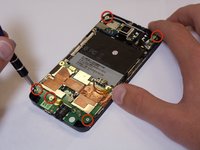
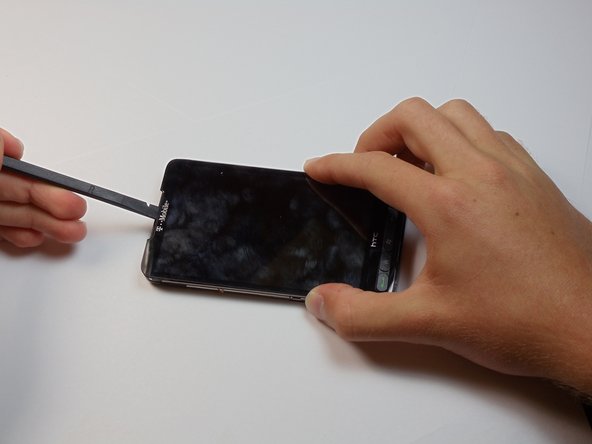
Insert the flat end of a spudger between the midframe and the display.
-
Slide the spudger along the seam between the frame and the display.
-
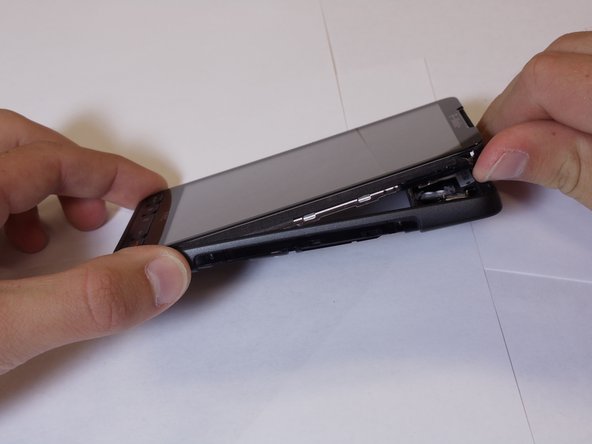
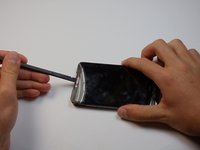
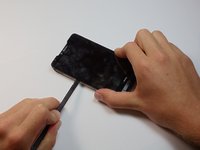
Using the spudger for leverage, carefully pry the midframe away from the display assembly.
-
As it releases, pull the midframe away from the phone.
-
-
-
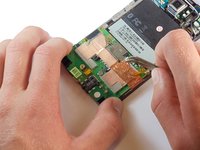
Set the phone down on its screen.
-
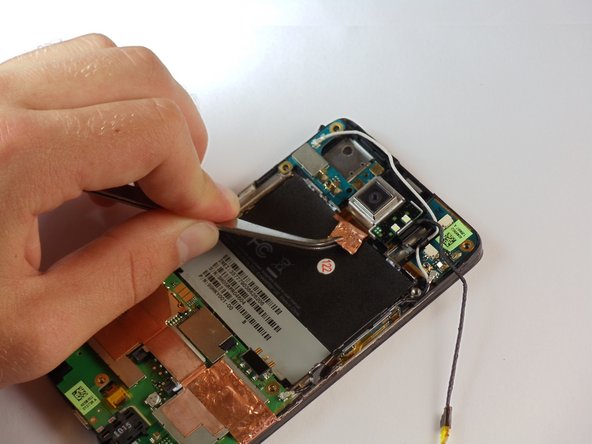
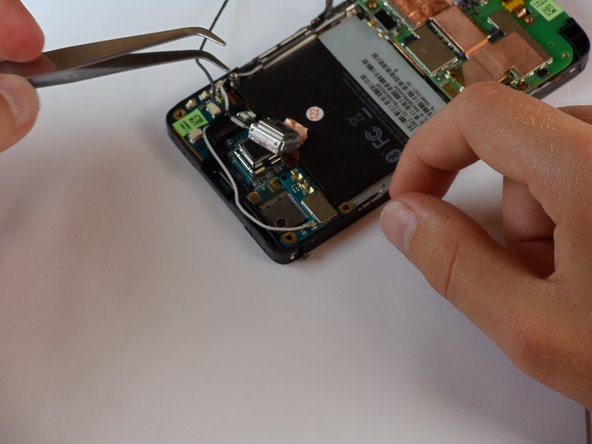
Using tweezers, unplug the small vibrator connector from its socket on the motherboard.
-
-
-
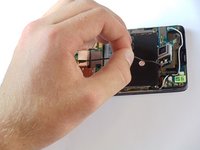
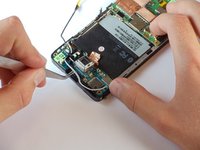
Disconnect the small speaker cable from its socket on the motherboard.
-
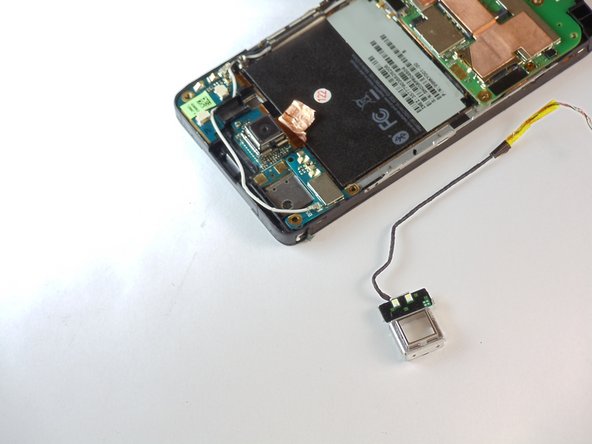
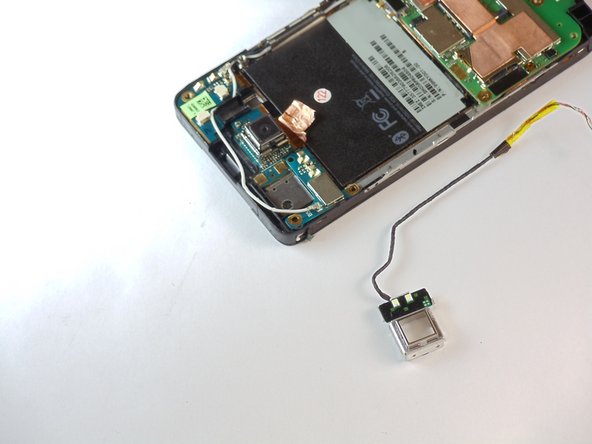
Remove the earpiece speaker from the phone.
-
-
-
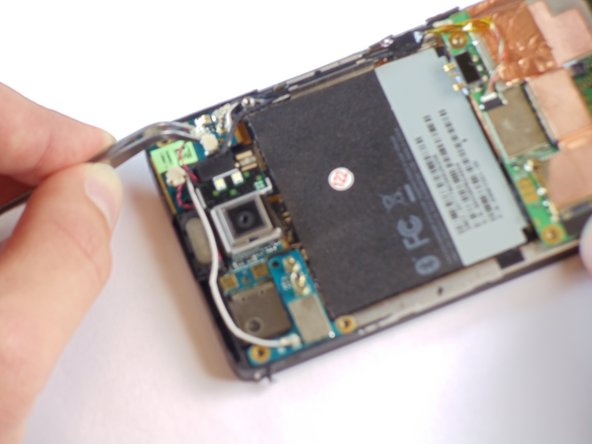
Disconnect the flash cable from its socket in the bottom of the motherboard.
-
Carefully pull the cable from its groove in the frame, working your way back to the camera.
-
-
-
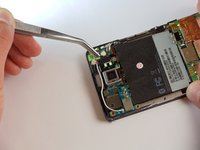
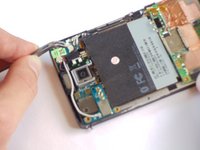
Around the camera is a thin shielding. Remove it with tweezers.
-
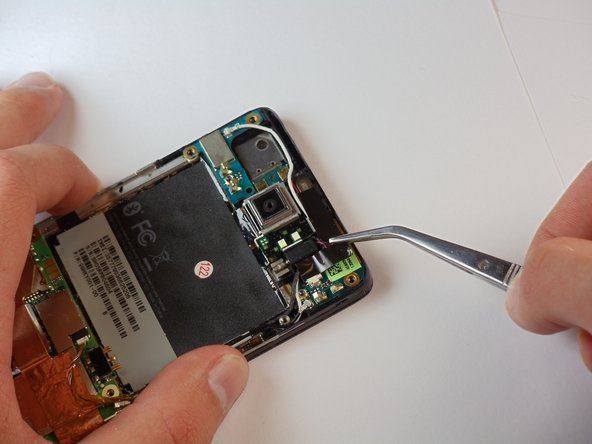
Using tweezers, remove the primary camera.
-
-
-
Disconnect the flash cable from its socket at the bottom of the motherboard.
-
Carefully pull the flash cable from its slot in the side of the phone.
-
-
-
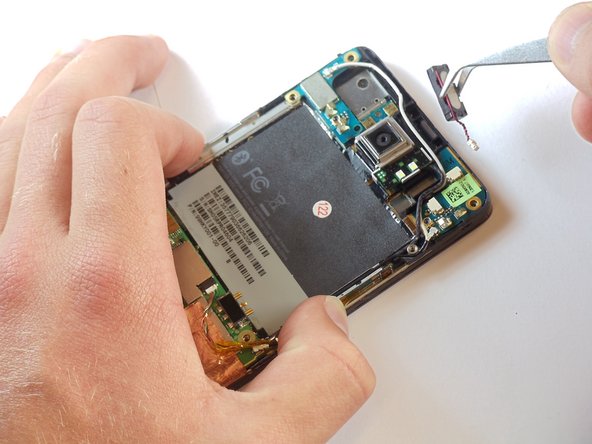
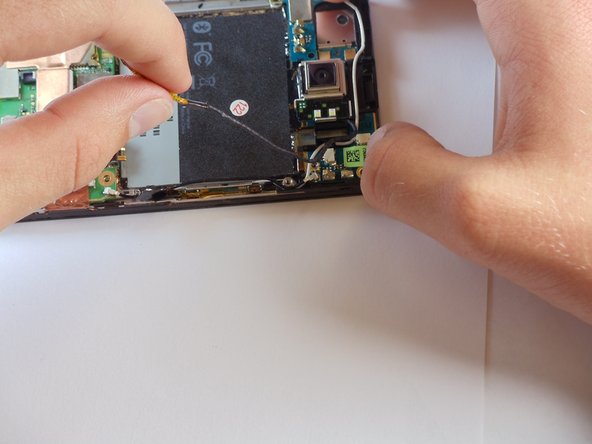
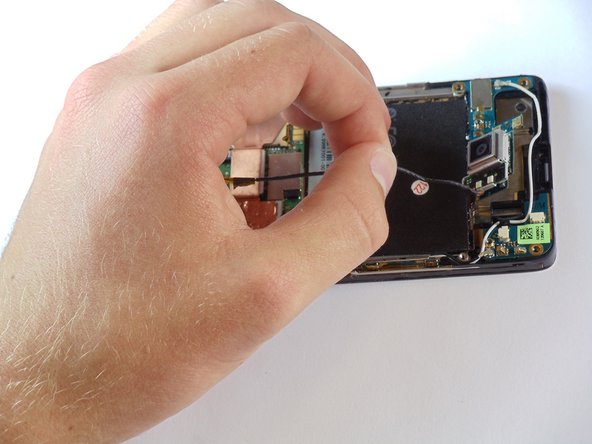
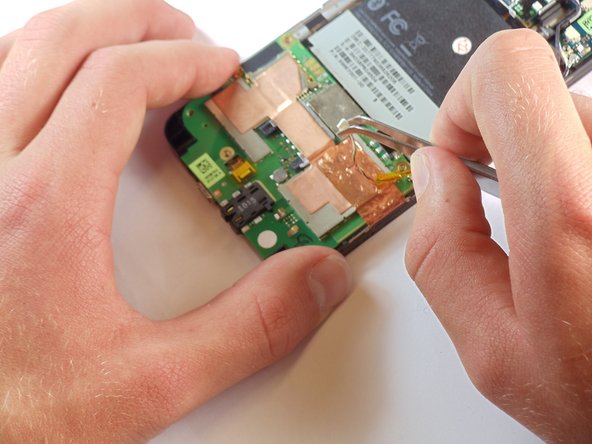
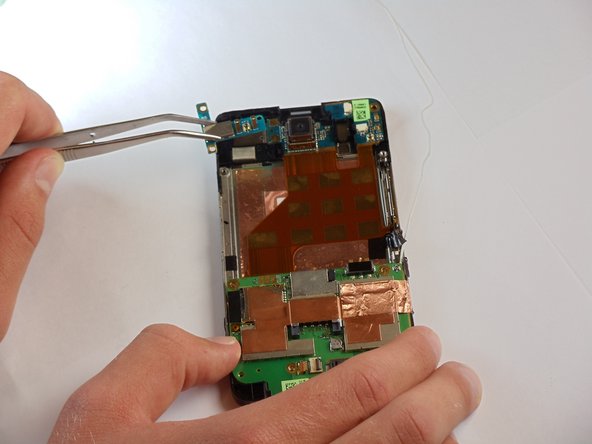
Now locate the coaxial bluetooth cable that connects the top and bottom boards of the phone.
-
Use tweezers to pop both ends of the cable from the boards and remove it completely.
-
-
-
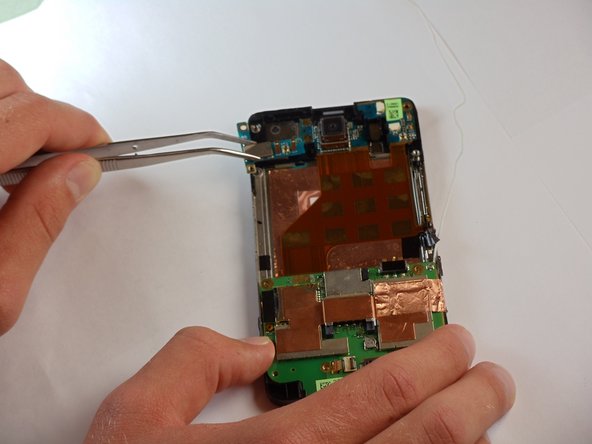
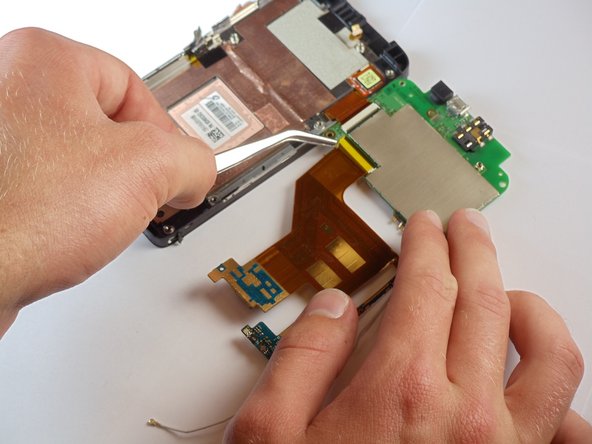
Now find the AP FPC, one of the smallest connectors on the bottom board.
-
Pop the small black tab up using tweezers, then unplug the cable.
-
-
-
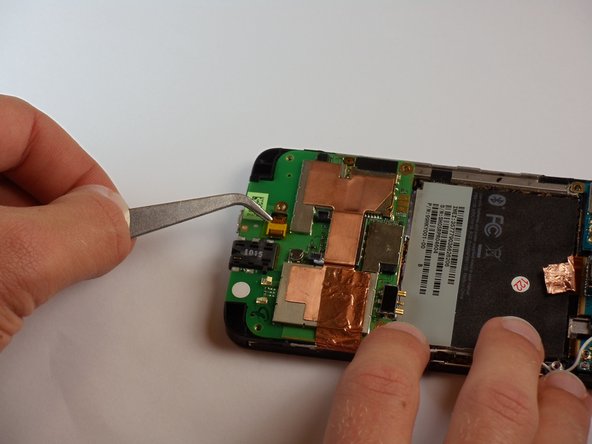
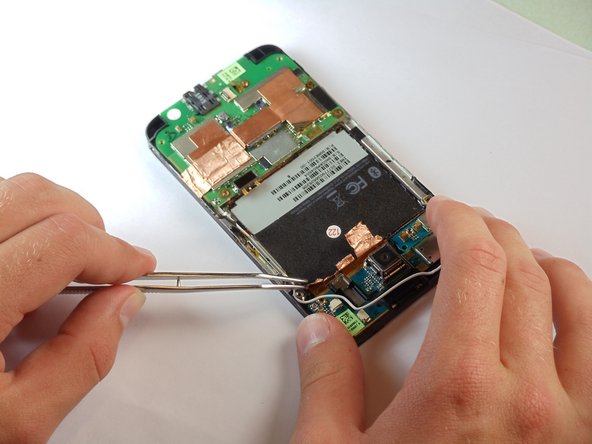
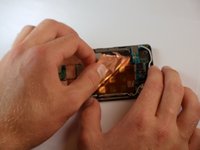
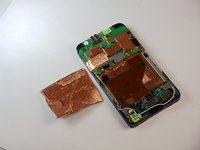
Remember peeling back part of that big sticker in the middle? Now you get to take it all the way off.
-
This may take some time, and the use of the tweezers, but keep at it until the whole sticker is off.
-
-
-
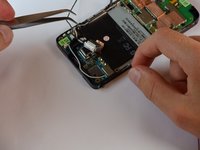
Now find the GPS board in the upper left hand corner of the phone.
-
Disconnect the white cable from its socket on the motherboard.
-
-
-
If this step does not progress easily, check to see that there are no screws still holding the board in place.
-
With the cable removed, pop the GPS board out of the phone using tweezers.
-
-
-
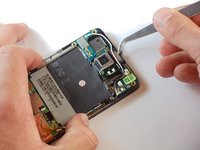
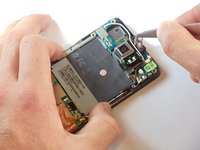
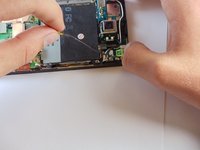
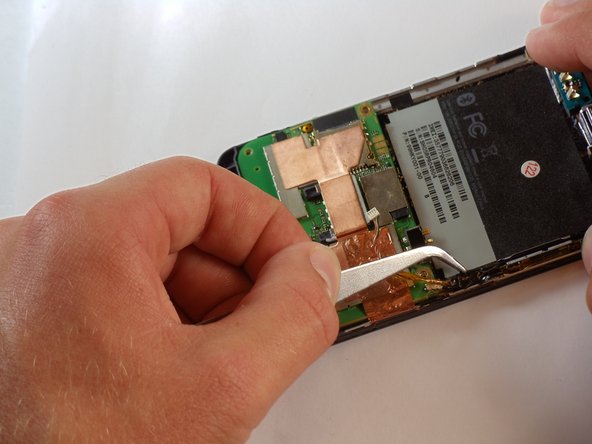
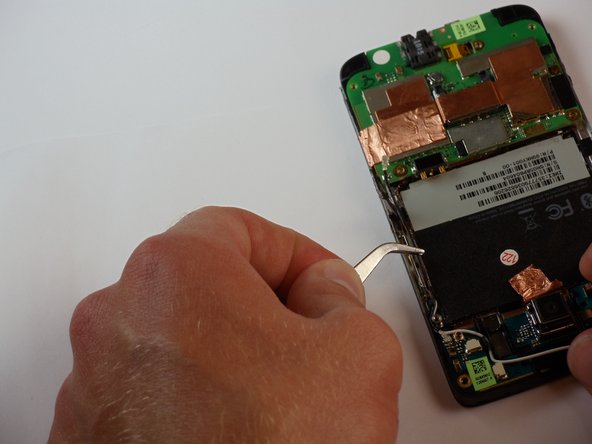
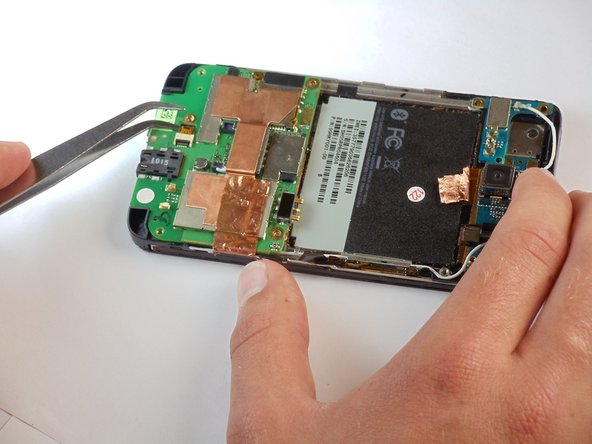
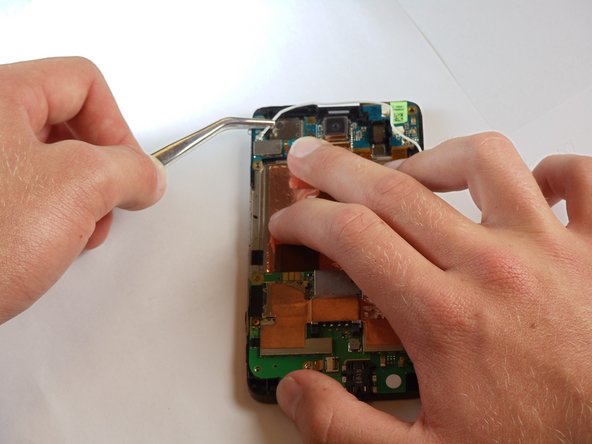
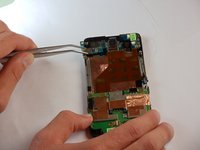
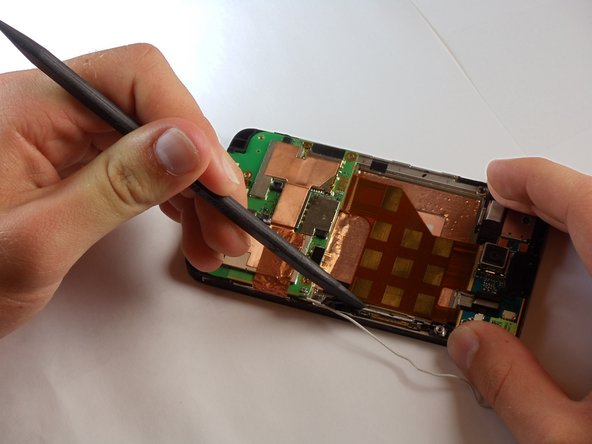
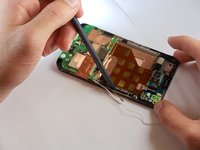
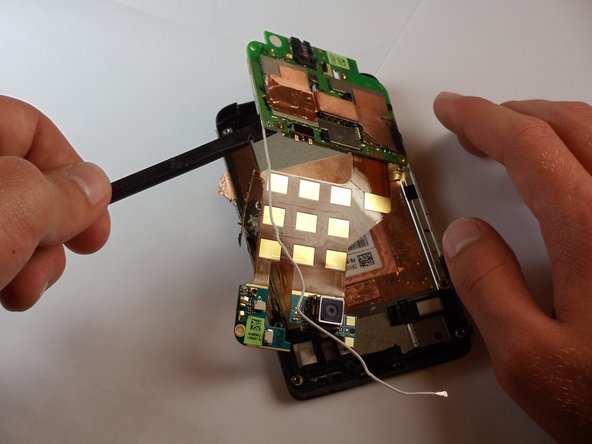
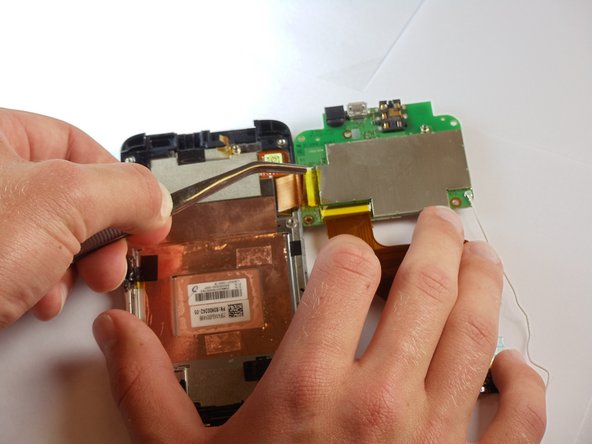
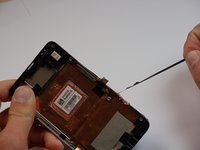
Using a spudger, begin to pry the copper colored board in the middle away from the phone to loosen it.
-
Also pry the small piece that runs under where the volume selector is on the full phone.
-
-
-
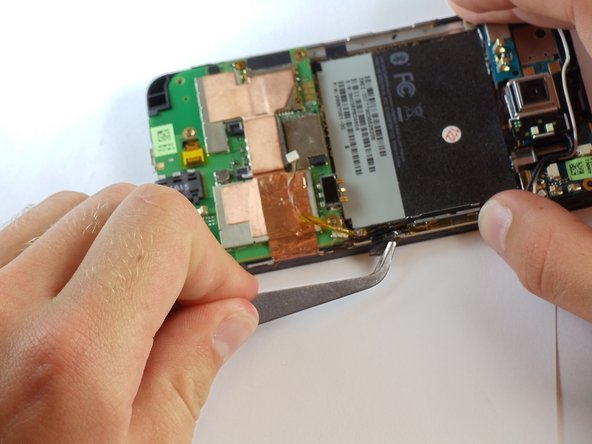
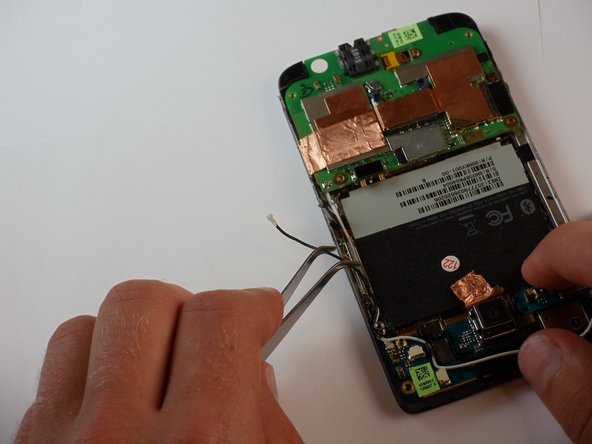
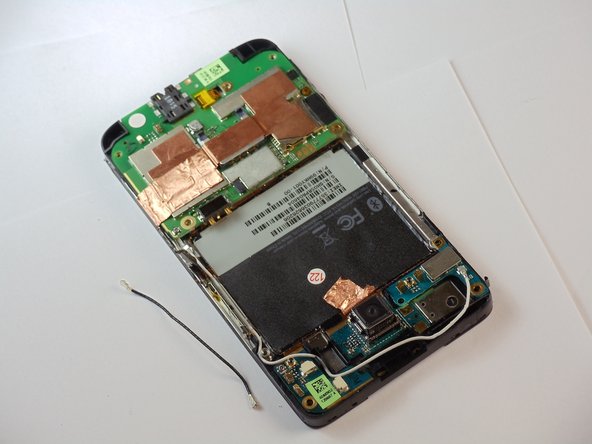
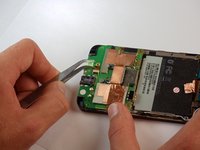
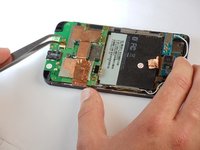
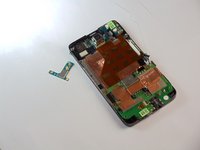
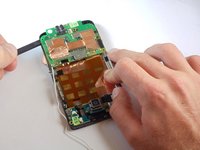
With the back of the main board exposed, flip up the little brown lever at the end of the connector and unplug the final cable that connects it to the main board.
-
-
-
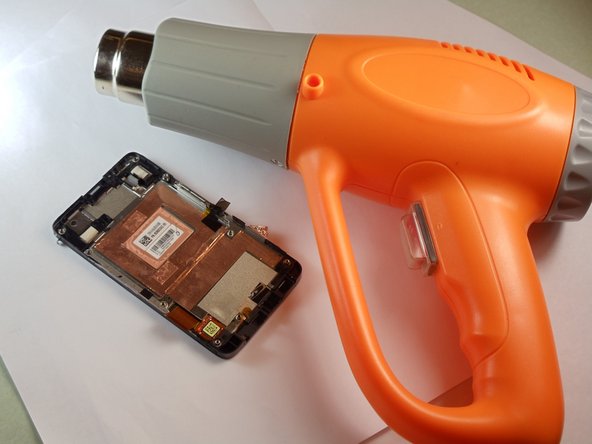
This step could take several minutes of heating.
-
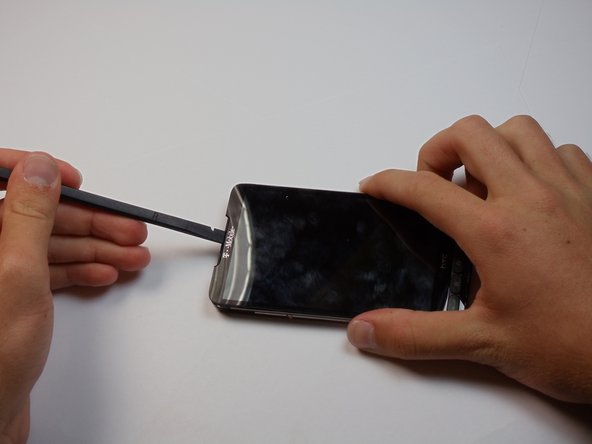
Use a heat gun or hair dryer to soften the adhesive between the screen and the chassis
-
-
-
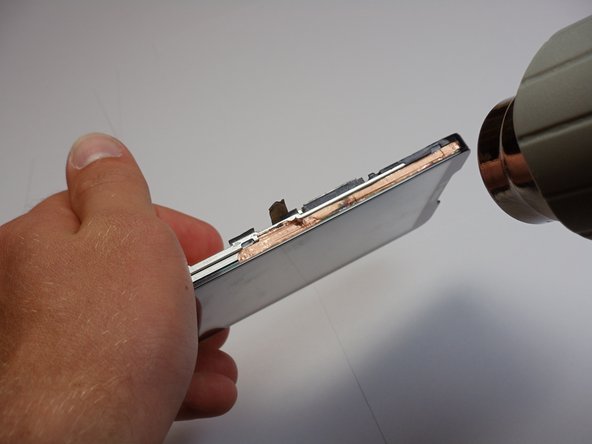
insert the spudger into the top closer to the back of the phone and slide along to fully disengage the adhesive. Do this for both sides.
-
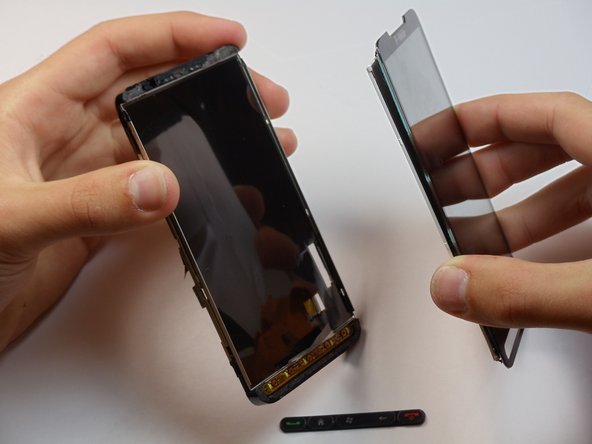
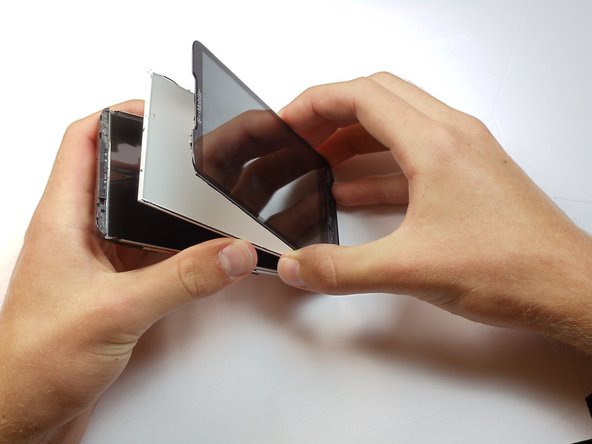
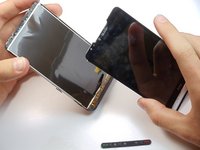
Caution. The digitizer is firmly glued to LCD glass screen. Look closely to make sure you separate the digitizer from LCD panel and not part of LCD panel
-
-
-
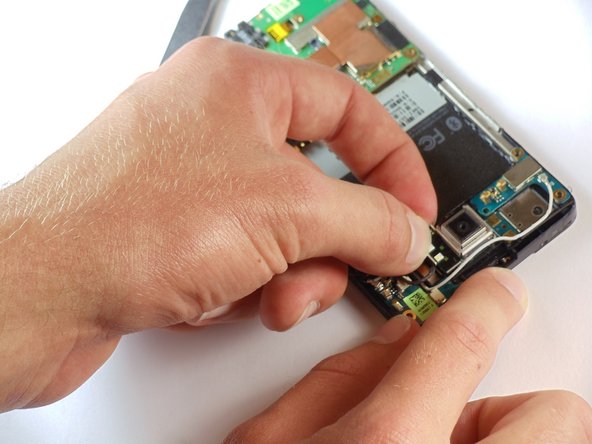
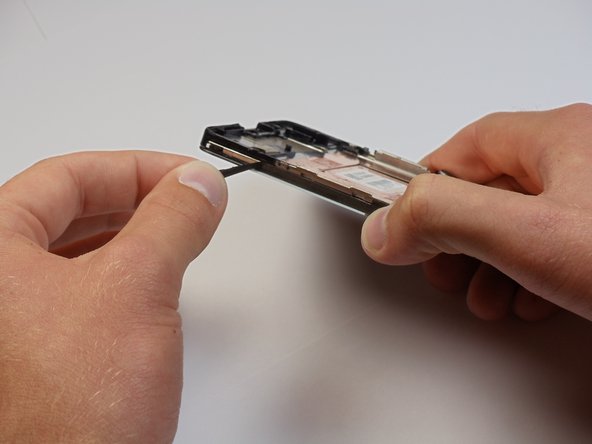
Pop the row of buttons out from the bottom of the phone. They should just fall out when the chassis is off.
-
-
-
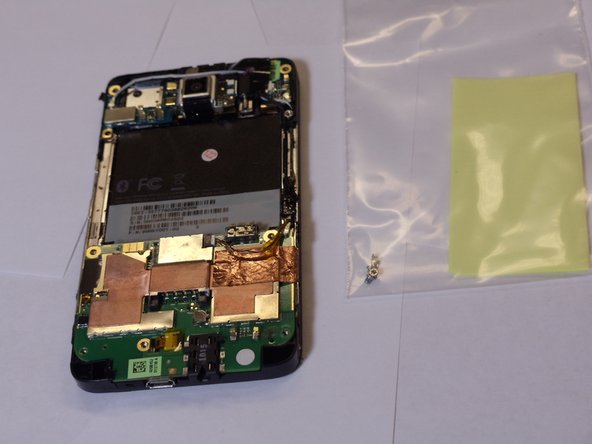
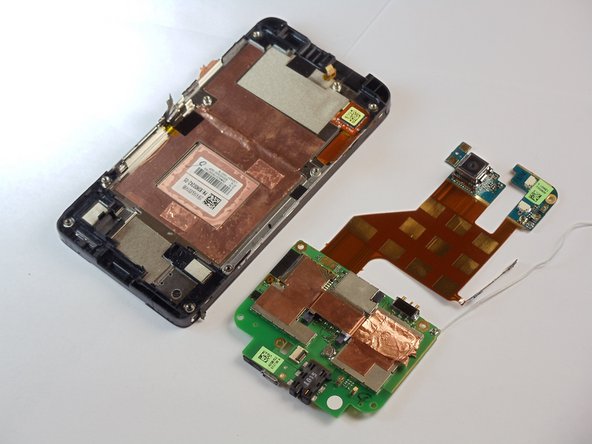
Congratulations! You have made it to the screen and front cover! Now you can replace your cracked screen.
-


To reassemble your device, follow these instructions in reverse order.
