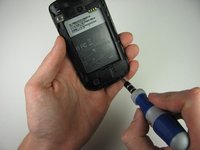
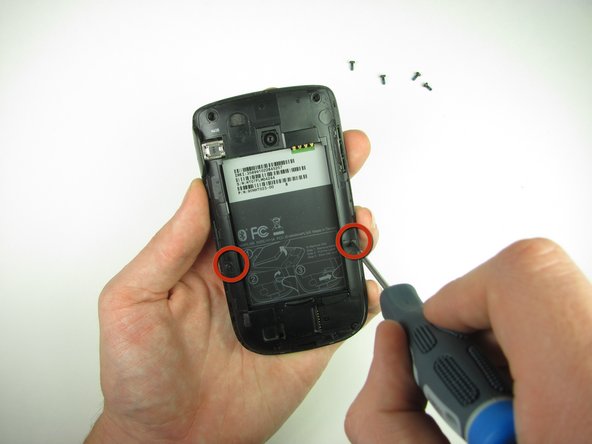
/

HTC Maple 100 Back Panel Replacement

What you need

  1. HTC Maple 100 Back Panel Replacement, HTC Maple 100 Back Panel Replacement: step 1, image 1 of 1
    • First remove the back cover of your phone to expose the battery.

  2. HTC Maple 100 Back Panel Replacement: step 2, image 1 of 1
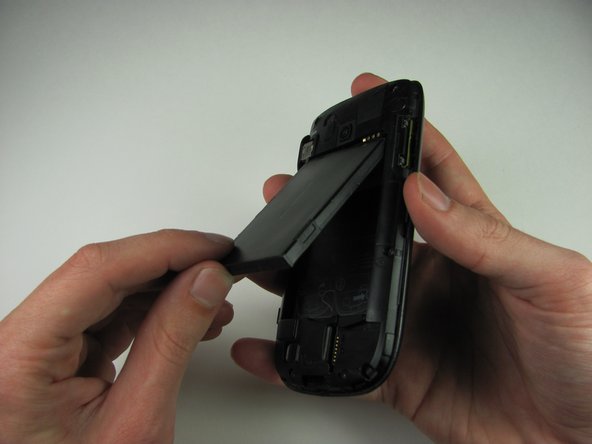
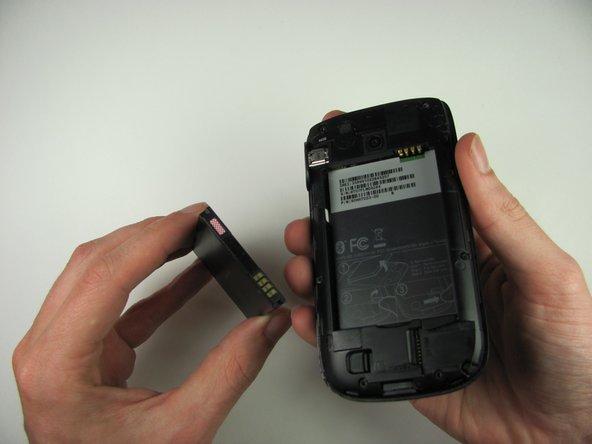
    • Turn the phone over and remove the battery by using your thumb to push forward on the battery and then lift it.

  3. HTC Maple 100 Back Panel Replacement: step 3, image 1 of 2 HTC Maple 100 Back Panel Replacement: step 3, image 2 of 2
    • Take the battery out

    • When reassembling, make sure that the battery contacts match up.

  4. HTC Maple 100 Back Panel Replacement: step 4, image 1 of 2 HTC Maple 100 Back Panel Replacement: step 4, image 2 of 2
    • Remove the four 4.9mm T6 Torx screws that secure the back panel to the rest of the phone

  5. HTC Maple 100 Back Panel Replacement: step 5, image 1 of 1
    • Remove the two 4.3mm #00 Phillips screws that secure the back panel to the rest of the phone

  6. HTC Maple 100 Back Panel Replacement: step 6, image 1 of 3 HTC Maple 100 Back Panel Replacement: step 6, image 2 of 3 HTC Maple 100 Back Panel Replacement: step 6, image 3 of 3
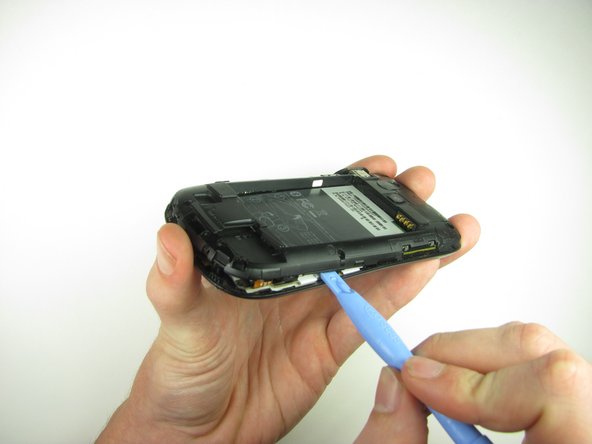
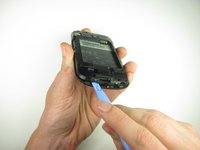
    • Use the plastic opening tool to pry the clips off

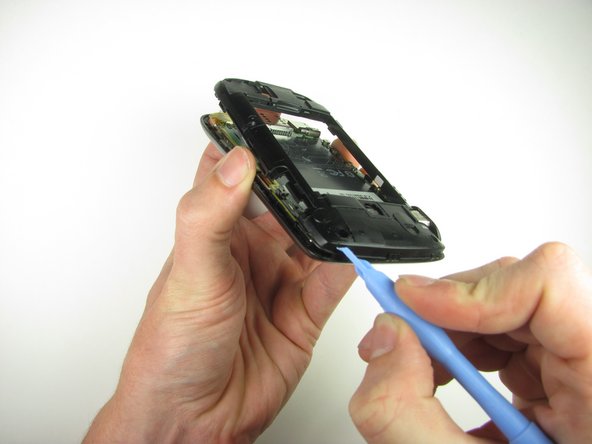
    • Insert the plastic opening tool along the seams at different points to it pry up

    • This may require a bit of force. The USB port cover may fall off in this step.

Conclusion

To reassemble your device, follow these instructions in reverse order.

System

Member since: 09/24/09

2,562 Guides authored

0 Comments

Add Comment

View Statistics:

Past 24 Hours: 0

Past 7 Days: 0

Past 30 Days: 0

All Time: 0