
HTC Maple 100 Front Panel Replacement

What you need

  1. HTC Maple 100 Front Panel Replacement, HTC Maple 100 Front Panel Replacement: step 1, image 1 of 1
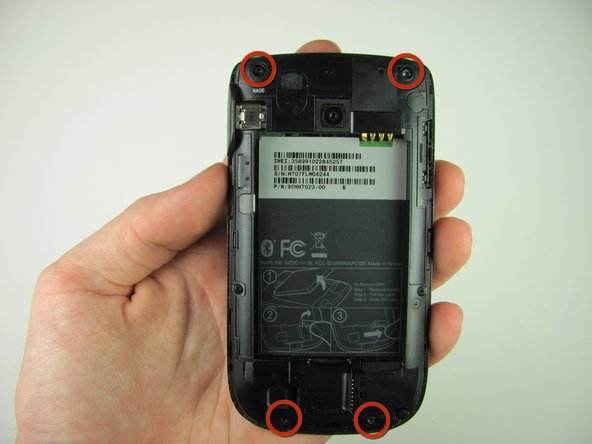
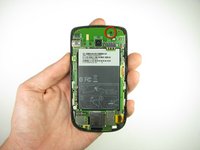
    • First remove the back cover of your phone to expose the battery.

    Add Comment

  2. HTC Maple 100 Front Panel Replacement: step 2, image 1 of 1
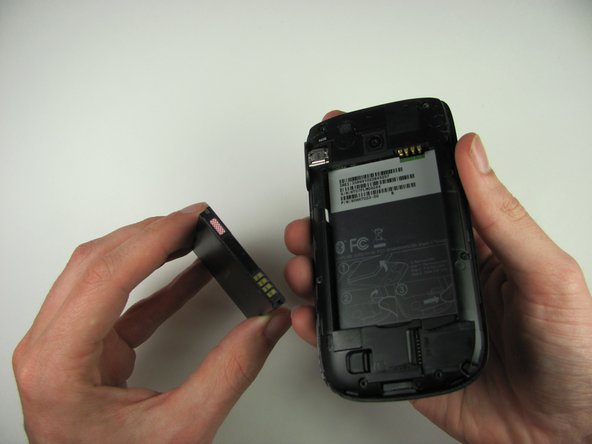
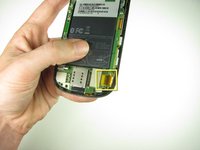
    • Turn the phone over and remove the battery by using your thumb to push forward on the battery and then lift it.

    Add Comment

  3. HTC Maple 100 Front Panel Replacement: step 3, image 1 of 2 HTC Maple 100 Front Panel Replacement: step 3, image 2 of 2
    • Take the battery out

    • When reassembling, make sure that the battery contacts match up.

    Add Comment

  4. HTC Maple 100 Front Panel Replacement: step 4, image 1 of 2 HTC Maple 100 Front Panel Replacement: step 4, image 2 of 2
    • Remove the four 4.9mm T6 Torx screws that secure the back panel to the rest of the phone

    Add Comment

  5. HTC Maple 100 Front Panel Replacement: step 5, image 1 of 1
    • Remove the two 4.3mm #00 Phillips screws that secure the back panel to the rest of the phone

    Add Comment

  6. HTC Maple 100 Front Panel Replacement: step 6, image 1 of 3 HTC Maple 100 Front Panel Replacement: step 6, image 2 of 3 HTC Maple 100 Front Panel Replacement: step 6, image 3 of 3
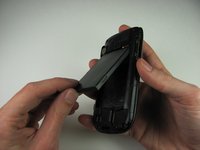
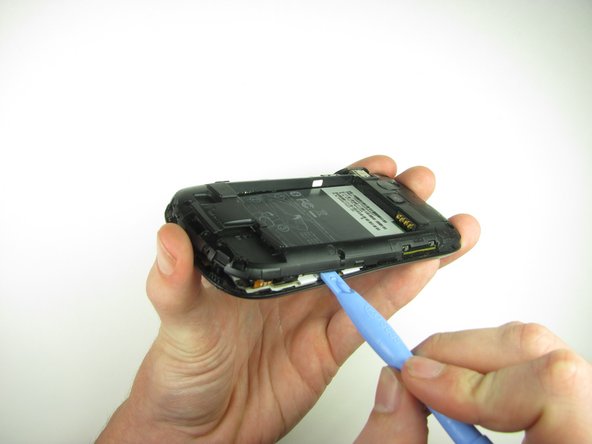
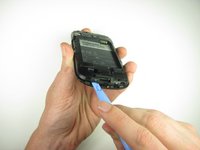
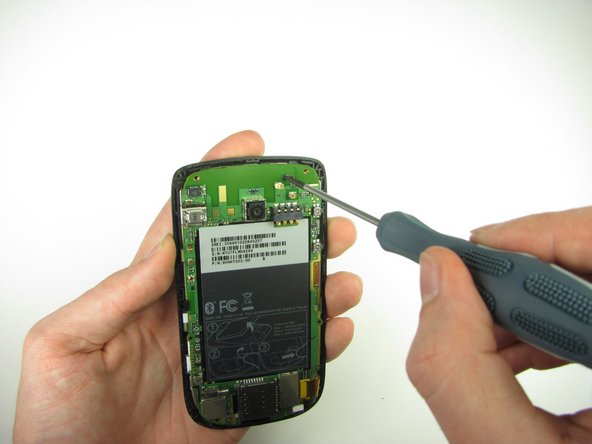
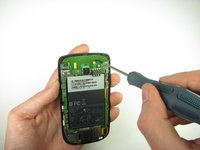
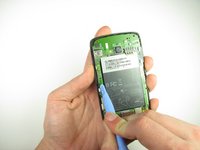
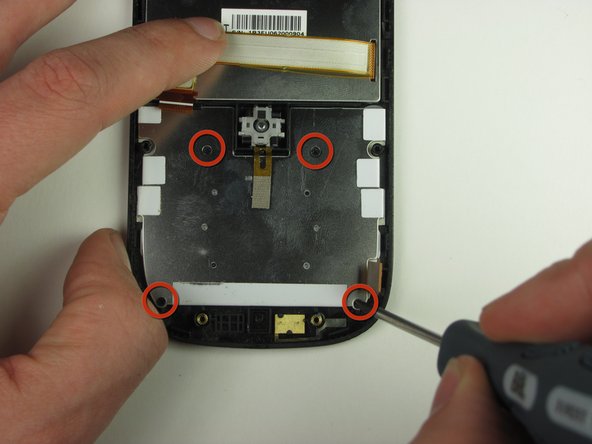
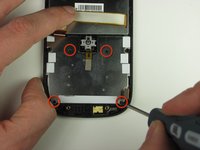
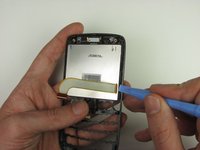
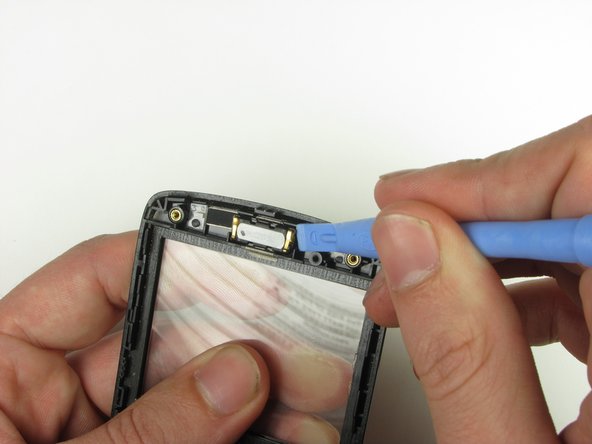
    • Use the plastic opening tool to pry the clips off

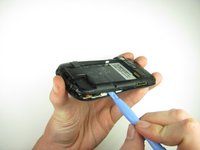
    • Insert the plastic opening tool along the seams at different points to it pry up

    • This may require a bit of force. The USB port cover may fall off in this step.

    Add Comment

  7. HTC Maple 100 Front Panel Replacement: step 7, image 1 of 2 HTC Maple 100 Front Panel Replacement: step 7, image 2 of 2
    • Remove the one 3.3mm #00 screw.

    Add Comment

  8. HTC Maple 100 Front Panel Replacement: step 8, image 1 of 2 HTC Maple 100 Front Panel Replacement: step 8, image 2 of 2
    • Use your finger or the plastic opening tool to unclip the board.

    • Be aware of the ribbon cable connected to the motherboard inside the phone.

    Add Comment

  9. HTC Maple 100 Front Panel Replacement: step 9, image 1 of 2 HTC Maple 100 Front Panel Replacement: step 9, image 2 of 2
    • Peel off the yellow piece of tape from the phone

    Add Comment

  10. HTC Maple 100 Front Panel Replacement: step 10, image 1 of 3 HTC Maple 100 Front Panel Replacement: step 10, image 2 of 3 HTC Maple 100 Front Panel Replacement: step 10, image 3 of 3
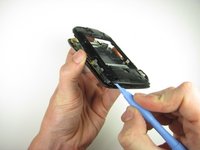
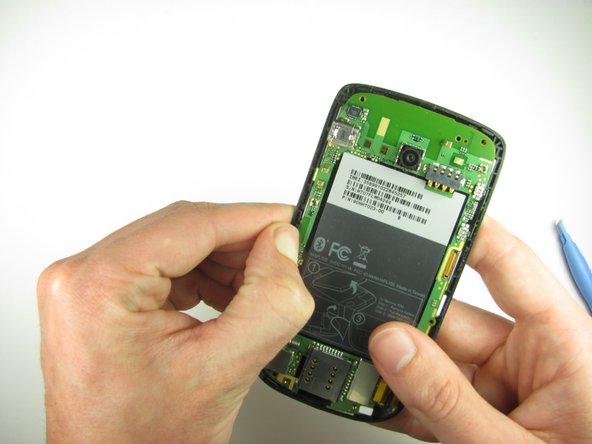
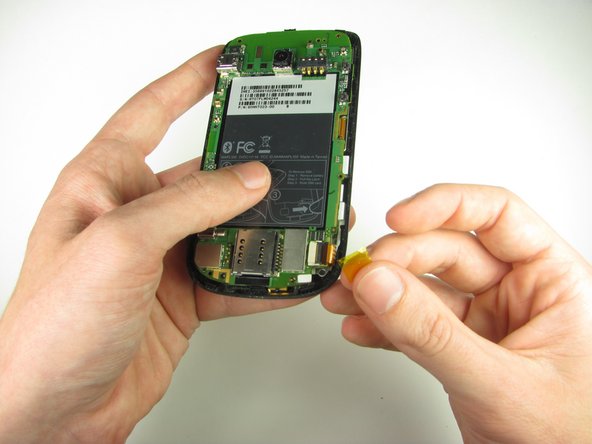
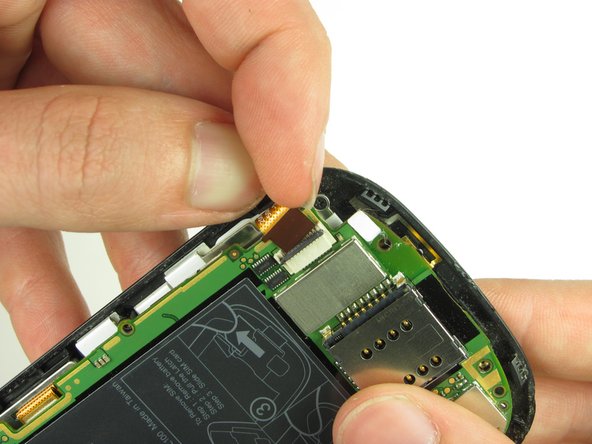
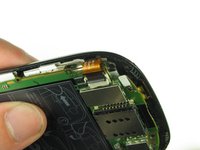
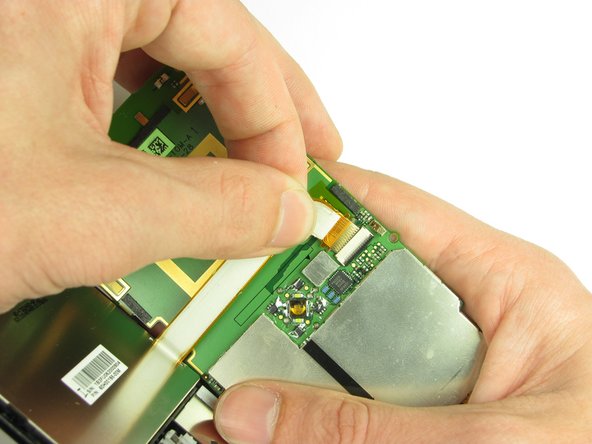
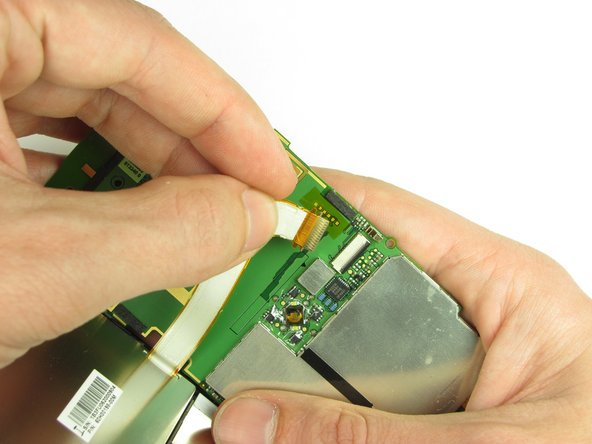
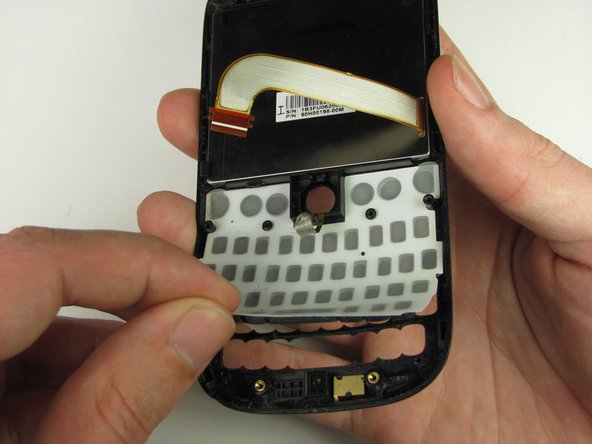
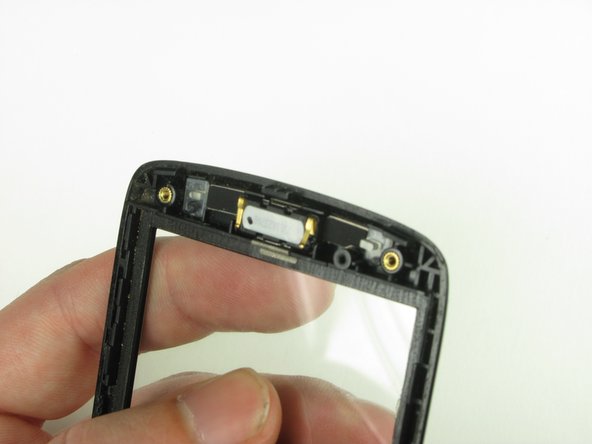
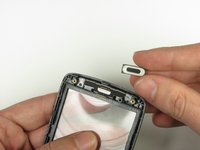
    • First flip up the retaining flap with your fingernail or a plastic opening tool.

    • Pull on the ribbon cable gently with your fingers

    Add Comment

  11. HTC Maple 100 Front Panel Replacement: step 11, image 1 of 2 HTC Maple 100 Front Panel Replacement: step 11, image 2 of 2
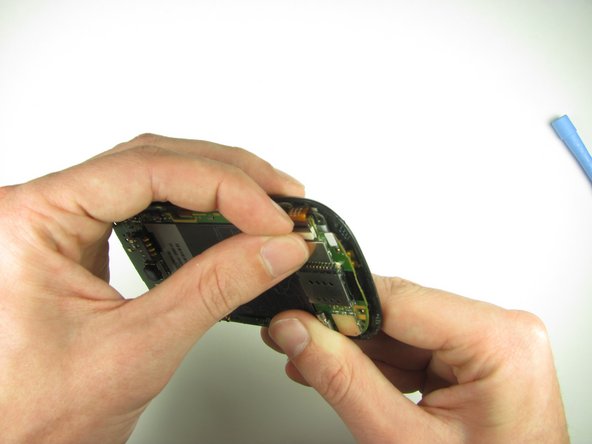
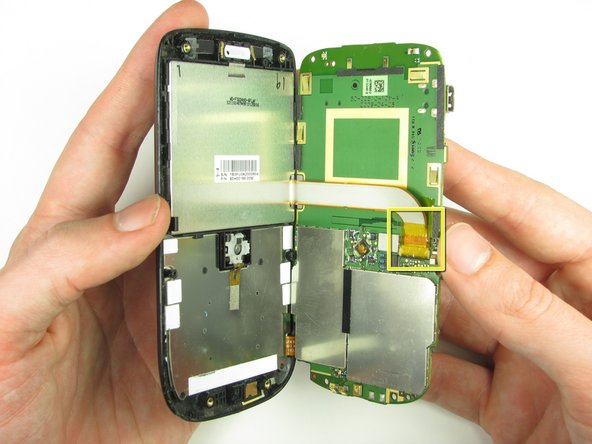
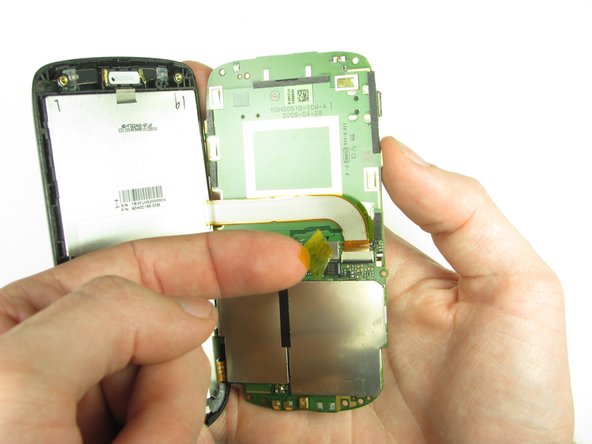
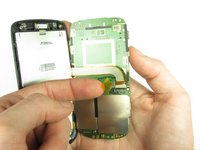
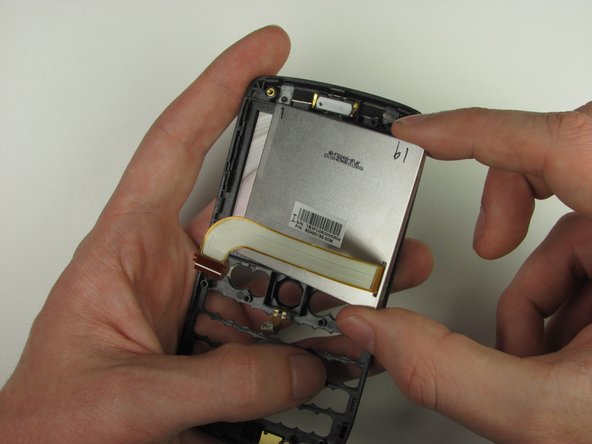
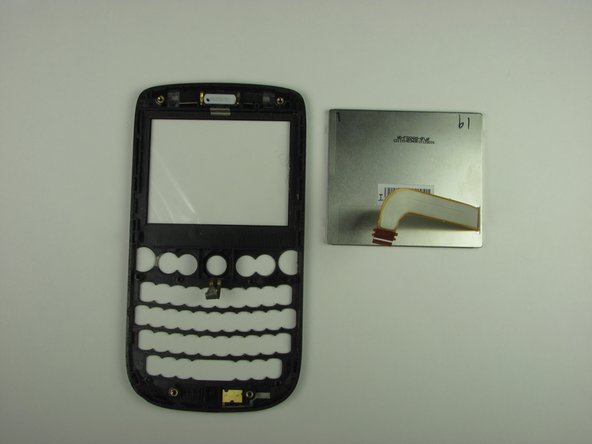
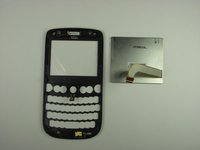
    • Split apart the motherboard and front panel. Remove the other yellow piece of tape off of the end of the ribbon cable.

    Add Comment

  12. HTC Maple 100 Front Panel Replacement: step 12, image 1 of 2 HTC Maple 100 Front Panel Replacement: step 12, image 2 of 2
    • Gently pull on the ribbon cable to separate the motherboard.

    Add Comment

  13. HTC Maple 100 Front Panel Replacement: step 13, image 1 of 2 HTC Maple 100 Front Panel Replacement: step 13, image 2 of 2
    • Remove the four 1.9mm #00 Phillips screws.

    Add Comment

  14. HTC Maple 100 Front Panel Replacement: step 14, image 1 of 1
    • Peel back the tape gently with your fingers

    Add Comment

  15. HTC Maple 100 Front Panel Replacement: step 15, image 1 of 1
    • Remove the board gently with your fingers

    Add Comment

  16. HTC Maple 100 Front Panel Replacement: step 16, image 1 of 2 HTC Maple 100 Front Panel Replacement: step 16, image 2 of 2
    • Remove the keys

    Add Comment

  17. HTC Maple 100 Front Panel Replacement: step 17, image 1 of 3 HTC Maple 100 Front Panel Replacement: step 17, image 2 of 3 HTC Maple 100 Front Panel Replacement: step 17, image 3 of 3
    • Using the Plastic Opening Tool, pry out the LCD screen and remove with fingers.

    • Be gentle because the LCD screen is fragile.

    Add Comment

  18. HTC Maple 100 Front Panel Replacement: step 18, image 1 of 3 HTC Maple 100 Front Panel Replacement: step 18, image 2 of 3 HTC Maple 100 Front Panel Replacement: step 18, image 3 of 3
    • Use the Plastic Opening Tool to remove the internal ear speaker.

    Add Comment

Conclusion

To reassemble your device, follow these instructions in reverse order.

Cancel: I did not complete this guide.

System

Member since: 09/24/09

2,562 Guides authored

0 Guide Comments

Add Comment

View Statistics:

Past 24 Hours: 0

Past 7 Days: 0

Past 30 Days: 0

All Time: 18