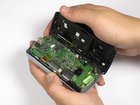
HTC Wizard 100 Back Case Replacement

Views: 20

View statistics:

Past 24 Hours:
0
Past 7 Days:
2
Past 30 Days:
3
All Time:
20
Comments: 0

No one has left comments on this guide. Will you be first?

Go to guide comments
Completed: 0

No one has marked this guide "completed." Will you be the first?

Favorites: 0

No one has favorited (and subscribed to) this guide. Will you be the first?

Time Required: No estimate
Difficulty: Difficult
HTC Wizard 100 Back Case Replacement

Introduction

Go to step 1 ↓

In order to remove speakers, we have to remove the phone plastic case and keyboard. This requires the spudger tool and torx screwdriver.

    1. HTC Wizard 100 Back Case Replacement, HTC Wizard 100 Back Case Replacement: step 1, image 1 of 2 HTC Wizard 100 Back Case Replacement, HTC Wizard 100 Back Case Replacement: step 1, image 2 of 2
      • Power the phone off.

      • Use your thumb to gently press downward and away from the camera to remove the battery cover.

      Add Comment

    2. HTC Wizard 100 Back Case Replacement: step 2, image 1 of 2 HTC Wizard 100 Back Case Replacement: step 2, image 2 of 2
      • Pull on the plastic tab to release the battery.

      Add Comment

    3. HTC Wizard 100 Back Case Replacement: step 3, image 1 of 2 HTC Wizard 100 Back Case Replacement: step 3, image 2 of 2
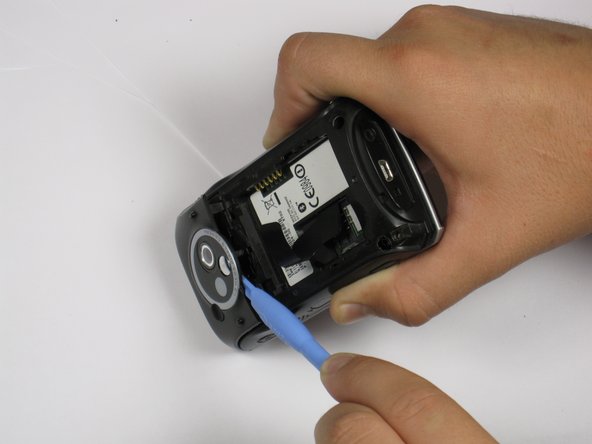
      • Use a plastic opening tool to remove the camera cover.

      • Work around the corners to avoid breaking the plastic clips that hold the camera cover on.

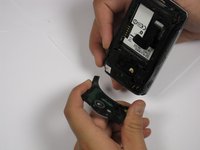
      • Lift the camera cover off of the phone.

      Add Comment

    4. HTC Wizard 100 Back Case Replacement: step 4, image 1 of 1
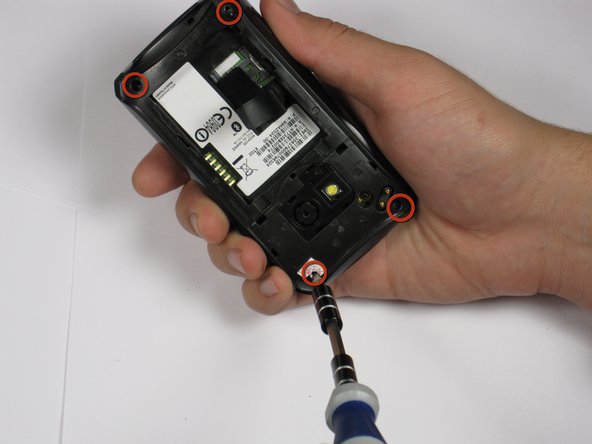
      • Remove the stylus from the phone.

      • Remove the four 5.5 mm screws with the T6 Torx Screwdriver.

      • One of the screws might be under a sticker, which will void your warranty.

      Add Comment

    5. HTC Wizard 100 Back Case Replacement: step 5, image 1 of 3 HTC Wizard 100 Back Case Replacement: step 5, image 2 of 3 HTC Wizard 100 Back Case Replacement: step 5, image 3 of 3
      • Be Careful! Do not insert the spudger in between the keyboard and screen. This could break the keyboard off the phone.

      • If your phone contains a memory card, you may want to remove it before proceeding with this step.

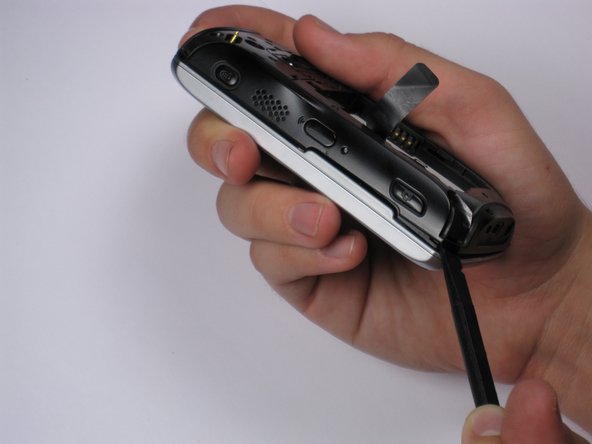
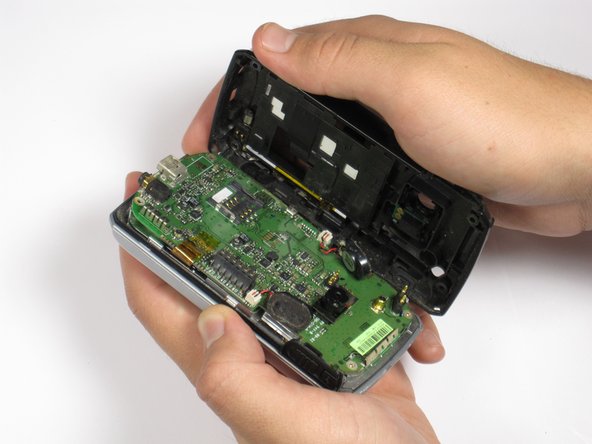
      • Insert spudger in the bottom corner as seen in the picture. Carefully slide the spudger from the bottom towards the top as seen in the second picture.

      • Lift the back case off completely.

      • The speakers might be dangling and unsecured.

      Add Comment

Conclusion

To reassemble your device, follow these instructions in reverse order.

Cancel: I did not complete this guide.

System

Member since: 09/24/09

2,562 Guides authored

0 Guide Comments

Add Comment

View Statistics:

Past 24 Hours: 0

Past 7 Days: 2

Past 30 Days: 3

All Time: 20