Introduction
Source: Dismantling Guide for IT Equipment, which was elaborated within the SRI project and financially supported by SECO and UNIDO, June 2015

World Resources Forum (WRF)
Mathias Schluep, St. Gallen / Switzerland
Dismantling and Recycling Centre (DRZ)
Markus Spitzbart, Vienna / Austria

Institute for Materials Science & Technology (Empa)
Fabian Blaser, St. Gallen / Switzerland
Health and Safety
Dismantling a hard disk drive doesn’t include any harmful steps nor does the hard disk drive contain any hazardous materials. Nonetheless workers should wear personal protection equipment like gloves, goggles, apron and robust shoes.
What you need
-
-
-
Put the HDD on the work bench upside down so that the PWB can be seen.
-
Remove the screws fixing the PWB.
-
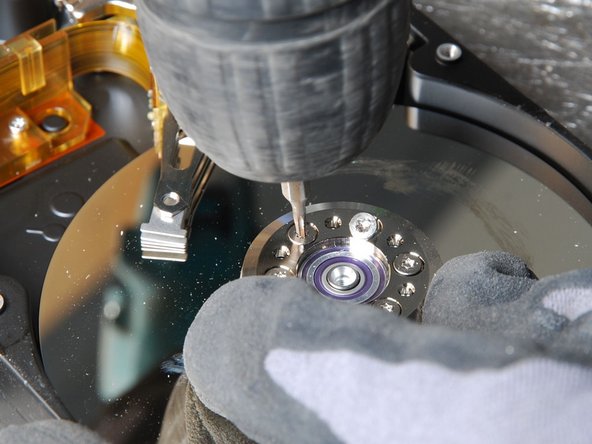
In some cases the screws can be hex-headed or of unusual configuration. In this case simply drill the screws off.
-
-
-
Unscrew the top cover of the HDD. Some screws may be covered by stickers.
-
Remove the top cover.
-
-
-
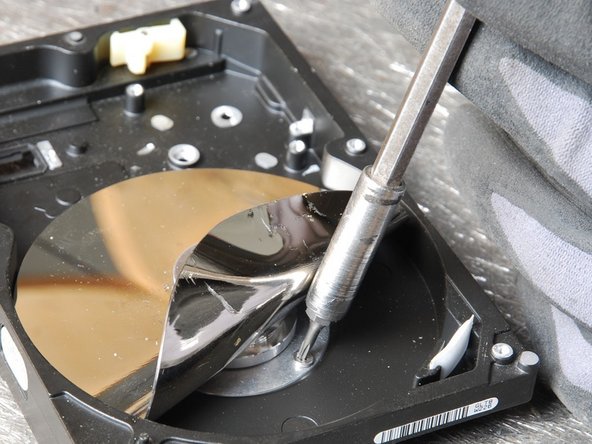
Unscrew the semi-circular plate which holds the hard disk platters. Remove the plate and the hard disk platters.
-
Due to their special metal content, it is recommended to supply the platters to an integrated metal smelter or to store them for a future recovery .
-
-
-
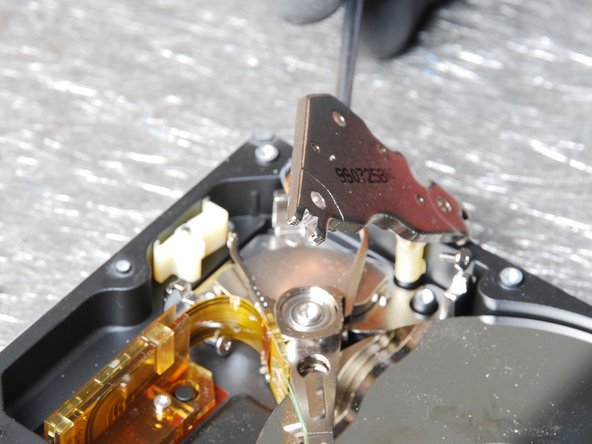
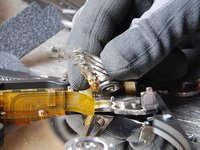
Pry open the frame (actuator) which holds the pointer (actuator arm).
-
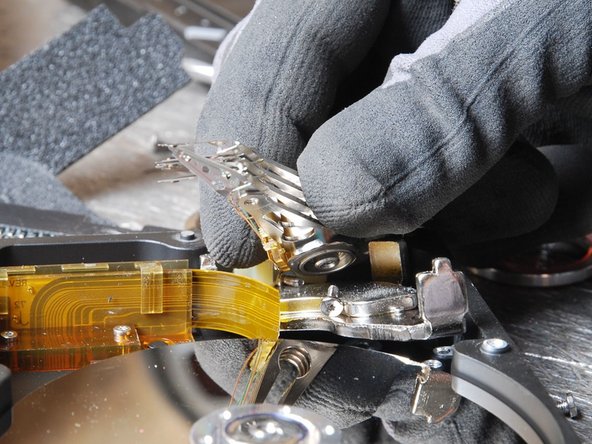
Remove the actuator magnet and the actuator arm.
-
If possible, store the magnets for a future rare metal recovery .
-
-
-
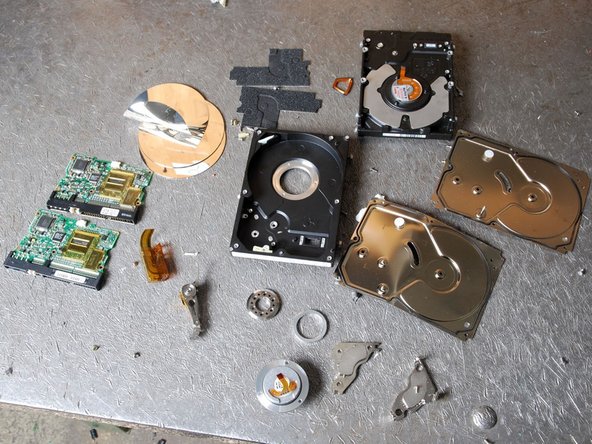
Separate the remaining parts according to their composition and go on with the respective data Sheets.
-
-