/

How to disassemble the Hisense LTDN40K220WSEU TV set

  1. How to disassemble the Hisense LTDN40K220WSEU TV set, Opening: step 1, image 1 of 2 How to disassemble the Hisense LTDN40K220WSEU TV set, Opening: step 1, image 2 of 2
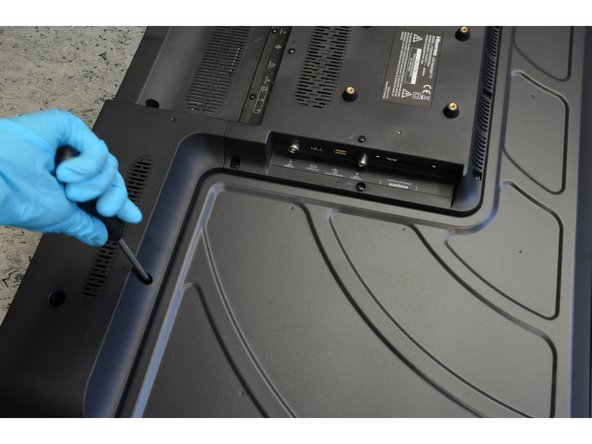
    • Start the TV opening from the back side.

    • Using PH2 screwdriver, begin to loose the twenty-seven screws distributed all over the back-casing.

    • Manually pry the sides and the bottom part of the TV to detach the fifthteen clips.

    • Remove the plastic back cover.

  2. How to disassemble the Hisense LTDN40K220WSEU TV set, Removal of Printed Circuit Boards (PCB): step 2, image 1 of 3 How to disassemble the Hisense LTDN40K220WSEU TV set, Removal of Printed Circuit Boards (PCB): step 2, image 2 of 3 How to disassemble the Hisense LTDN40K220WSEU TV set, Removal of Printed Circuit Boards (PCB): step 2, image 3 of 3
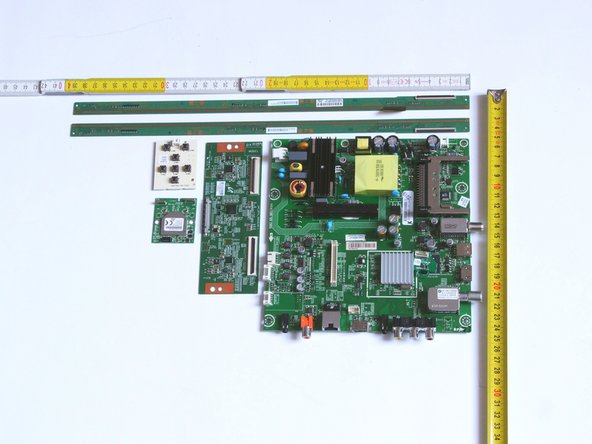
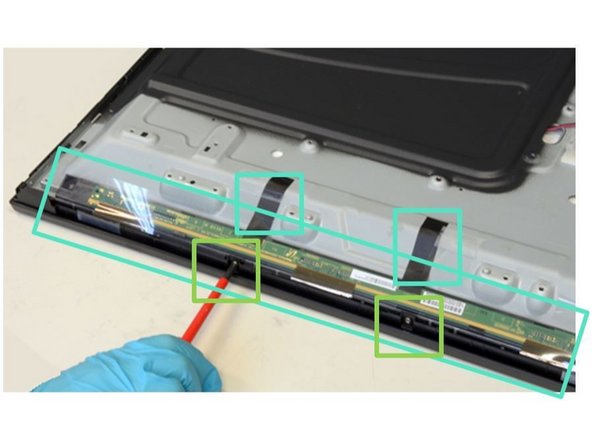
    • Remove cables: Remove all twelve connectors (highlighted in red boxes) and rip off the tapes used to fix the cables to the metal frame.

    • Remove Printed Circuit Boards (PCBs): Using PH2 screwdriver, begin to loose the eight screws (highlighted in green boxes) which fix the PCBs to the metal casing.

    • Then, lever two clips (highlighted in blue boxes) and remove the PCBs.

  3. How to disassemble the Hisense LTDN40K220WSEU TV set, Removal of Speakers: step 3, image 1 of 1
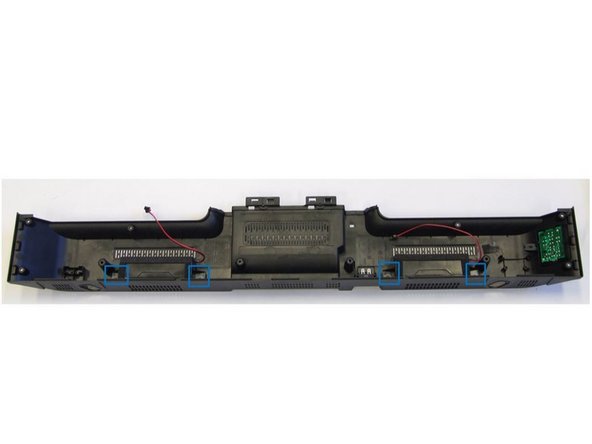
    • Remove the Speakers by extracting them manually from their mountings (blue boxes).

  4. How to disassemble the Hisense LTDN40K220WSEU TV set, Removal of Liquid Crystal Display (LCD): step 4, image 1 of 3 How to disassemble the Hisense LTDN40K220WSEU TV set, Removal of Liquid Crystal Display (LCD): step 4, image 2 of 3 How to disassemble the Hisense LTDN40K220WSEU TV set, Removal of Liquid Crystal Display (LCD): step 4, image 3 of 3
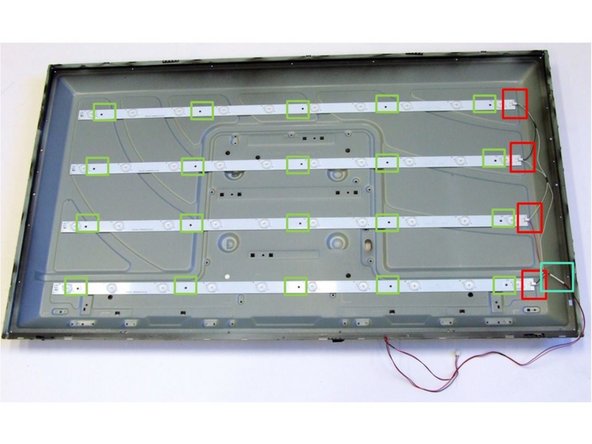
    • Using PH1 screwdriver, loose the seventeen screws of the front-Frame (highlighted in green boxes).

    • Using slotted screwdriver, pry twelve clips and remove the second frame.

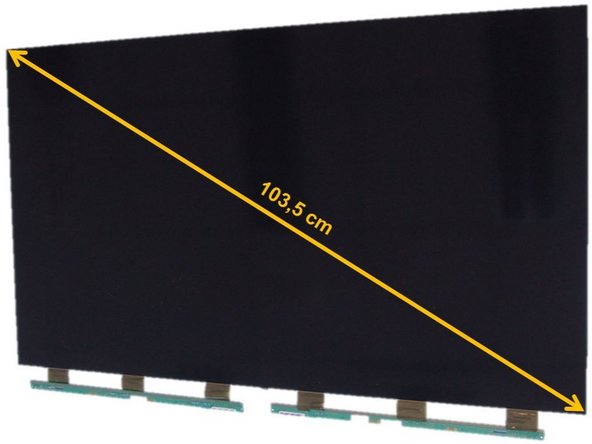
    • Tripped off adhesives in order to freed the LCD PCBs (turquoise boxes).

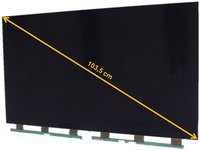
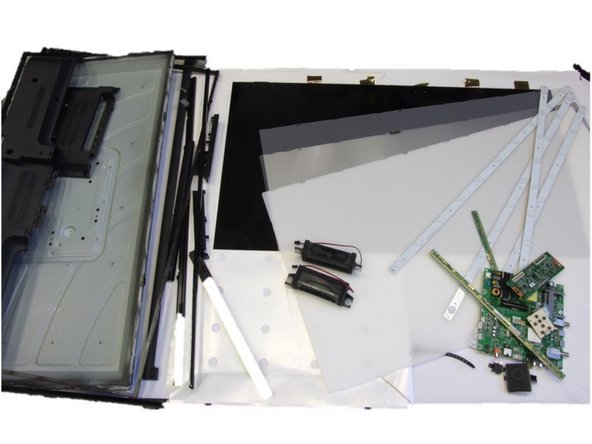
    • Place the TV facing screen up and remove the LCD panel.

  5. How to disassemble the Hisense LTDN40K220WSEU TV set, Removal of Polarized Foils: step 5, image 1 of 2 How to disassemble the Hisense LTDN40K220WSEU TV set, Removal of Polarized Foils: step 5, image 2 of 2
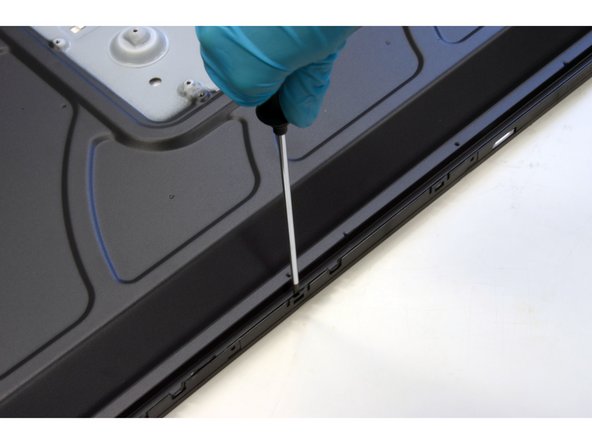
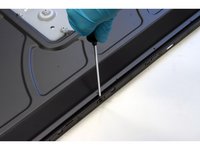
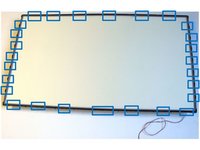
    • Using slotted screwdriver, begin to lever the twenty-seven clips (highlighted in blue boxes) of the inner frame starting at the bottom of the TV.

    • Continue to work your way around the frame counterclockwise until you can pull the frame off.

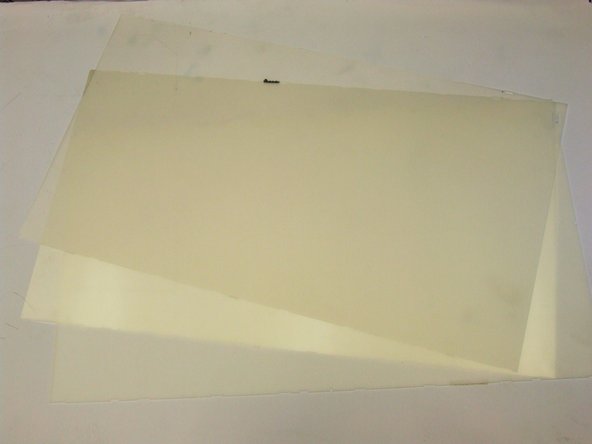
    • Then, remove the already freed polarized foils.

  6. How to disassemble the Hisense LTDN40K220WSEU TV set, Removal of Backlights (LED): step 6, image 1 of 3 How to disassemble the Hisense LTDN40K220WSEU TV set, Removal of Backlights (LED): step 6, image 2 of 3 How to disassemble the Hisense LTDN40K220WSEU TV set, Removal of Backlights (LED): step 6, image 3 of 3
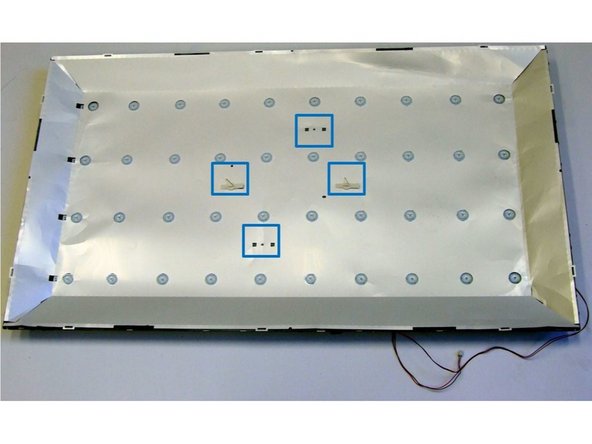
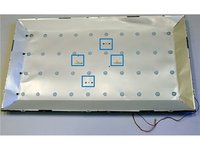
    • Using slotted screwdriver, loose the four clips (blue boxes).

    • Trip off the protective foil and access the backlight unit.

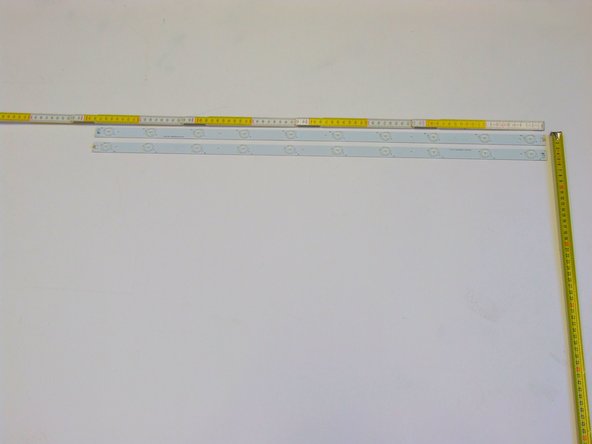
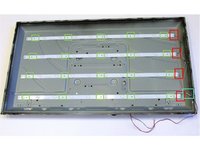
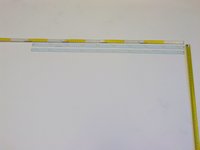
    • Using PH1 screwdriver, begin to loose the twenty screws that fix the LED PCBs to the metal casing (green boxes).

    • Use your fingers to lever the four connectors and separate all PCBs.

  7. How to disassemble the Hisense LTDN40K220WSEU TV set, TV Dismantling fractions: step 7, image 1 of 1
    • All fractions obtained after TV Dismantling.

Amaia

Member since: 03/23/16

11 Guides authored

View Statistics:

Past 24 Hours: 0

Past 7 Days: 0

Past 30 Days: 1

All Time: 132