
Introduction
This guide will show you every step needed to ensure proper process in replacing a keyboard key for the IBM ThinkPad R40.
What you need
-
-
Make sure your laptop is off and disconnected from the power source to ensure safety for yourself.
-
-
-
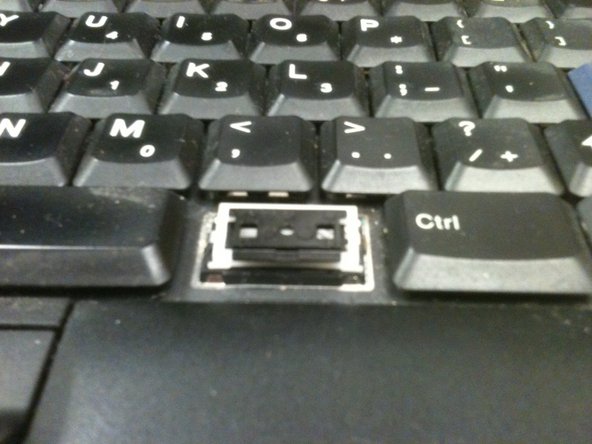
Locate the key that needs replacing. Use tweezers to slowly pull the key off the keyboard. Doing this will expose the underside of the keyboard.
-
-
-
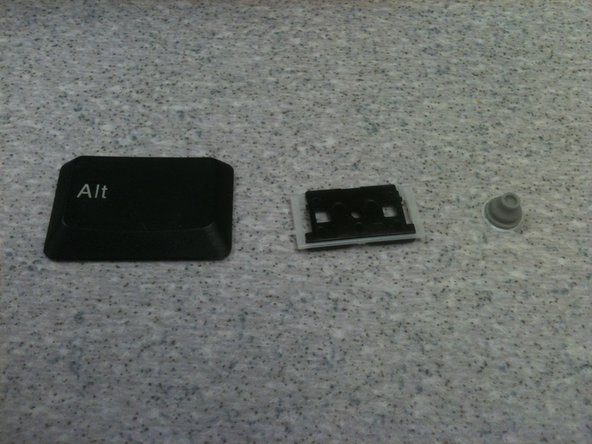
Step 3: Set the old key aside and have the new key ready to be inserted onto the computer. The key has three parts, which you can see here.
-
-
-
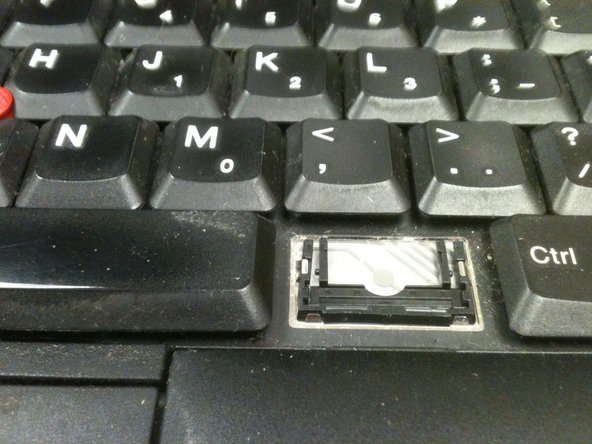
The new key will have an empty slot where they key used to be. It contains a small rubber spring. After the rubber spring is inserted take the new key and line it up according to the color springs on the backside of the key along with the keyboard.
-
-
-
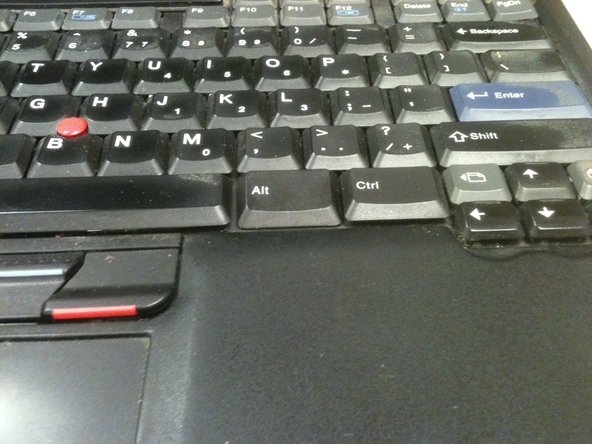
Step 6: The key should not be firmly locked into place and functioning normally.
-


To reassemble your device, follow these instructions in reverse order.
