What you need
-
-
The back cover can be easily removed by applying a small lever tool to the edge of the device. Twenty plastic clips fixate the back cover. Carefully lever the back cover off the device.
-
-
-
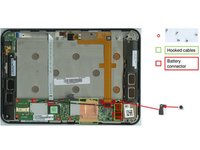
In order to remove the battery first unplug the battery connector on the mainboard. Then unscrew a total of five screws (4x #00 and 1x Torx 5) that hold down the battery inside the device. The copper tape and some smaller patches of adhesives must be removed, too.
-
As there are some cables alongside the metal frame of the battery, carefully remove the cables from the metal frame and lift up the battery, extracting it from the device.
-
-
-
Remove the speakers and speaker cables that are fixated with weak one-sided adhesive tapes. The white speaker cable can only be removed by unscrewing the screw (#00) that holds down the cable. Also remove the socket of that screw.
-
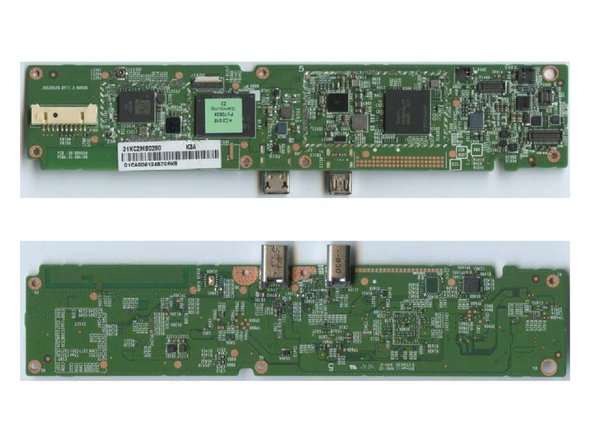
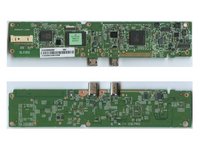
Before carefully unfastening five screws (#00) that hold down the mainboard inside the device, a total of three connectors need to be unplugged additional to the antenna cable.
-
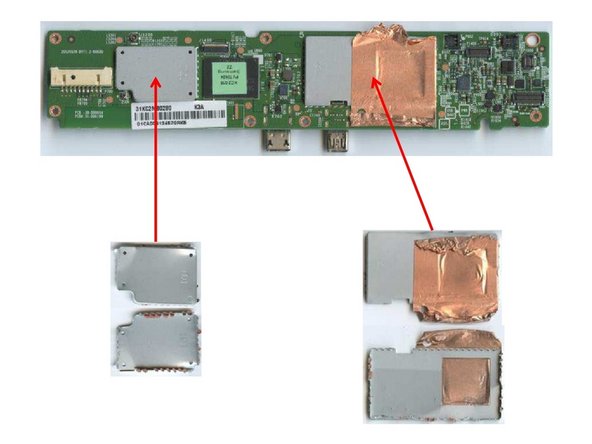
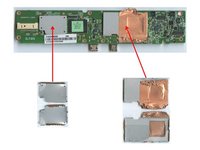
Now the mainboard can be removed. The EMI shields are solded to the mainboard and may only be removed by breaking the soldering points.
-