
-
-
Start the TV opening from the back side.
-
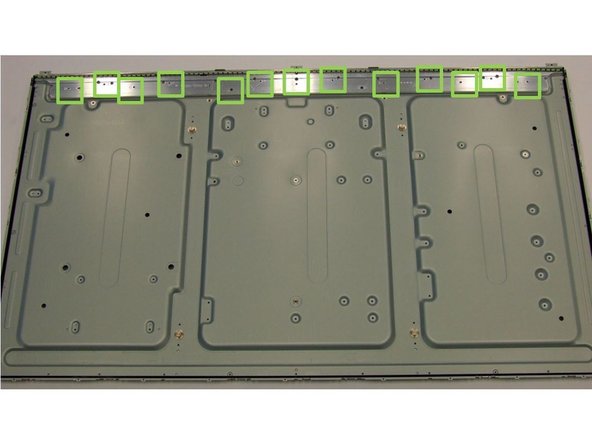
Using PH#2 screwdriver, begin to loose the twenty-four screws located all over the back-casing (highlighted in green boxes).
-
Manually pry open the interconnection between the two plastic pieces to loose the four clips.
-
Disconnect the connectors from cables and buttons.
-
Remove the plastic back cover.
-
-
-
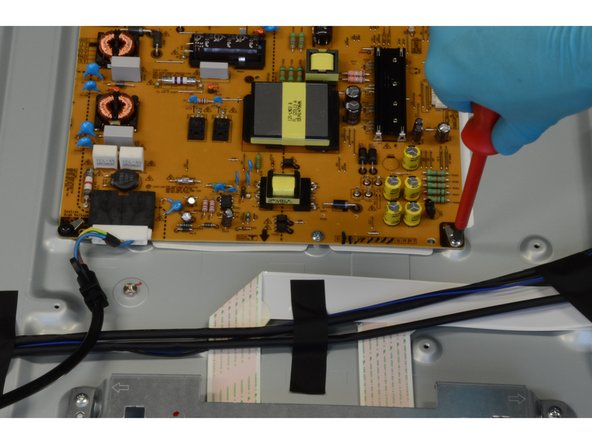
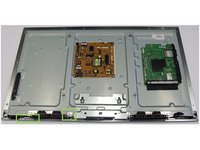
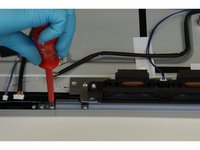
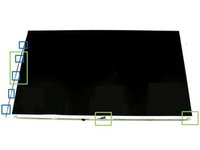
Remove cables: Disconnect all fifteen connectors (highlighted in red boxes) and remove the tapes used to fix the cables to the metal casing.
-
To remove the PCBs use PH#2 screwdriver (thirteen screws marked in green).
-
-
-
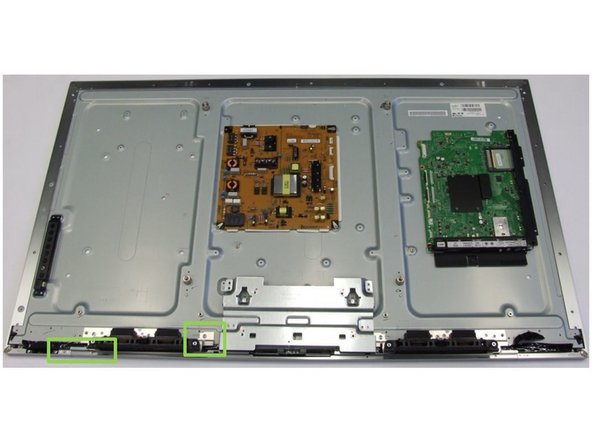
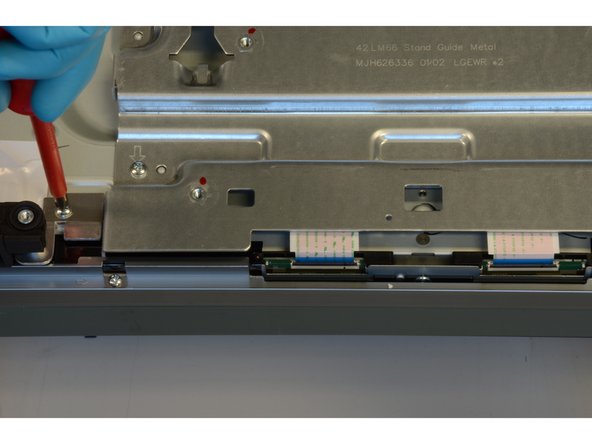
Using PH#2 screwdriver, loose four screws to remove the speakers.
-
Then, use the same tool to loose fourteen screws that fix the metallic mounting to protect the PCBs.
-
-
-
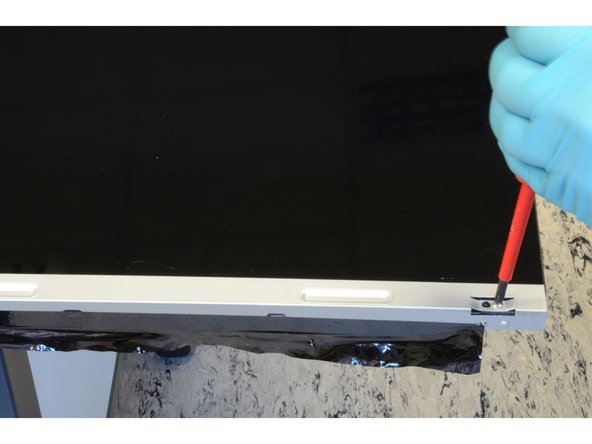
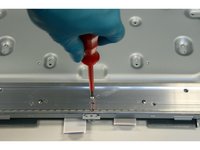
Loose the adhesives securing the front frame and carefully turn the screen up.
-
To remove the front frame, unscrew the twenty-four PH#1 screws (starting point marked in green).
-
-
-
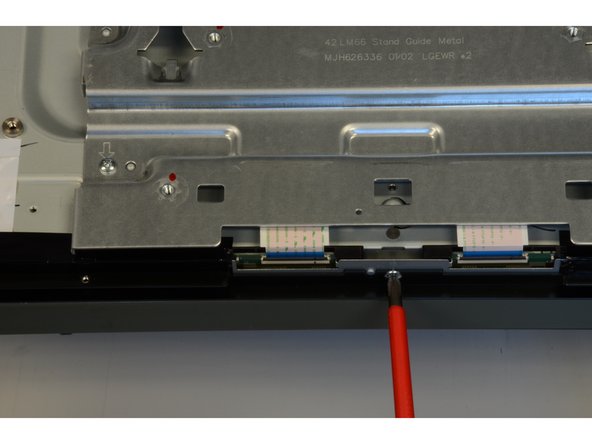
Detach manually the two connectors of the back side and remove the LCD panel.
-
-
-
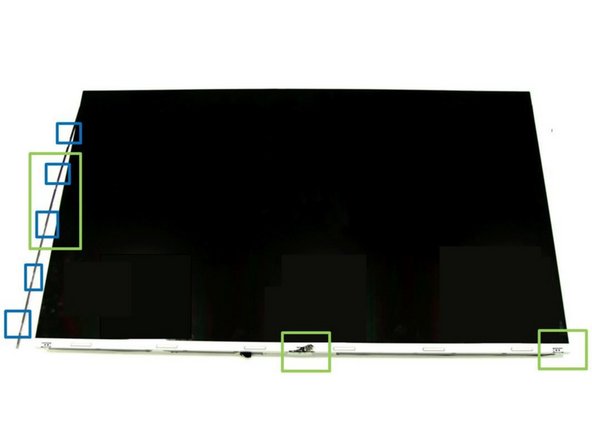
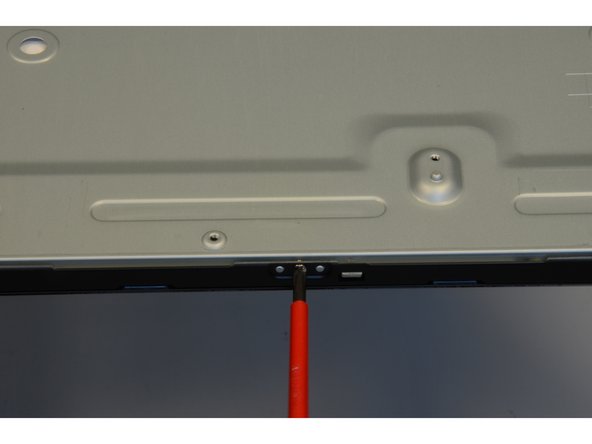
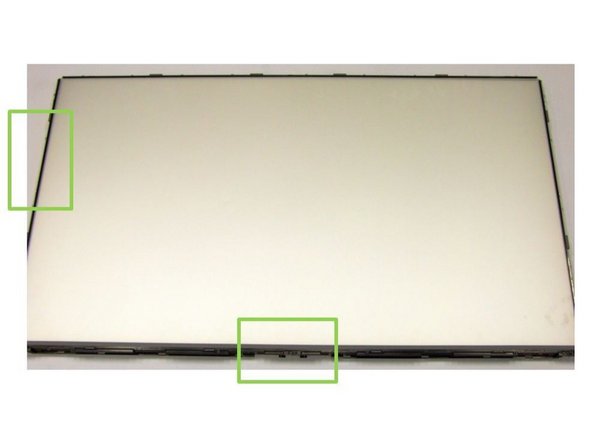
Using PH#1 screwdriver, loose twenty-two screws in two steps:
-
First, remove the metal frames that cover the sides and the top of the unit.
-
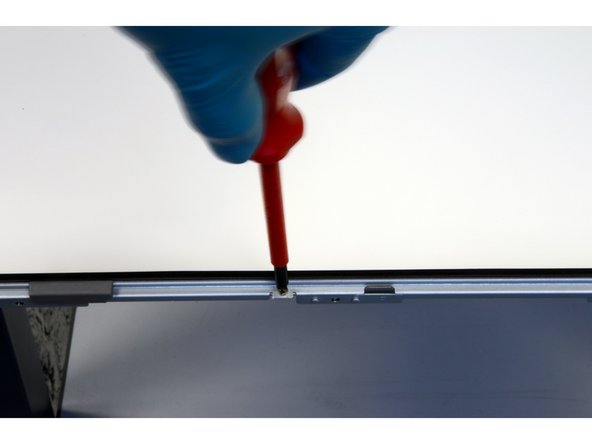
Second, unscrew the bottom part and loose eight clips in order to take it out.
-
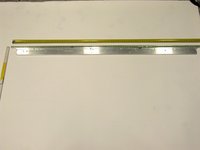
The polarizer foils can be removed as well.
-
-
-
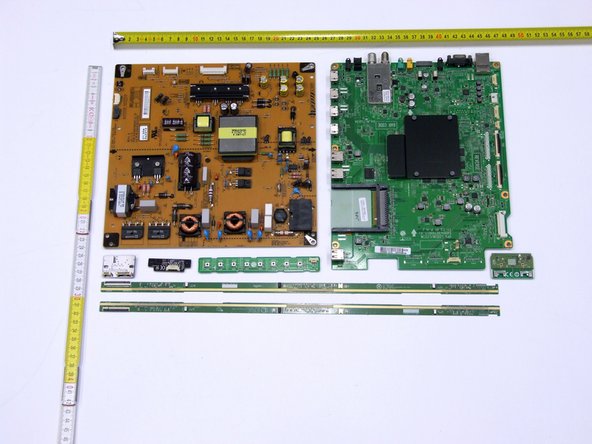
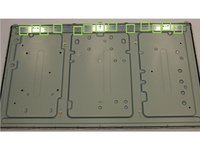
Using PH#1 screwdriver, loose thirteen screws (marked in green) and remove the metal casing with two PCBs.
-
Using slotted screwdriver, remove the PCBs from the metal casing. Note that this step is destructive.
-


Finish Line