Introduction
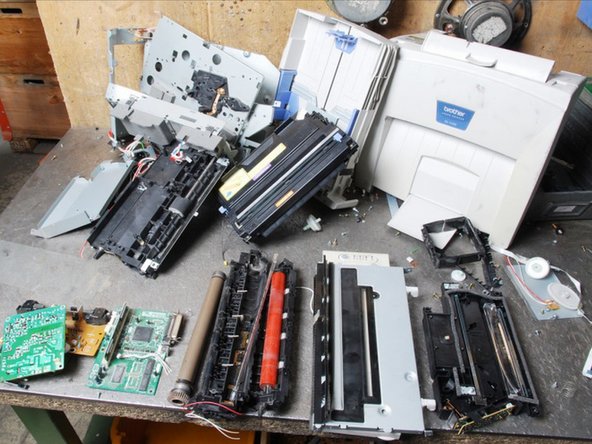
Due to the large variety of printers available on the market it is impossible to give a specific manual how to dismantle a printer. Therefore, the dismantling steps for laser printers indicated below have to be adapted from case to case. No dismantling time and average weight can be indicated.
What you need
-
-
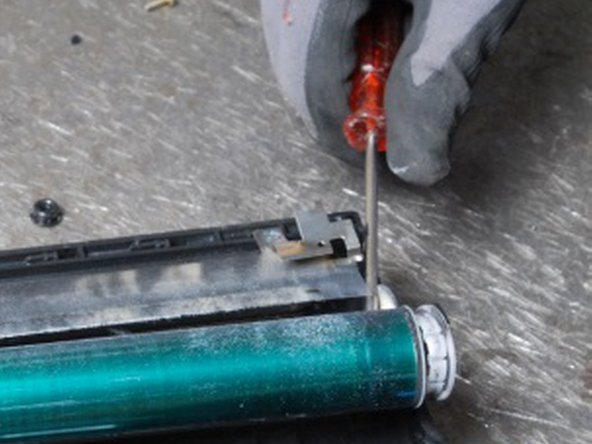
The photoconductive drum is usually located within the cartridge.
-
Drums from older copy and fax machines may be coated with the toxic substances cadmium-sulfid or selen and should therefore be segregated and supplied to an adequate treatment.
-
To segregate the drum, remove the axis and store the photoconductive drum separately.
-
-
-
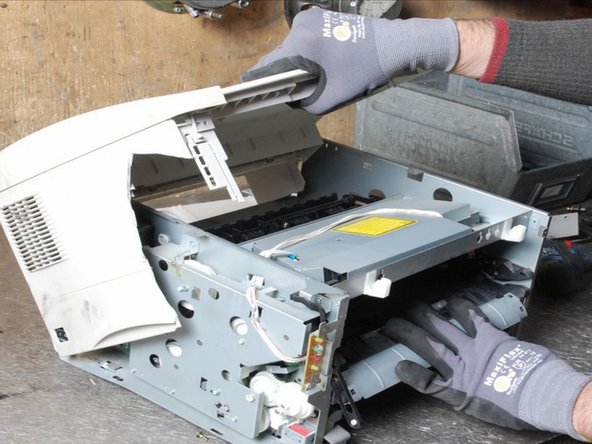
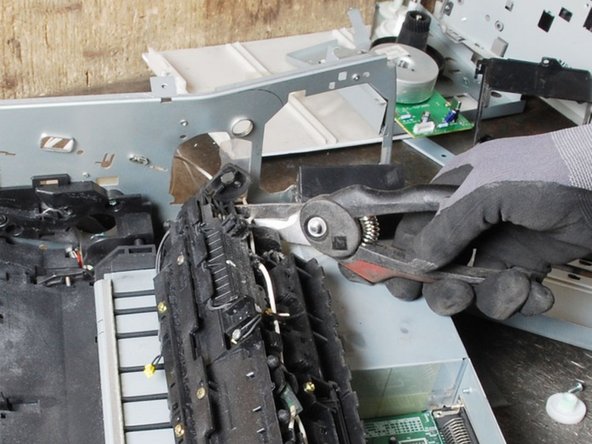
Open the plastic casing by unscrewing all screws and removing clips. Clean the casing properly by removing all the foreign materials in the plastic such as labels, rubber mountains etc.
-
Make sure the plastic parts are completely free of metal pieces.
-
-
-
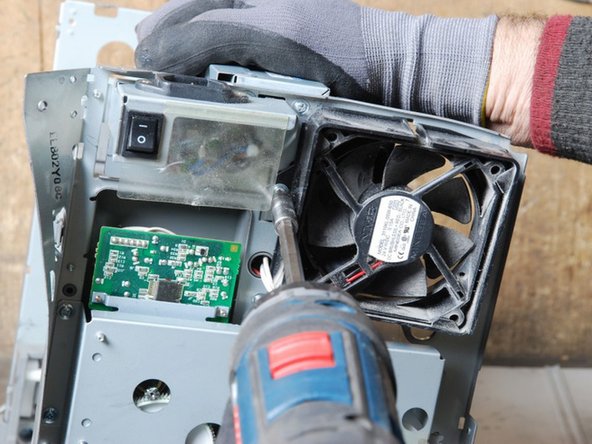
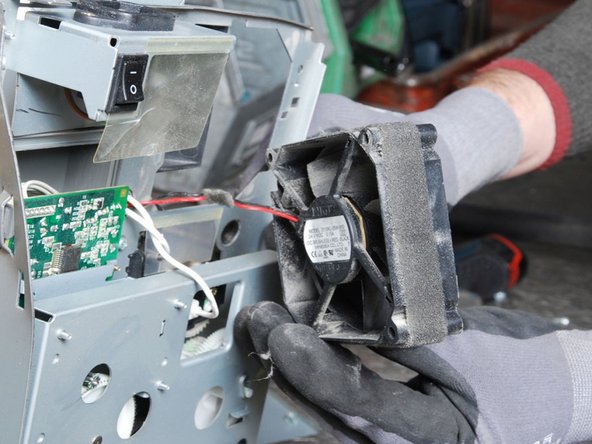
Separate the remaining materials according to their type and go on with the appropriate data sheet (e.g. aluminium, ferrous metals, plastic, further PWBs, etc.).
-
Make sure the plastic parts are completely free of metal pieces.
-


