/

Mac Mini Mid 2011 Fan Replacement

What you need

  1. Mac Mini Mid 2011 Fan Replacement, Mac Mini Mid 2011 Fan Replacement: step 1, image 1 of 2 Mac Mini Mid 2011 Fan Replacement, Mac Mini Mid 2011 Fan Replacement: step 1, image 2 of 2
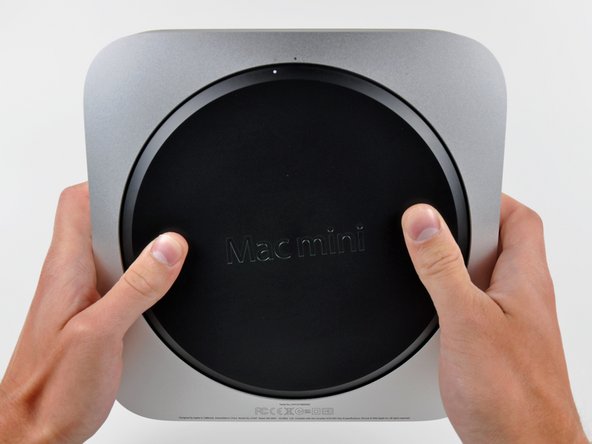
    • Place your thumbs in the depressions cut into the bottom cover.

    • Rotate the bottom cover counter-clockwise until the white dot painted on the bottom cover is aligned with the ring inscribed on the outer case.

    • You do not need to apply much downward pressure while turning.

  2. Mac Mini Mid 2011 Fan Replacement: step 2, image 1 of 1
    • Tilt the mini enough to allow the bottom cover to fall away from the outer case.

    • Remove the bottom cover and set it aside.

  3. Mac Mini Mid 2011 Fan Replacement: step 3, image 1 of 1
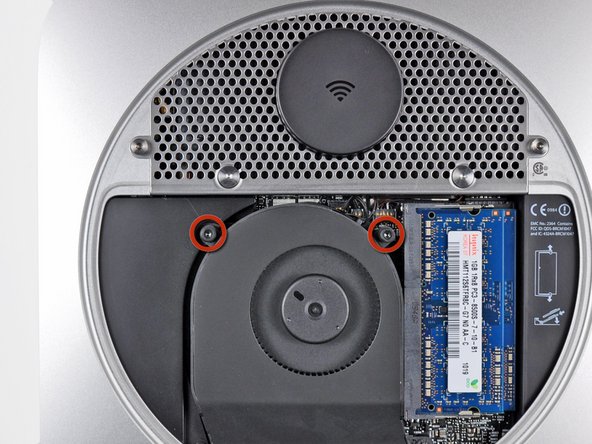
    • Remove the two 11.3 mm T6 Torx screws securing the fan to the logic board near the antenna plate.

  4. Mac Mini Mid 2011 Fan Replacement: step 4, image 1 of 1
    • Lift the ear of the fan nearest the RAM up off the standoff secured to the outer case.

    • Removing the standoff screw is not necessary to remove the fan. You need only raise the fan enough to lift it off the standoff screw.

  5. Mac Mini Mid 2011 Fan Replacement: step 5, image 1 of 1
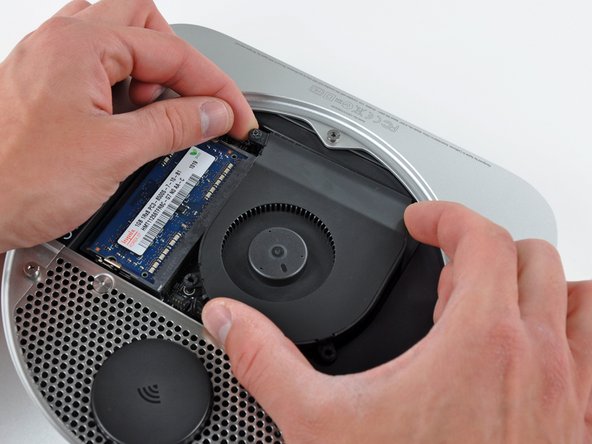
    • Lift the fan out of the mini for enough clearance to access its connector.

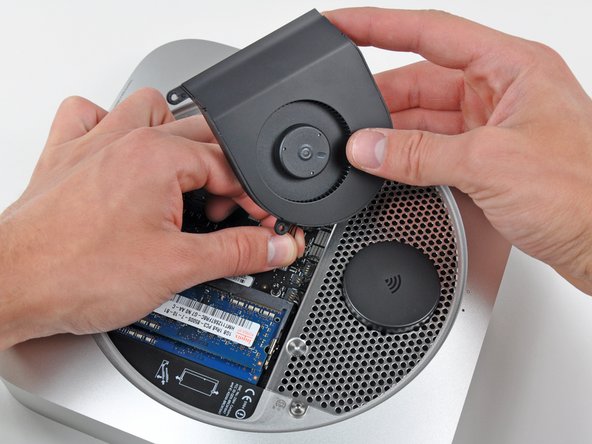
    • Carefully pull the fan cables upward to lift the fan connector up out of its socket on the logic board.

    • Remove the fan.

Finish Line

System

Member since: 09/24/09

2,562 Guides authored

0 Comments

Add Comment

View Statistics:

Past 24 Hours: 0

Past 7 Days: 2

Past 30 Days: 2

All Time: 27