
Introduction
Replace your audio board to regain functionality of your speakers and microphone.
What you need
-
-
You'll need a putty knife in order to open the case. A 1.5 inch thin putty knife will work well, but you'll want to grind the edge down. Rub the putty knife's short edge back and forth on a sheet of all purpose rough grit sandpaper (100 grit will work fine) until it attains a beveled edge.
-
-
-
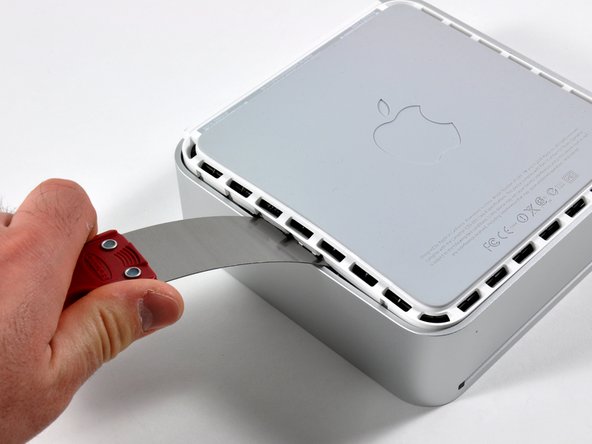
Carefully insert a putty knife into the crevice in between the top cover and bottom housing. Start on the left side first. Push the blade down until you meet firm resistance (roughly 3/8 of an inch).
-
Gently enlarge the existing crevice by rotating the putty knife downward and away from the mini.
-
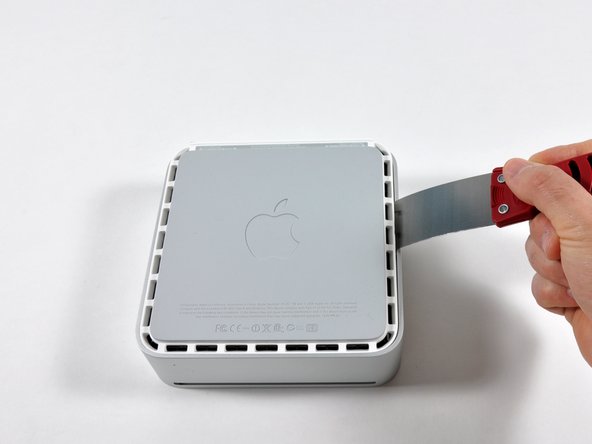
This is easier if you use two putty knives. Insert the first putty knife at the point on the left side where the gap is largest, press the handle of the knife downward and away from the mini.
-
Then insert the second knife next to it and push that knife down and out.
-
Take the first knife out of the mini and put it back in on the other side of the second knife, push down and out.
-
Repeat this process all the way around the mini.
-
-
-
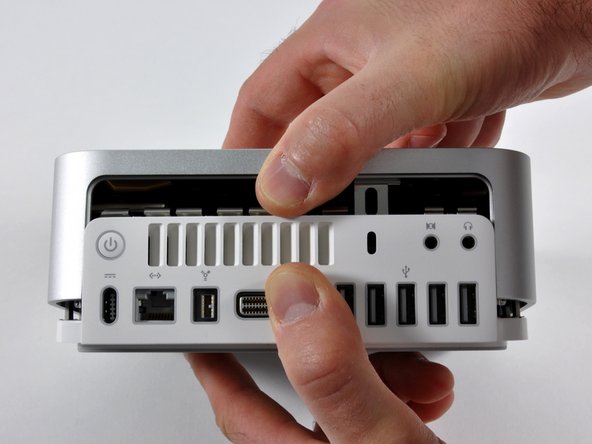
The top cover should now be marginally separated from the bottom housing. Use your fingers to completely separate the two, starting with the I/O side of the mini.
-
-
-
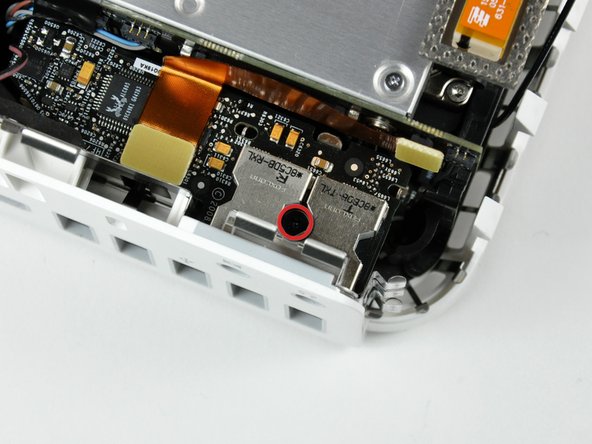
Remove the single Phillips screw between the headphone and microphone jacks on the audio board.
-
-
-
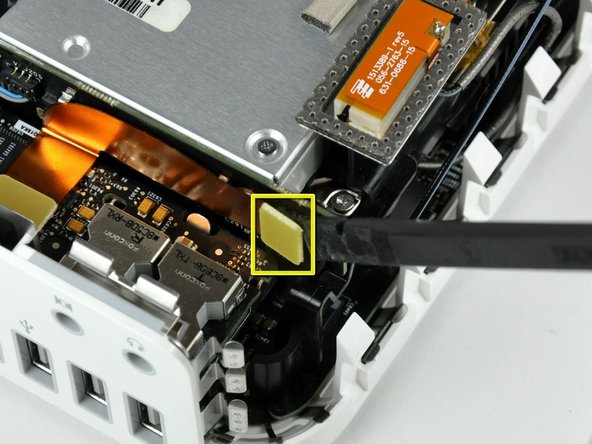
Use the flat end of a spudger to pry the audio ribbon cable connector off the interconnect board.
-
-
-
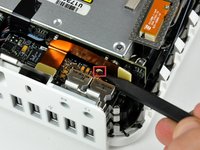
Use the tip of a spudger to depress the audio board retaining clip (shown in red) to release the audio board from the bottom housing.
-
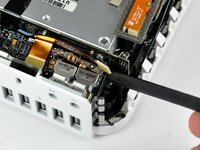
Lift the audio board from its free end and remove it from the mini.
-


To reassemble your device, follow these instructions in reverse order.
