Macintosh PowerBook 165c Display Replacement

What you need

    1. Macintosh PowerBook 165c Display Replacement, Macintosh PowerBook 165c Display Replacement: step 1, image 1 of 1
      • Orientate the computer right side up and open the display case to reveal the display.

      • Use a plastic opening tool to remove the two small plastic plugs located on the display case just below the display.

      Add Comment

    2. Macintosh PowerBook 165c Display Replacement: step 2, image 1 of 1
      • Use a T8 torx screwdriver to remove the two, 7.7mm long screws that were revealed by removing the plastic plugs.

      • Twist counterclockwise to remove the screw.

      • Caution: Once the screws are removed, the display is only held by two screws. Handle delicately.

      Add Comment

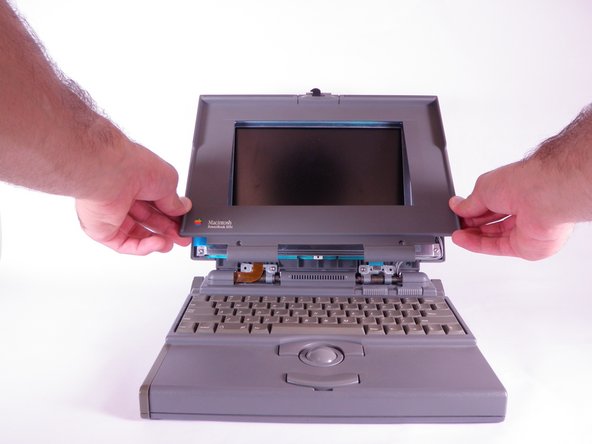
    3. Macintosh PowerBook 165c Display Replacement: step 3, image 1 of 1
      • Grip the two bottom corners of the plastic display cover and gently pull towards yourself so that the display cover rotates about the top of the display case.

      • The display cover should release from top.

      • Remove the display case.

      Add Comment

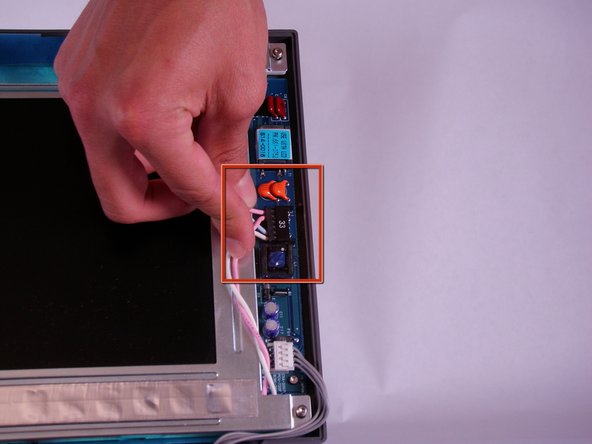
    4. Macintosh PowerBook 165c Display Replacement: step 4, image 1 of 1
      • Locate the black connector on the right of the display. The connector can be identified by the pink, light blue, and white wires protruding from its side.

      • Remove the black connector from the circuit board by pulling it away from its adapter.

      Add Comment

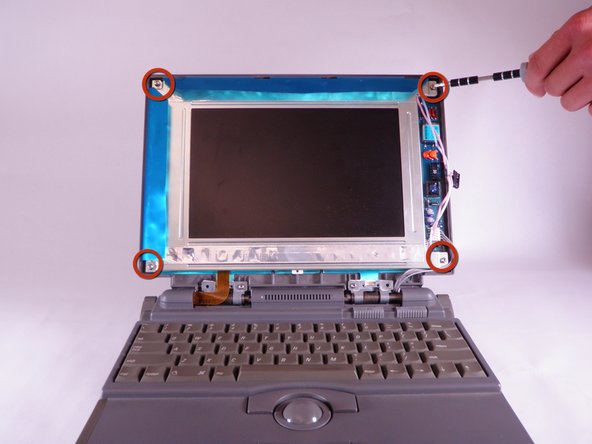
    5. Macintosh PowerBook 165c Display Replacement: step 5, image 1 of 1
      • Using a T8 torx screwdriver, remove the four, 10.8mm long screws from the corners of the display.

      • Caution: The display is no longer supported and must be handled with care.

      Add Comment

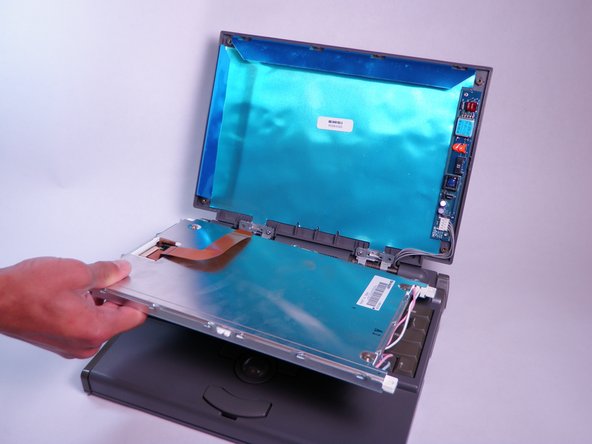
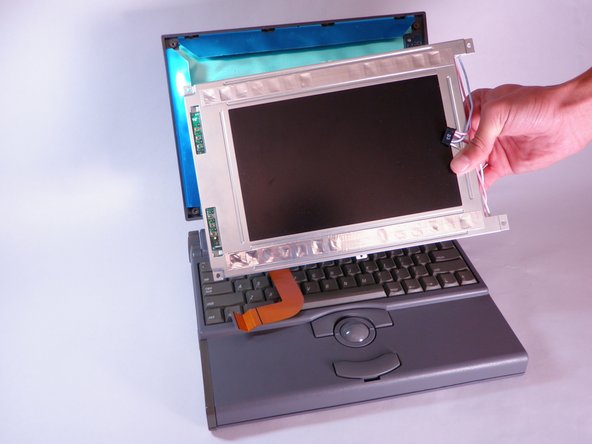
    6. Macintosh PowerBook 165c Display Replacement: step 6, image 1 of 1
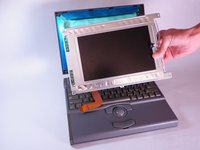
      • Carefully tilt the display downwards and rest it on the keyboard.

      Add Comment

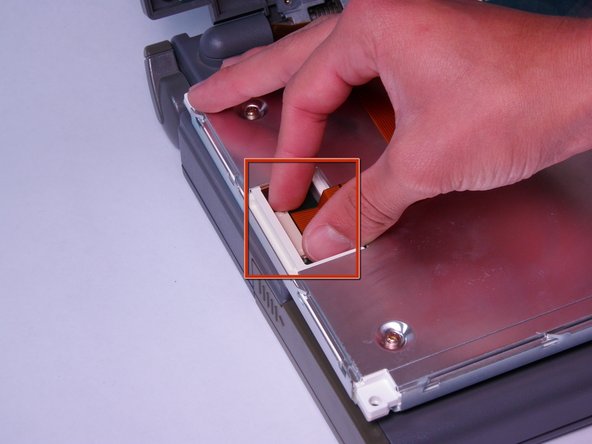
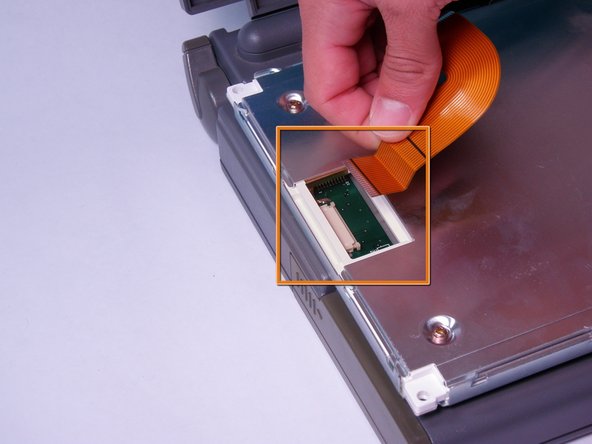
    7. Macintosh PowerBook 165c Display Replacement: step 7, image 1 of 3 Macintosh PowerBook 165c Display Replacement: step 7, image 2 of 3 Macintosh PowerBook 165c Display Replacement: step 7, image 3 of 3
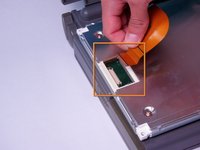
      • Locate the orange ribbon cable on the back of the display.

      • Open the white tab fastener by pulling it outward.

      • Remove the orange ribbon cable by gently pulling it away from the opened tab fastener.

      • The display is now free.

      Add Comment

Conclusion

To reassemble your device, follow these instructions in reverse order.

Cancel: I did not complete this guide.

System

Member since: 09/24/09

2,562 Guides authored

0 Guide Comments

Add Comment

View Statistics:

Past 24 Hours: 0

Past 7 Days: 0

Past 30 Days: 1

All Time: 31