
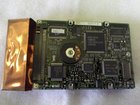
Macintosh Powerbook 5300cs Hard Drive Replacement

Last updated on Sep 17, 2016
Views: 20
View statistics:
- Past 24 Hours:
- 0
- Past 7 Days:
- 0
- Past 30 Days:
- 2
- All Time:
- 20
Comments: 0
No one has left comments on this guide. Will you be first?
Go to guide commentsCompleted: 0 1
No one has marked this guide "completed." Will you be the first?
1 person has marked this guide "completed." It's you — great job!
Favorites: 0 1
No one has favorited (and subscribed to) this guide. Will you be the first?
1 person has favorited (and subscribed to) this guide — and that's you!
Introduction
Go to step 1 ↓Outline what you are going to teach someone how to do.
What you need
-
-
-
The battery compartment is located in the front-right side of the laptop. The battery should be located inside this compartment.
-
-
-
To insert the battery, gently slide it into the compartment until it clicks in place.
-
To remove, slide the button highlighted in the red rectangle to the right to release the battery and slide it from the compartment.
-
-
-
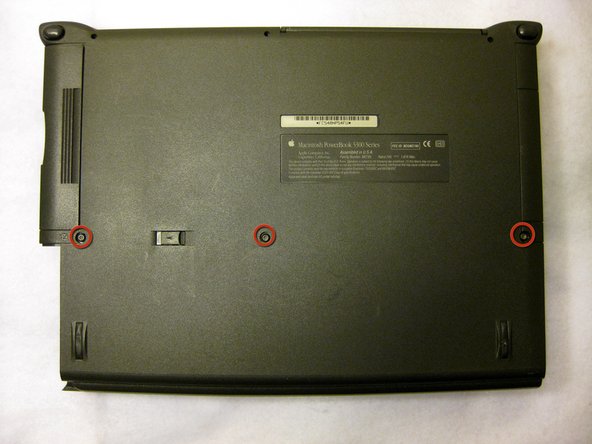
With the laptop upside down and with the battery removed, use a Torx #9 screw driver to remove the three .84 in. screws shown.
-
-
-
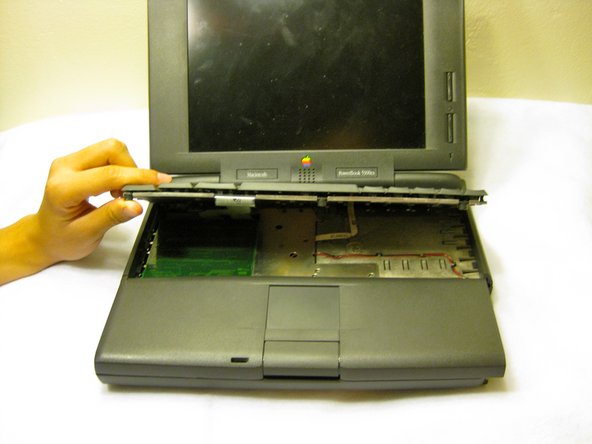
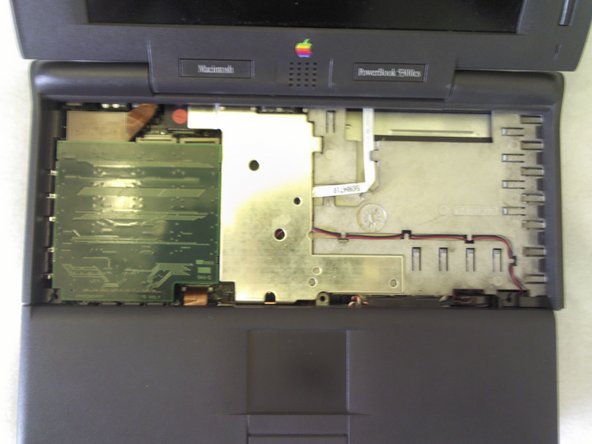
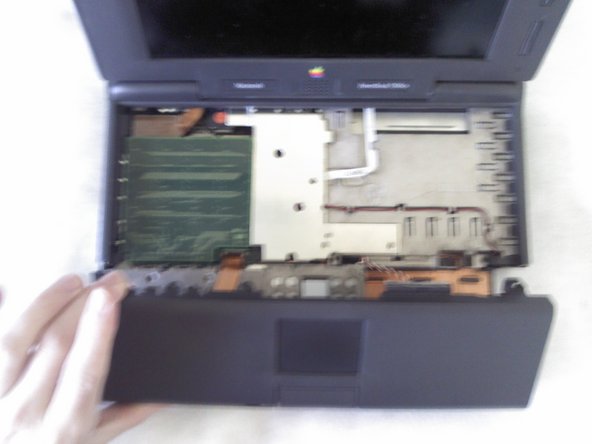
Carefully pull up on the front of the keyboard to pop it out from the case.
-
Then slide the back out so the keyboard becomes nearly free.
-
-
-
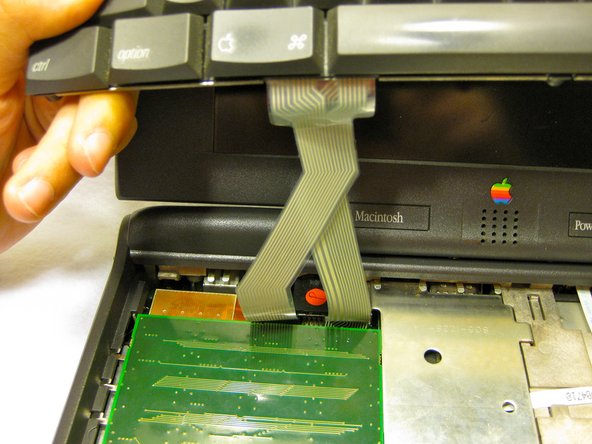
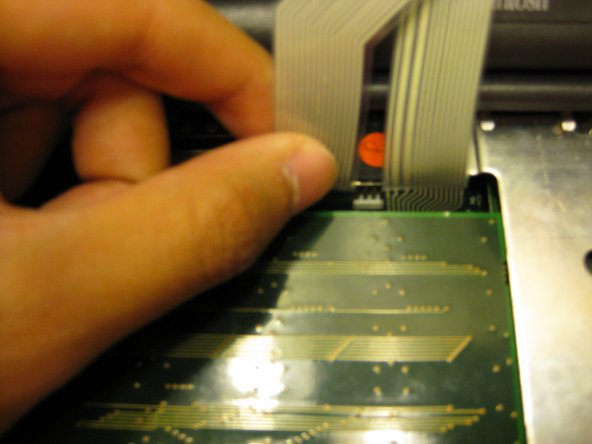
Disconnect the ribbon that is connecting the keyboard to the rest of the computer.
-
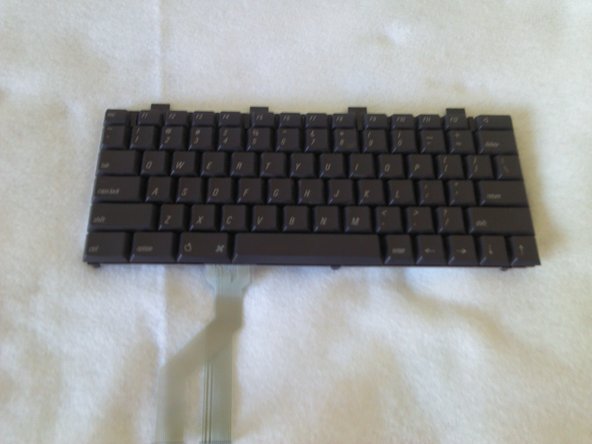
Pull the keyboard out and repair or replace as needed.
-
-
-
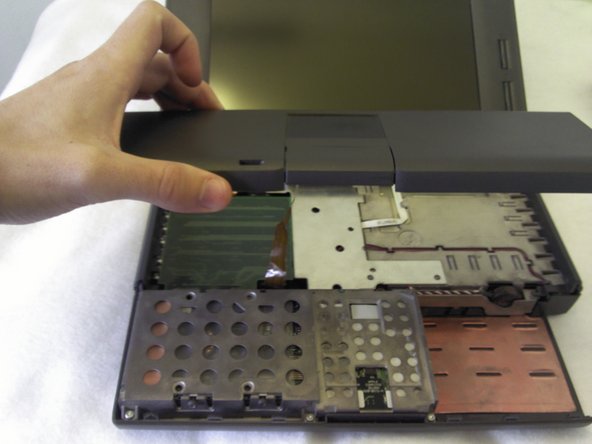
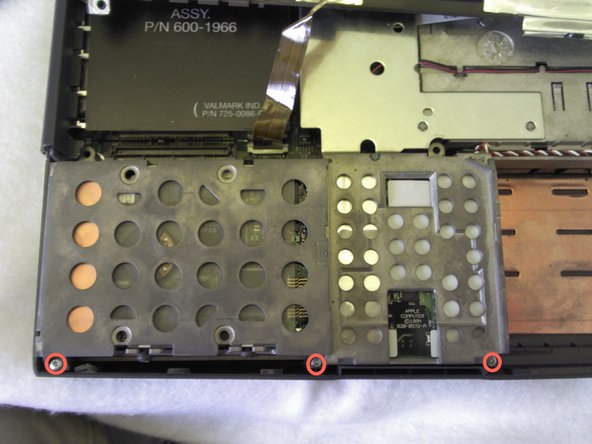
With a Torx #9 screwdriver, remove the three .30 in. screws that hold the metal frame in place.
-
-
-
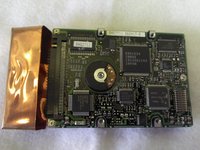
In order to remove the hard drive, remove the four .22 in. screws circled in red found on both sides of the metal chassis with a Torx #9 screwdriver.
-
-








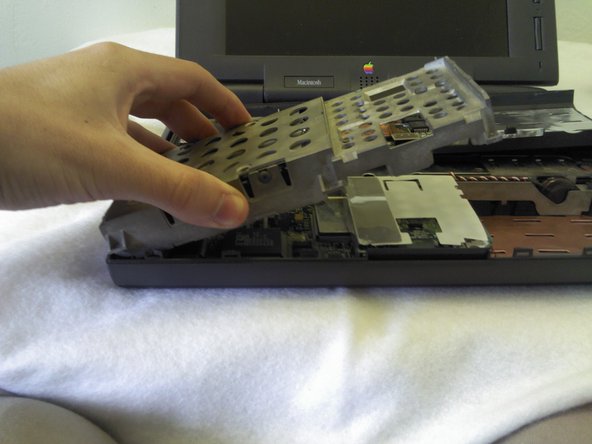
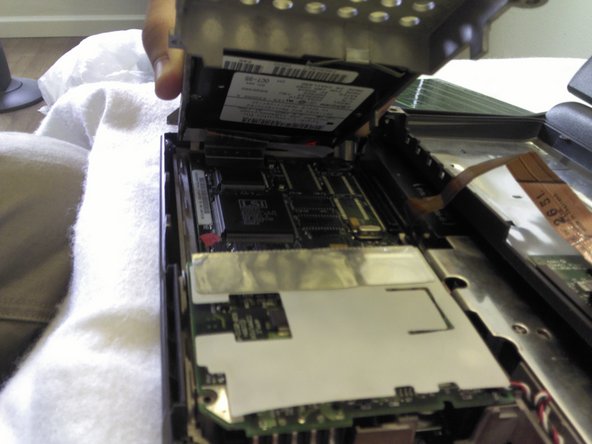
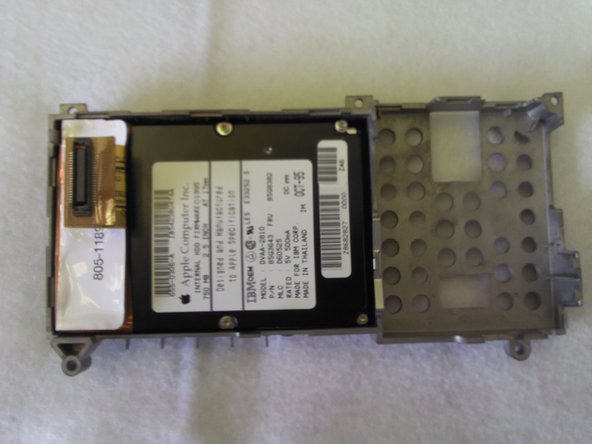

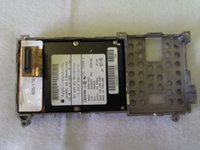

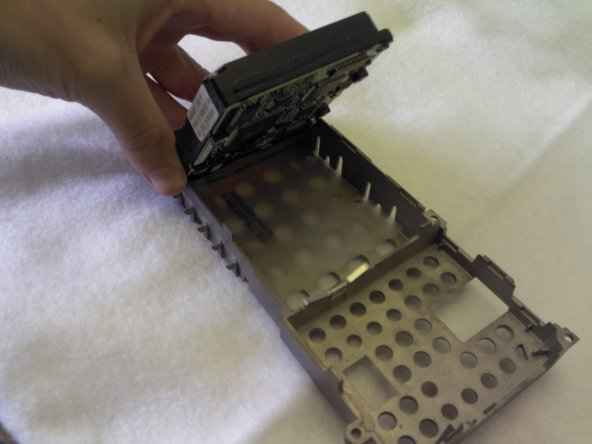
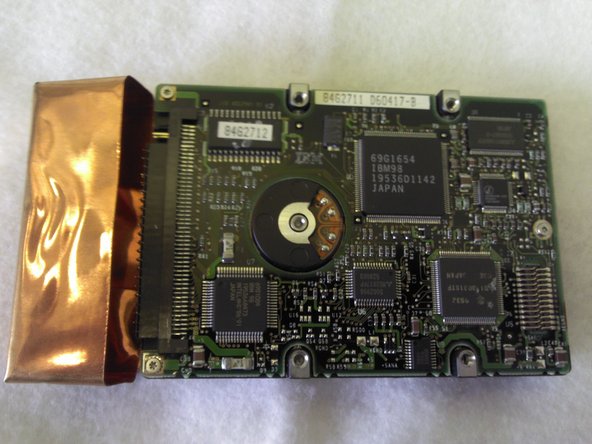
To reassemble your device, follow these instructions in reverse order.

