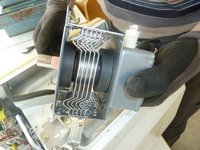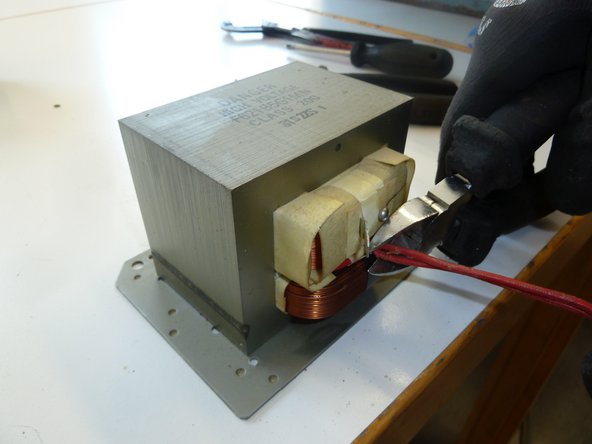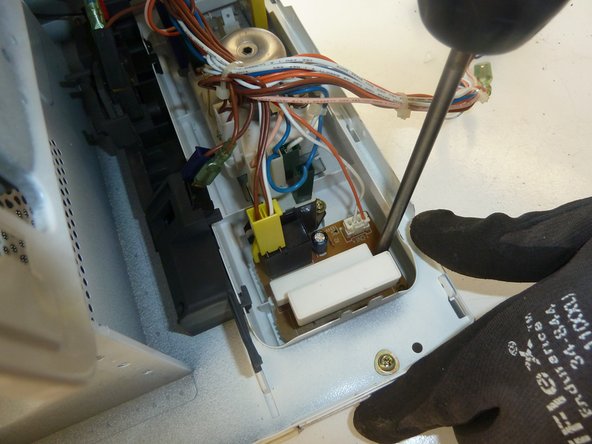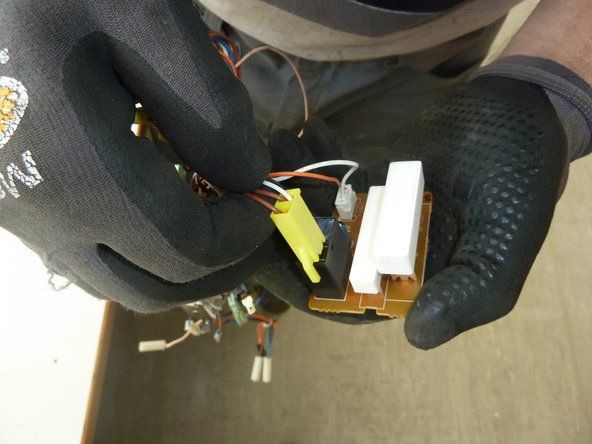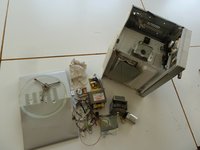
Microwave

What you need

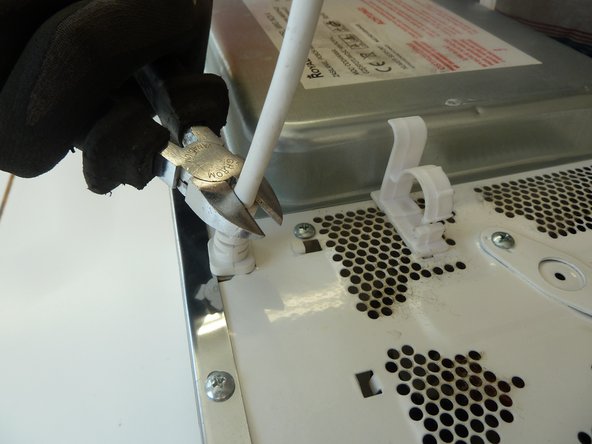
    1. Microwave, Microwave: step 1, image 1 of 2 Microwave, Microwave: step 1, image 2 of 2
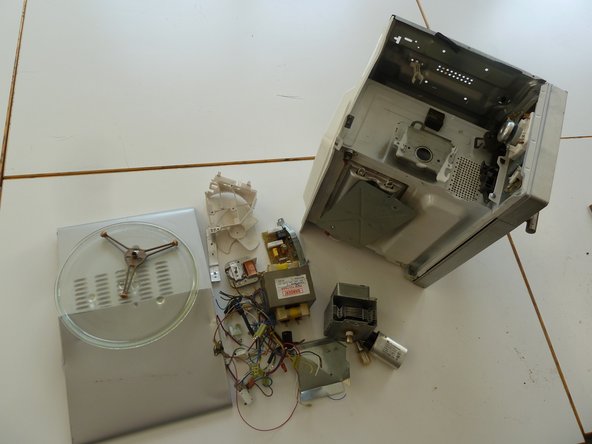
      • Remove everything inside the microwave.

      • Cut the power cable.

      Add Comment

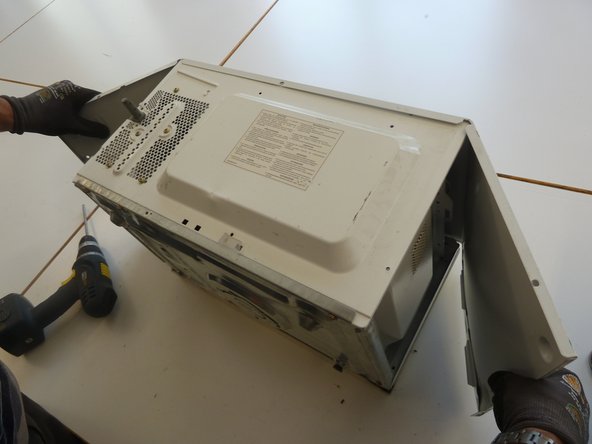
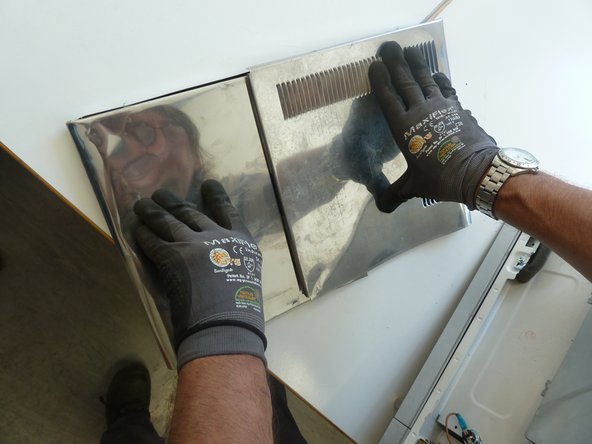
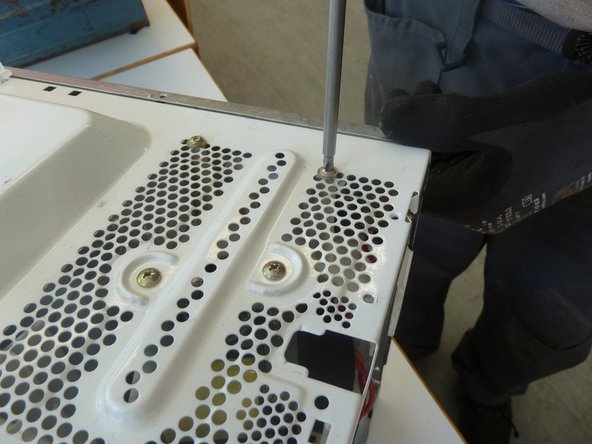
    2. Microwave: step 2, image 1 of 3 Microwave: step 2, image 2 of 3 Microwave: step 2, image 3 of 3
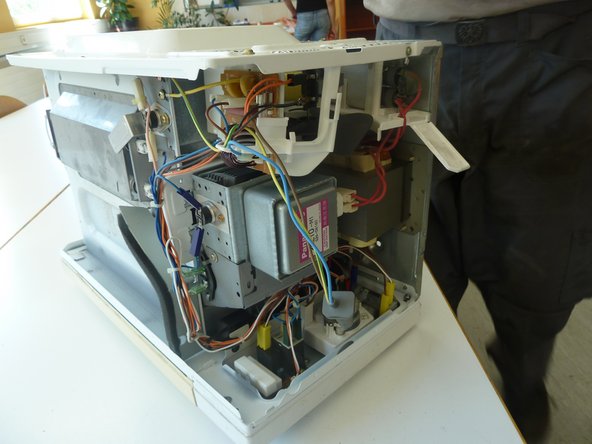
      • Unscrew the screws holding the side cover on the back side.

      • Bend the sides of the cover to remove it.

      • Fold the cover for better storage.

      Add Comment

    3. Microwave: step 3, image 1 of 2 Microwave: step 3, image 2 of 2
      • Remove the remaining screws on the back cover.

      Add Comment

    4. Microwave: step 4, image 1 of 2 Microwave: step 4, image 2 of 2
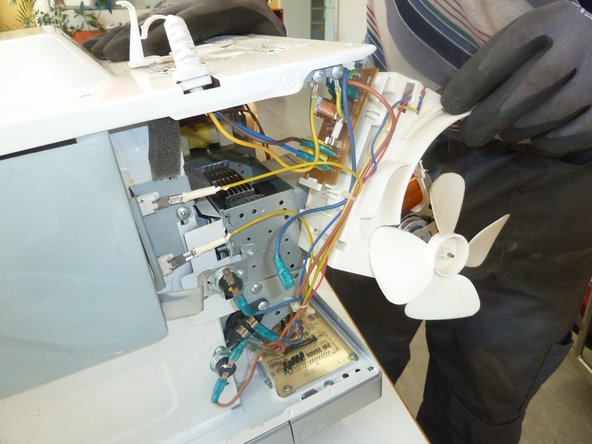
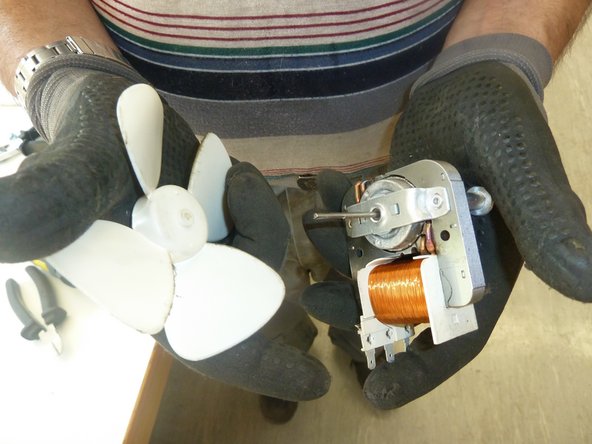
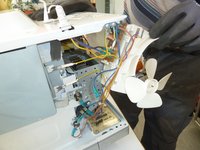
      • Remove the cooling fan unit.

      • Seperate plastic from metal parts.

      Add Comment

    5. Microwave: step 5, image 1 of 2 Microwave: step 5, image 2 of 2
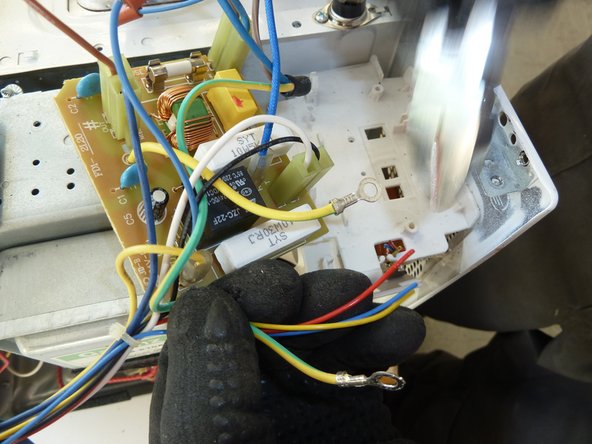
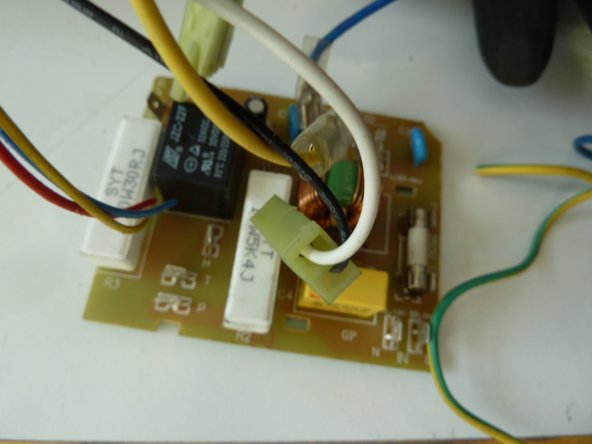
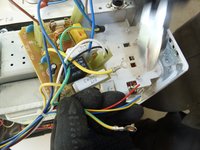
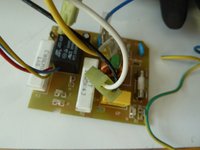
      • Cut the wires from the PWB of the cooling fan unit.

      Add Comment

    6. Microwave: step 6, image 1 of 3 Microwave: step 6, image 2 of 3 Microwave: step 6, image 3 of 3
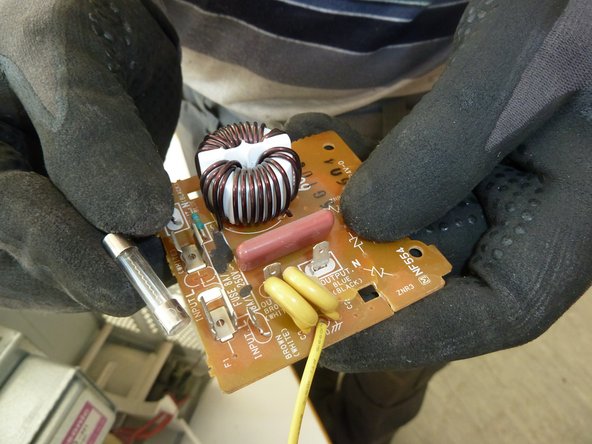
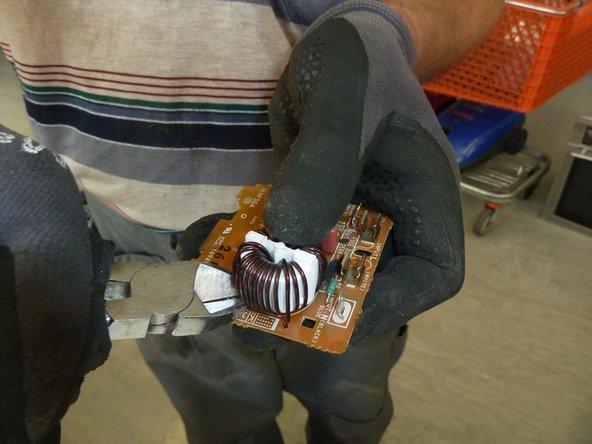
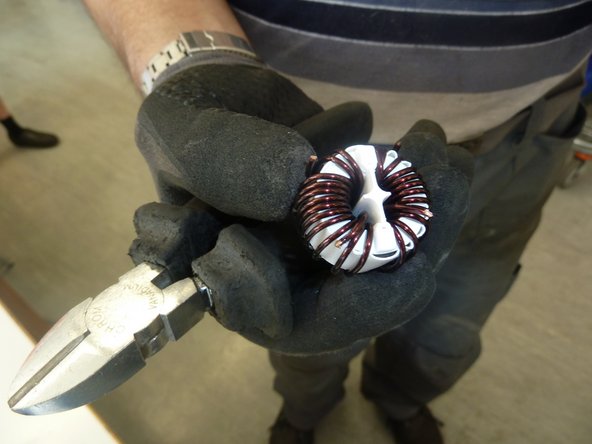
      • Remove the fuse from the PWB.

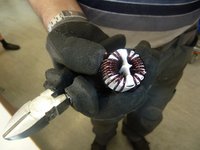
      • Pry off the coil from the PWB.

      Add Comment

    7. Microwave: step 7, image 1 of 3 Microwave: step 7, image 2 of 3 Microwave: step 7, image 3 of 3
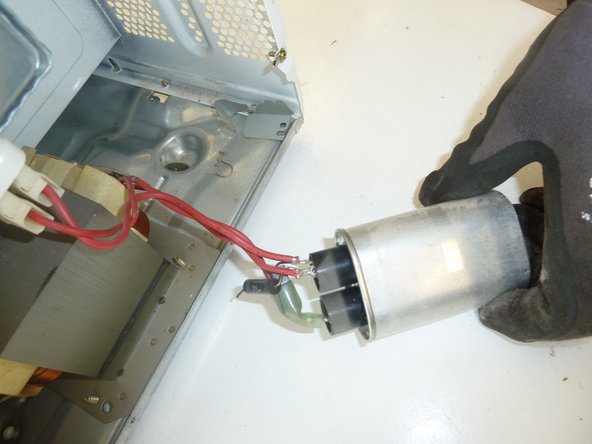
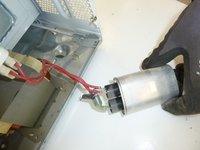
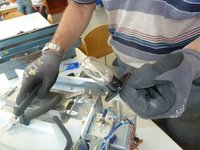
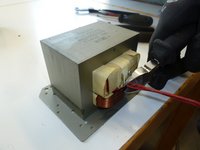
      • Remove the capacitor.

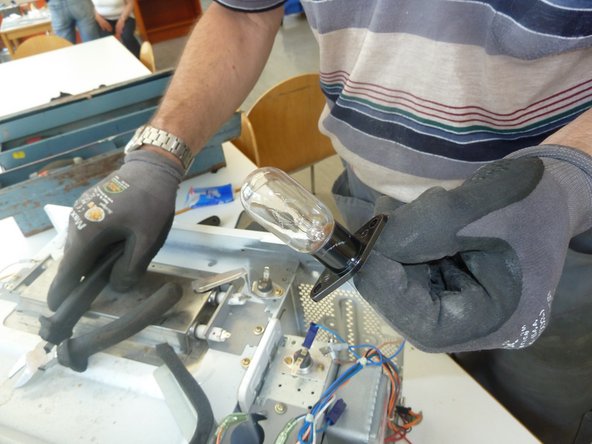
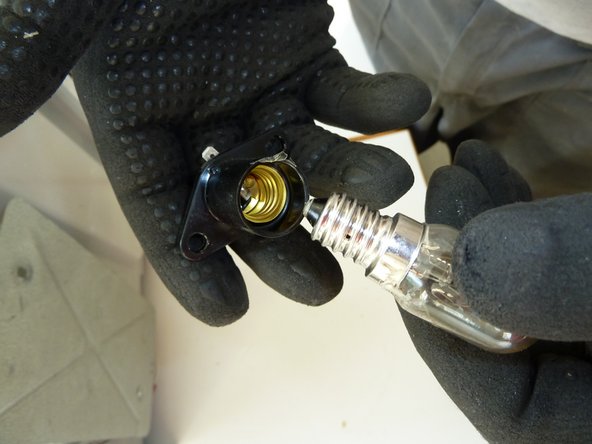
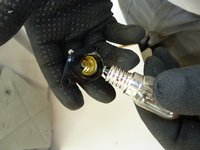
      • Take out the lamp and screw it out of its socket.

      Add Comment

    8. Microwave: step 8, image 1 of 3 Microwave: step 8, image 2 of 3 Microwave: step 8, image 3 of 3
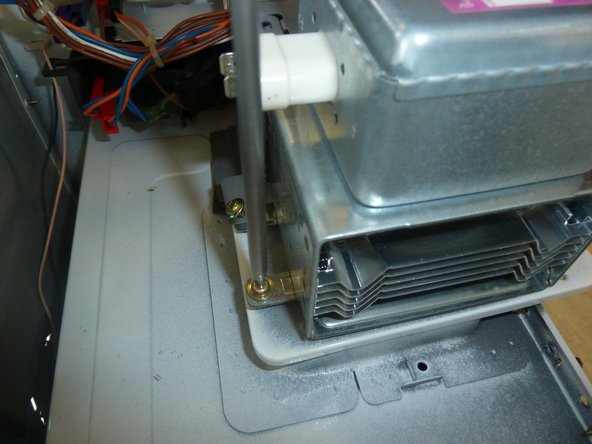
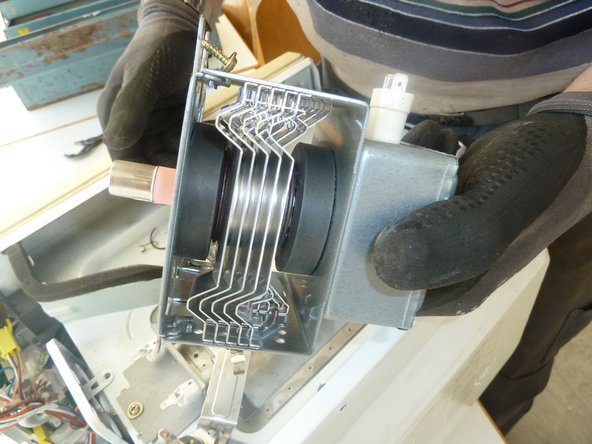
      • Unplug or cut the motor cables.

      • Unscrew the motor.

      • Remove the motor.

      Add Comment

    9. Microwave: step 9, image 1 of 3 Microwave: step 9, image 2 of 3 Microwave: step 9, image 3 of 3
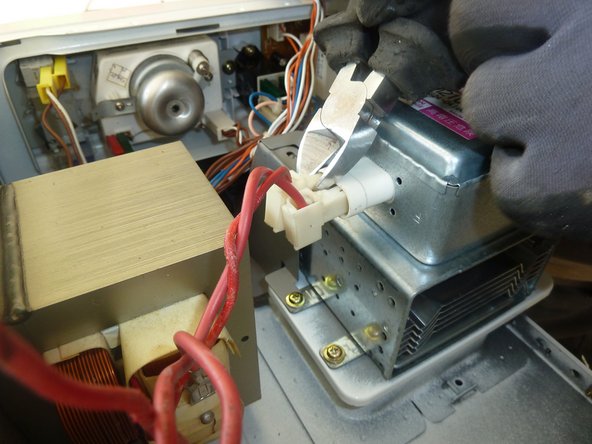
      • Cut the cables of the coil.

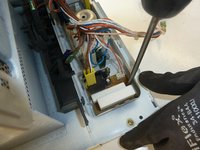
      • Unscrew the PWB.

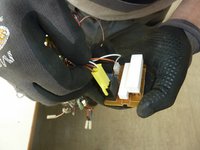
      • Unplug the cables from the PWB.

      Add Comment

    10. Microwave: step 10, image 1 of 3 Microwave: step 10, image 2 of 3 Microwave: step 10, image 3 of 3
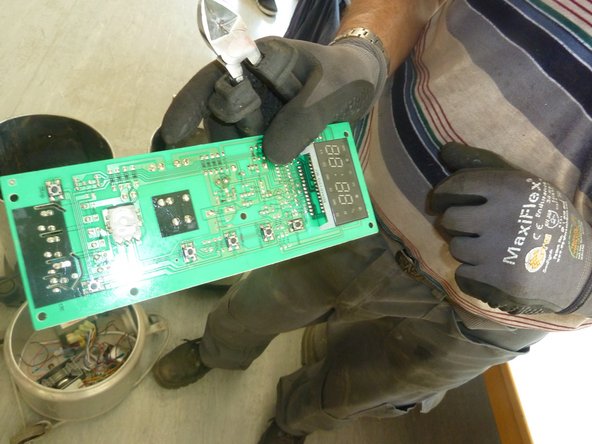
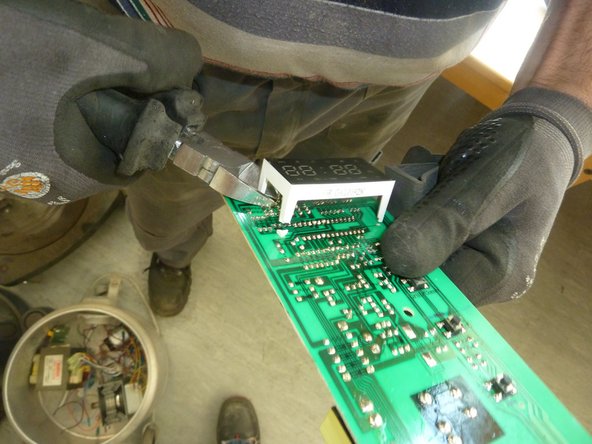
      • Take out the controller PCB.

      • Remove the display.

      • Make sure the plastic parts are completely free of metal pieces.

      Add Comment

Finish Line

Cancel: I did not complete this guide.

Tobias Isakeit

Member since: 03/15/18

21 Guides authored

0 Guide Comments

Add Comment

View Statistics:

Past 24 Hours: 0

Past 7 Days: 2

Past 30 Days: 6

All Time: 113