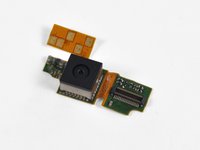
Motorola Droid Camera Assembly Replacement

What you need

    1. Motorola Droid Camera Assembly Replacement, Motorola Droid Camera Assembly Replacement: step 1, image 1 of 3 Motorola Droid Camera Assembly Replacement, Motorola Droid Camera Assembly Replacement: step 1, image 2 of 3 Motorola Droid Camera Assembly Replacement, Motorola Droid Camera Assembly Replacement: step 1, image 3 of 3
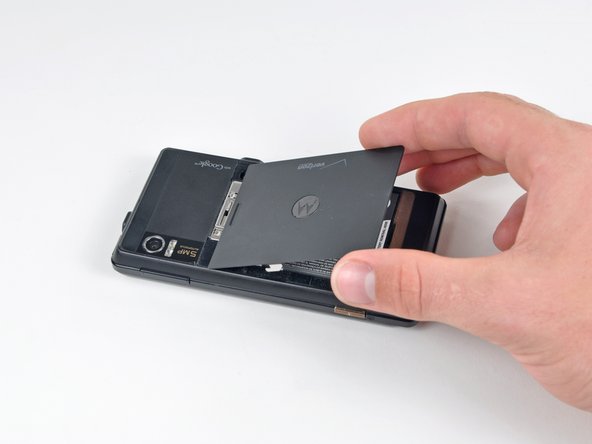
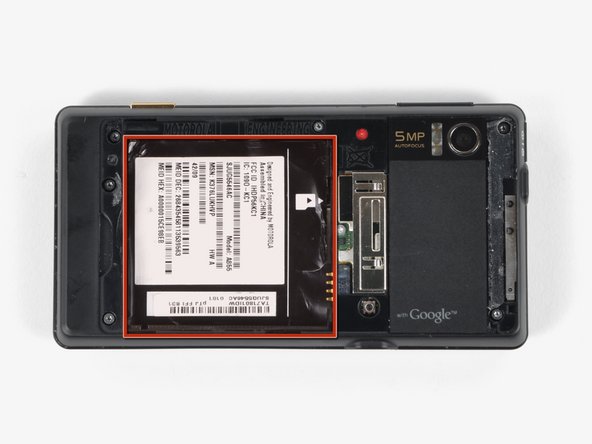
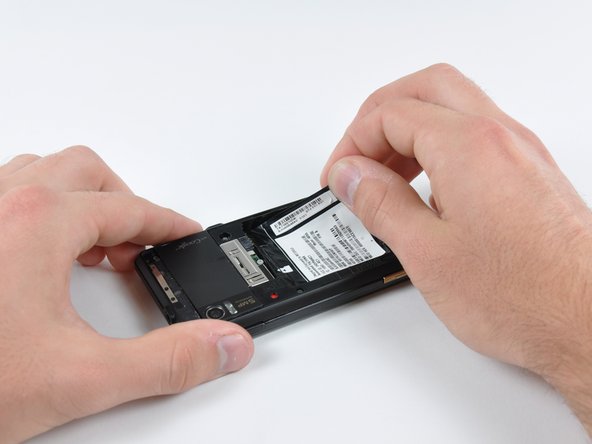
      • Slide the battery cover downwards while applying pressure to the center of the battery cover with your thumb.

      • Lift and remove the battery cover out from the phone.

      Add Comment

    2. Motorola Droid Camera Assembly Replacement: step 2, image 1 of 1
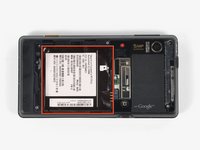
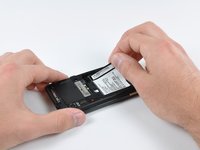
      • Grasp the upper left corner of the battery and lift it out of its housing.

      Add Comment

    3. Motorola Droid Camera Assembly Replacement: step 3, image 1 of 1
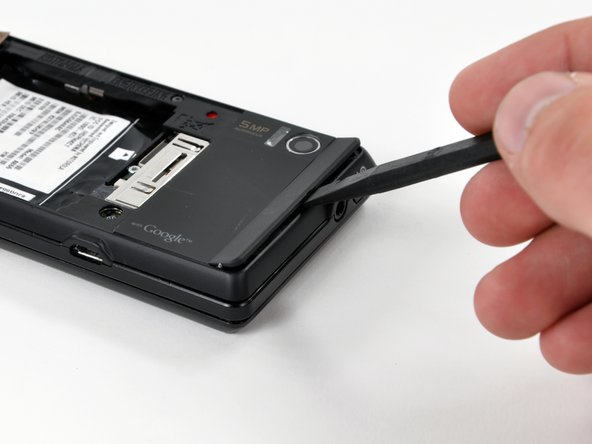
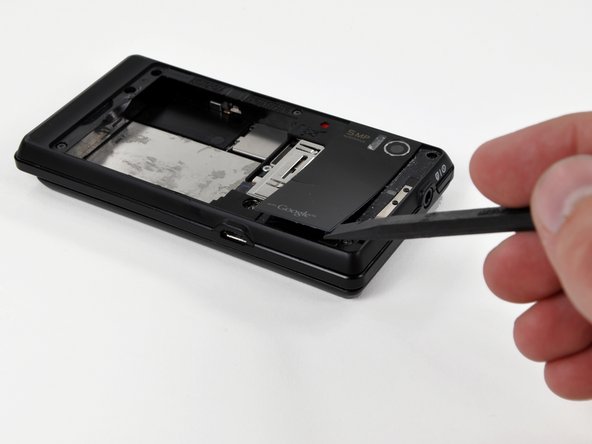
      • Use a spudger to lift and remove the black plastic screw cover at the top of the phone near the camera.

      • The cover is attached by adhesive, so some force may be required.

      Add Comment

    4. Motorola Droid Camera Assembly Replacement: step 4, image 1 of 2 Motorola Droid Camera Assembly Replacement: step 4, image 2 of 2
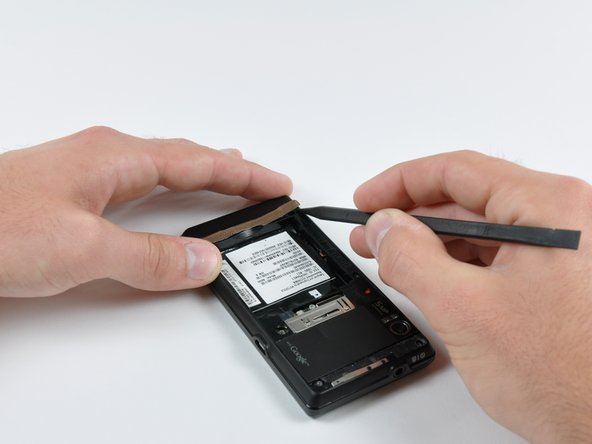
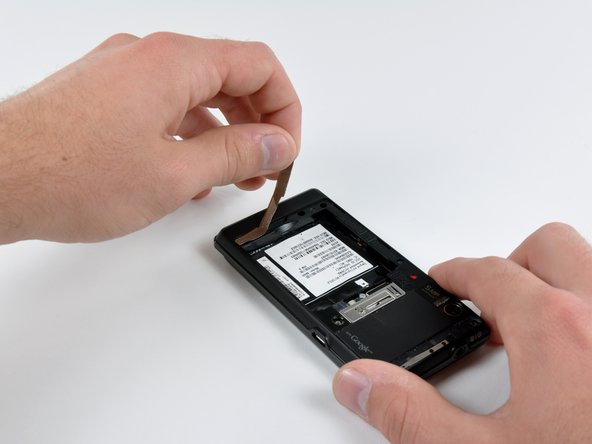
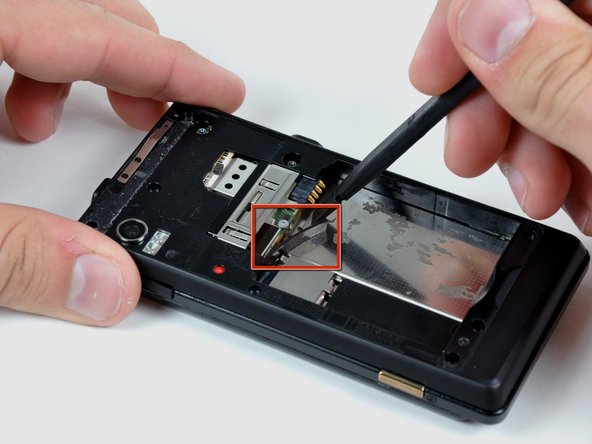
      • Using the tip of a spudger, peel up one corner of the gold ribbon beneath the battery compartment.

      • Peel the ribbon up off the phone.

      Add Comment

    5. Motorola Droid Camera Assembly Replacement: step 5, image 1 of 2 Motorola Droid Camera Assembly Replacement: step 5, image 2 of 2
      • Carefully peel the device information label that covers the motherboard EMI shields.

      • This label contains important information specific to the phone. Remove it with care and keep it in a safe place.

      Add Comment

    6. Motorola Droid Camera Assembly Replacement: step 6, image 1 of 1
      • Insert the flat end of a spudger and pry the plastic camera cover up off the phone.

      • The thin plastic cover is attached to the phone with an adhesive. Work slowly and carefully.

      Add Comment

    7. Motorola Droid Camera Assembly Replacement: step 7, image 1 of 1
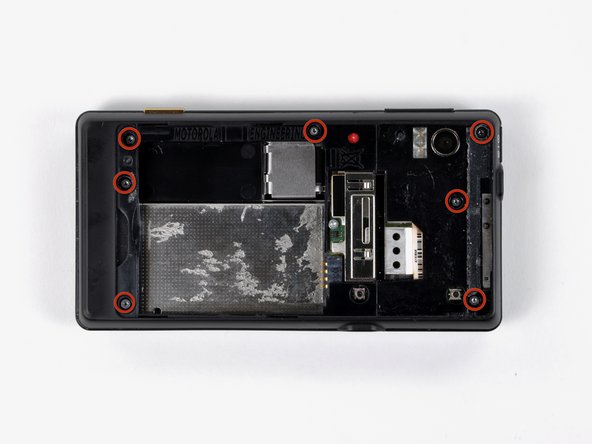
      • Remove the seven 5.5 mm T5 Torx screws securing the rear case to the inner case.

      Add Comment

    8. Motorola Droid Camera Assembly Replacement: step 8, image 1 of 1
      • Insert the flat end of a spudger and pry downwards to release the plastic tab holding the rear case to the motherboard screw.

      Add Comment

    9. Motorola Droid Camera Assembly Replacement: step 9, image 1 of 1
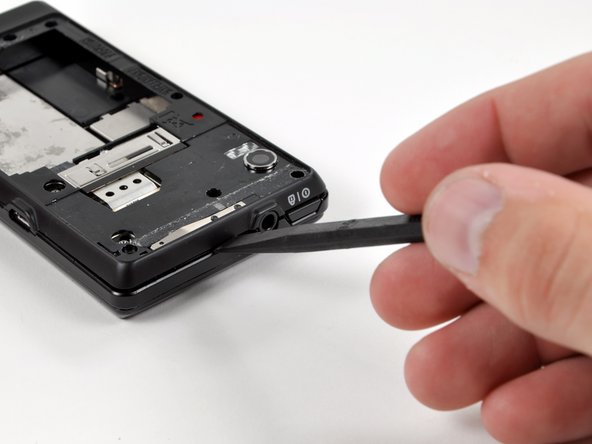
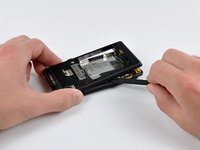
      • Gently insert a spudger between the rear case and front case at the top of the phone, near the audio jack.

      • Carefully pry the top edge of the rear case up from the rest of the phone.

      Add Comment

    10. Motorola Droid Camera Assembly Replacement: step 10, image 1 of 2 Motorola Droid Camera Assembly Replacement: step 10, image 2 of 2
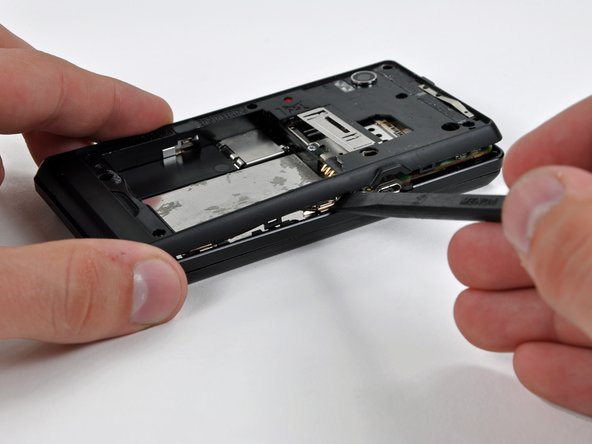
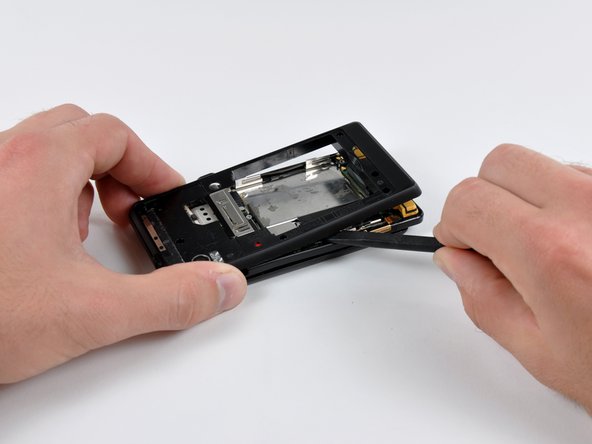
      • With the spudger still inserted between the rear case and front case, slide the spudger along the right edge of the device, moving toward the bottom, prying as you go.

      • Continue prying along the bottom edge of the device from right to left, freeing it from the front panel.

      Add Comment

    11. Motorola Droid Camera Assembly Replacement: step 11, image 1 of 2 Motorola Droid Camera Assembly Replacement: step 11, image 2 of 2
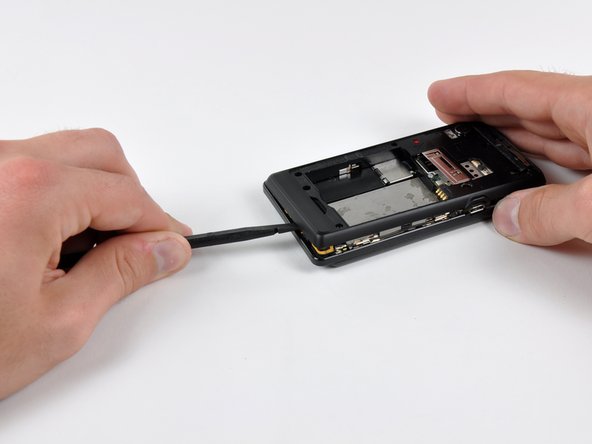
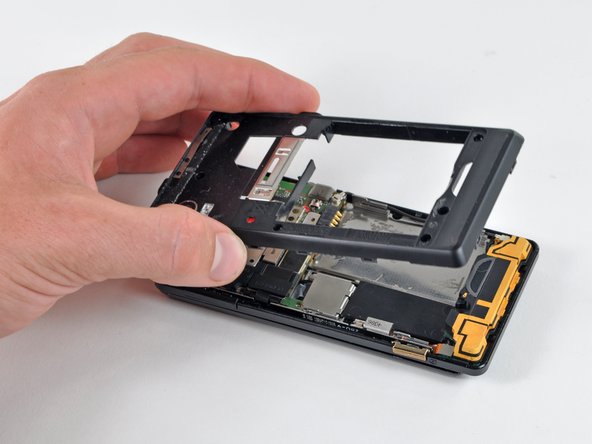
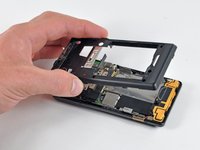
      • Continue prying the rear case from the front case along the left side, moving from bottom to top.

      • Lift the rear case up out of the phone.

      Add Comment

    12. Motorola Droid Camera Assembly Replacement: step 12, image 1 of 1
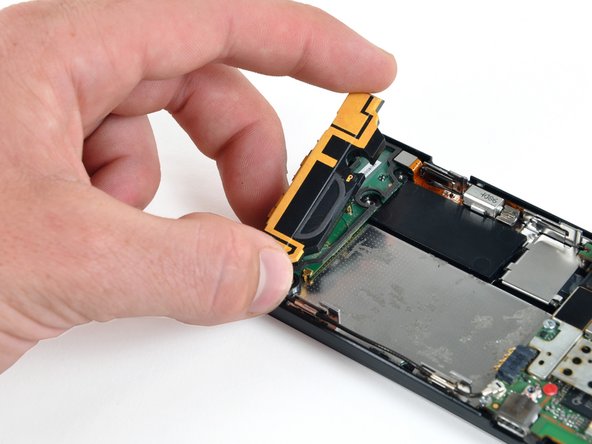
      • Carefully lift and remove the speaker assembly up out of the phone.

      Add Comment

    13. Motorola Droid Camera Assembly Replacement: step 13, image 1 of 3 Motorola Droid Camera Assembly Replacement: step 13, image 2 of 3 Motorola Droid Camera Assembly Replacement: step 13, image 3 of 3
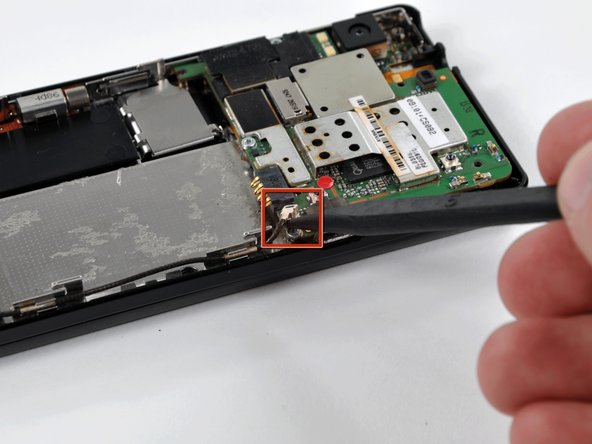
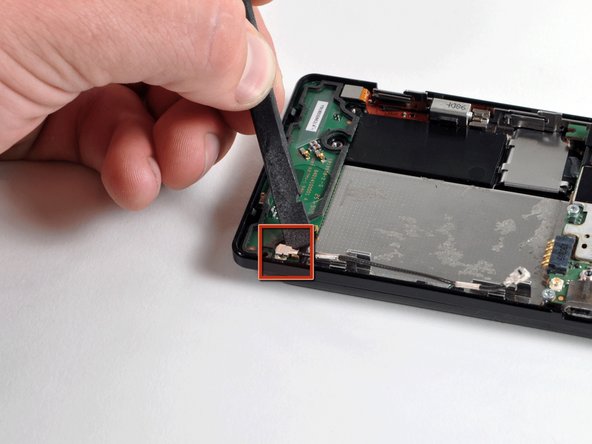
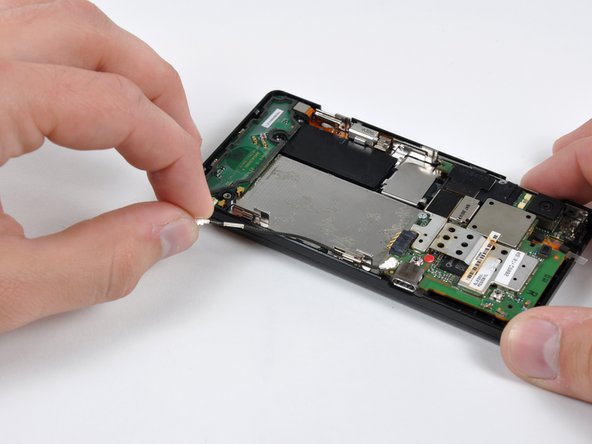
      • Use a spudger to pry the antenna cable connectors from their respective sockets on the motherboard and the speaker/antenna board.

      • De-route the antenna cable by pulling it out of the metal clips along the side of the front case.

      Add Comment

    14. Motorola Droid Camera Assembly Replacement: step 14, image 1 of 1
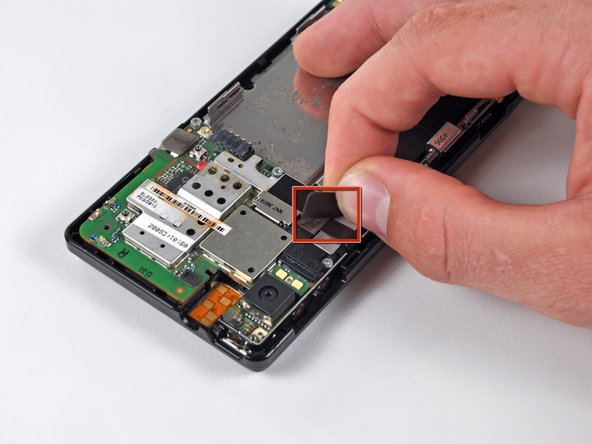
      • Peel the black tape covering the side button and display ribbon connectors on the motherboard.

      Add Comment

    15. Motorola Droid Camera Assembly Replacement: step 15, image 1 of 1
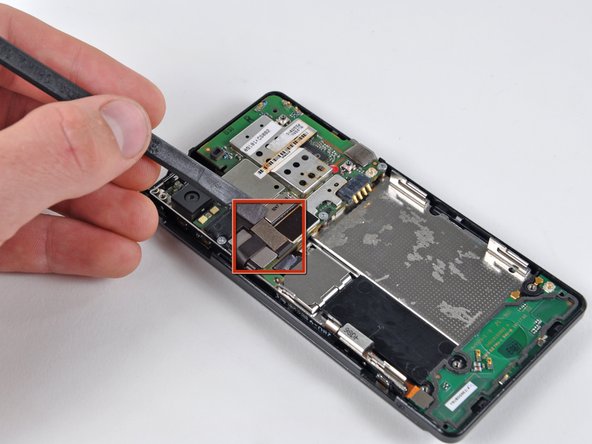
      • Disconnect the power button/volume button connector from its socket on the motherboard using the flat end of a spudger.

      Add Comment

    16. Motorola Droid Camera Assembly Replacement: step 16, image 1 of 1
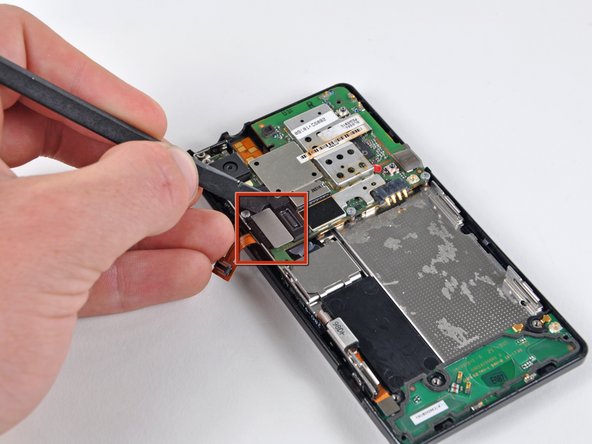
      • Disconnect the display ribbon connector from its socket on the motherboard using the flat end of a spudger.

      Add Comment

    17. Motorola Droid Camera Assembly Replacement: step 17, image 1 of 1
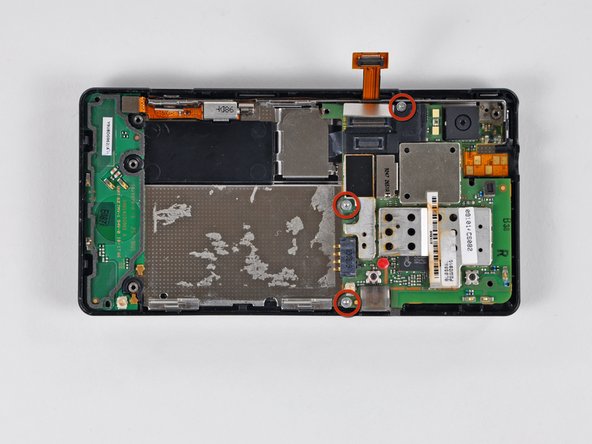
      • Remove three 3.8 mm T5 Torx screws securing the motherboard to the front case.

      • Don't attempt to remove the motherboard yet, it is still attached by the keypad ribbon connector.

      Add Comment

    18. Motorola Droid Camera Assembly Replacement: step 18, image 1 of 2 Motorola Droid Camera Assembly Replacement: step 18, image 2 of 2
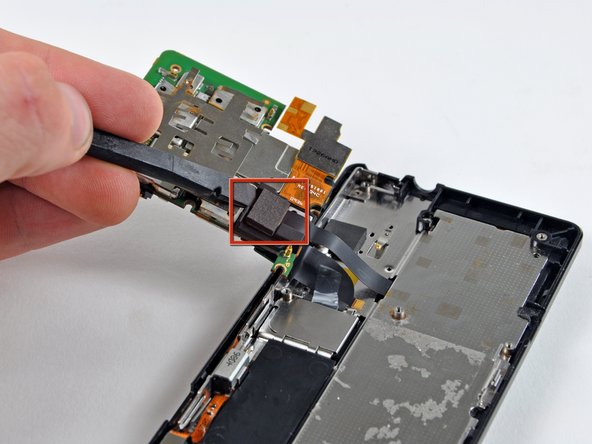
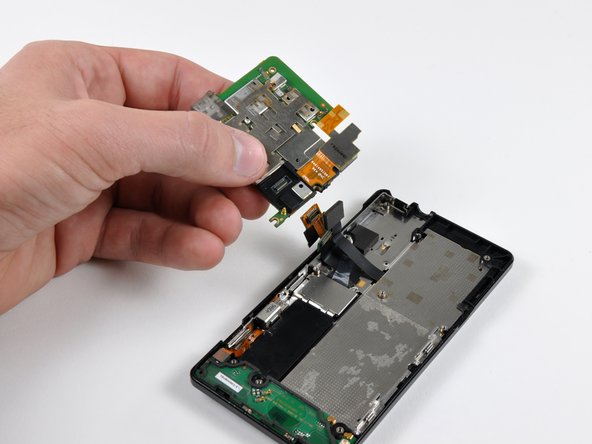
      • Carefully lift the motherboard from the front case and lay it next to the Droid, minding the keypad connector that is still attached.

      • Disconnect the keypad connector by prying it straight up off its socket on the motherboard.

      • Remove the motherboard from the phone.

      Add Comment

    19. Motorola Droid Camera Assembly Replacement: step 19, image 1 of 2 Motorola Droid Camera Assembly Replacement: step 19, image 2 of 2
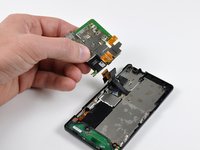
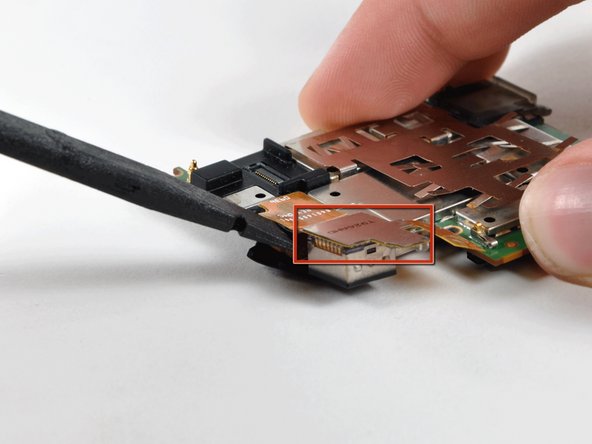
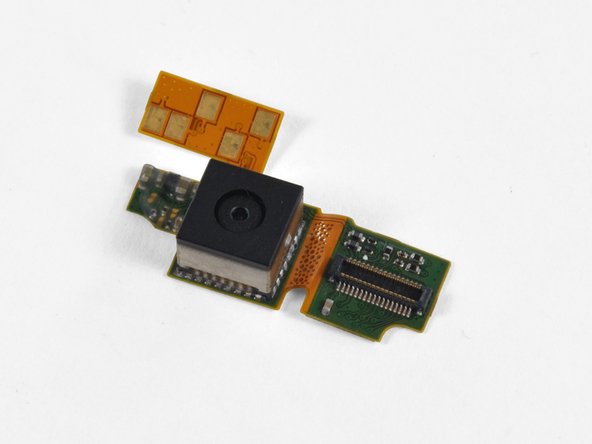
      • Orient the motherboard so that the camera lens is face down.

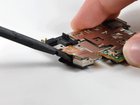
      • Disconnect the camera connector from its socket by prying it straight up with a spudger.

      • Remove the camera assembly.

      Add Comment

Conclusion

To reassemble your device, follow these instructions in reverse order.

Cancel: I did not complete this guide.

System

Member since: 09/24/09

2,562 Guides authored

0 Guide Comments

Add Comment

View Statistics:

Past 24 Hours: 0

Past 7 Days: 0

Past 30 Days: 0

All Time: 11