/

You're viewing a previously published version of this guide.  View latest version

Older Newer
Mouse

Mouse

nst

nst and 2 other contributors

Last updated on September 11, 2018

No estimate
Moderate

Introduction

Go to step 1

Source: Dismantling Guide for IT Equipment, which was elaborated within the SRI project and financially supported by SECO and UNIDO, June 2015

World Resources Forum (WRF)

Mathias Schluep, St. Gallen / Switzerland

Dismantling and Recycling Centre (DRZ)

Markus Spitzbart, Vienna / Austria

Institute for Materials Science & Technology (Empa)

Fabian Blaser, St. Gallen / Switzerland

Health and Safety

Dismantling mice is a simple task with no hazardous steps.

  1. Mouse, Mouse: step 1, image 1 of 2 Mouse, Mouse: step 1, image 2 of 2
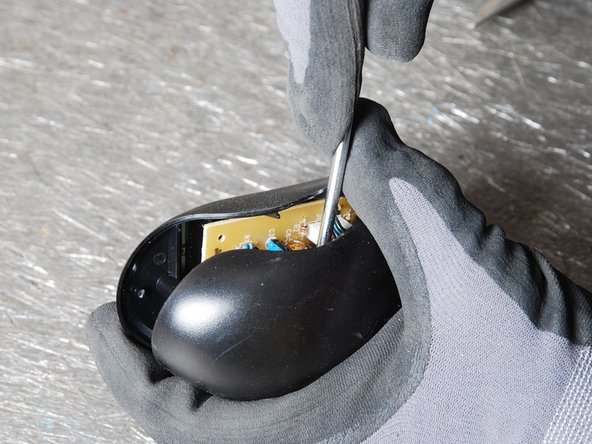
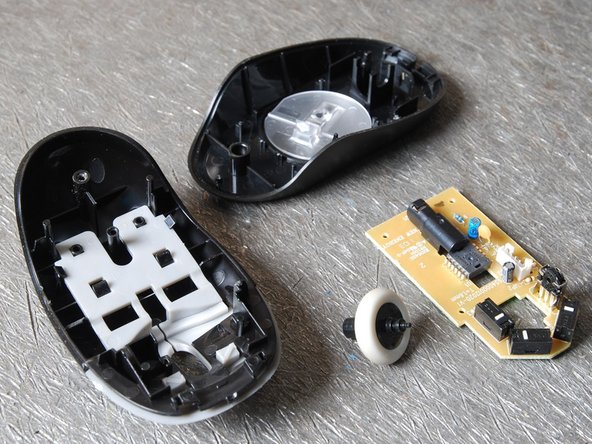
    • Dismantling a mouse is relatively simple. Firstly, cut the cable off. If the mouse has screws, unscrew them and pry the mouse open (the screws are often located below pads on the bottom).

    • If there are no screws, pry the casing open or break it apart.

  2. Mouse: step 2, image 1 of 1
    • Remove the printed wiring board and store it separately.

  3. Mouse: step 3, image 1 of 1
    • Separate all materials and introduce them into the adequate treatment.

    • Especially take care to remove all metal pieces as plastic should be perfectly clean for further recycling.

nst

Member since: 07/10/15

14 Guides authored

Team

iFixit EU Team Member of iFixit EU Team

7 Members

22 Guides authored

View Statistics:

Past 24 Hours: 0

Past 7 Days: 2

Past 30 Days: 2

All Time: 51