Nikon CoolPix S600 LCD Replacement

What you need

    1. Nikon CoolPix S600 LCD Replacement, Nikon CoolPix S600 LCD Replacement: step 1, image 1 of 1
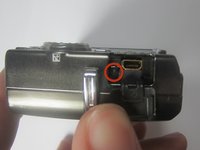
      • With the lens facing forward, remove the one 4.2 mm screw on the bottom right hand corner of the camera.

      Add Comment

    2. Nikon CoolPix S600 LCD Replacement: step 2, image 1 of 1
      • Remove the chrome side cover from the body of the camera.

      Add Comment

    3. Nikon CoolPix S600 LCD Replacement: step 3, image 1 of 1
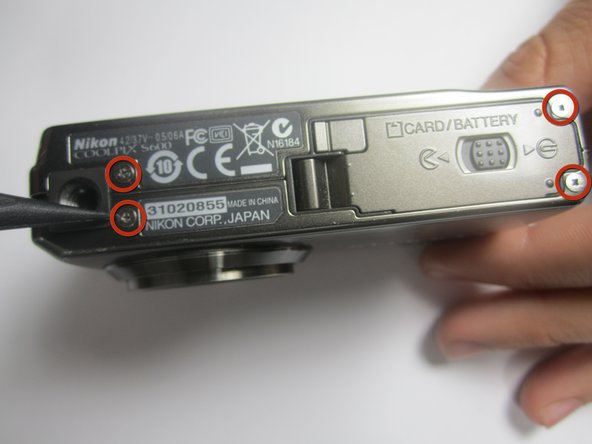
      • Remove the four 3.2 mm screws on the bottom of the camera.

      Add Comment

    4. Nikon CoolPix S600 LCD Replacement: step 4, image 1 of 2 Nikon CoolPix S600 LCD Replacement: step 4, image 2 of 2
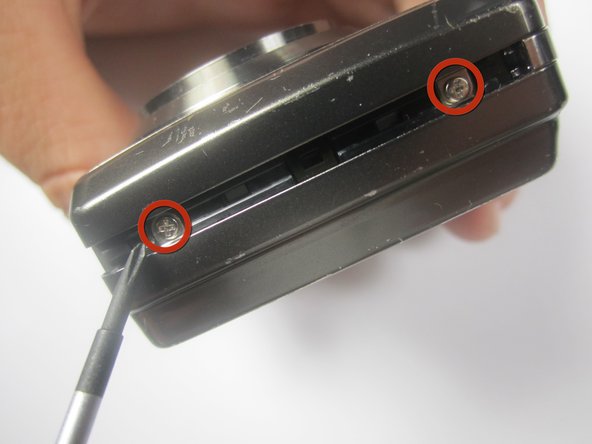
      • Remove the two 3.2 mm screws from the right side of the camera (with lens is facing forward)

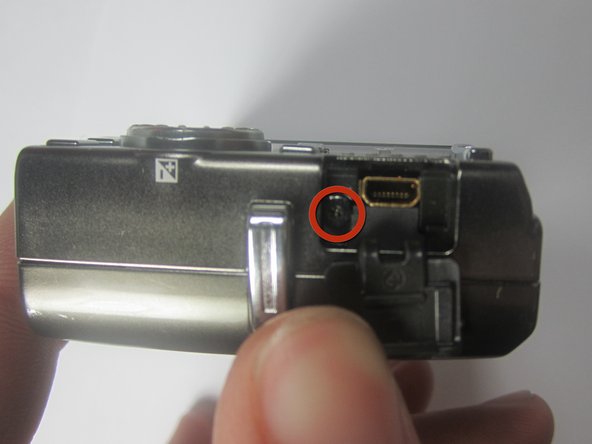
      • Remove the one 3.2 mm screw from the left side of the camera (with lens facing foward)

      Add Comment

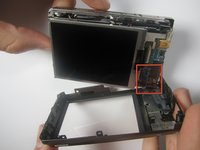
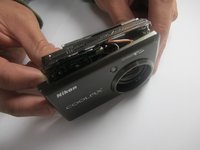
    5. Nikon CoolPix S600 LCD Replacement: step 5, image 1 of 2 Nikon CoolPix S600 LCD Replacement: step 5, image 2 of 2
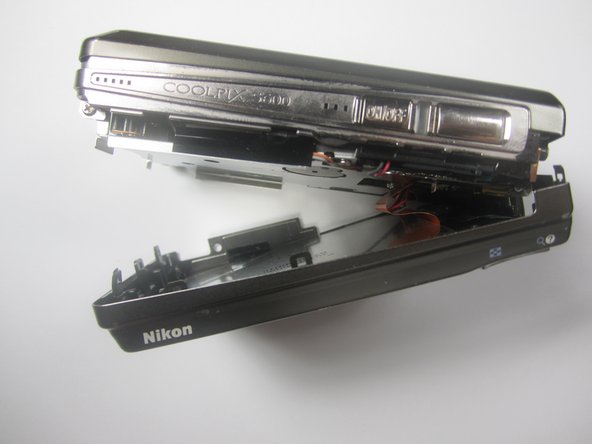
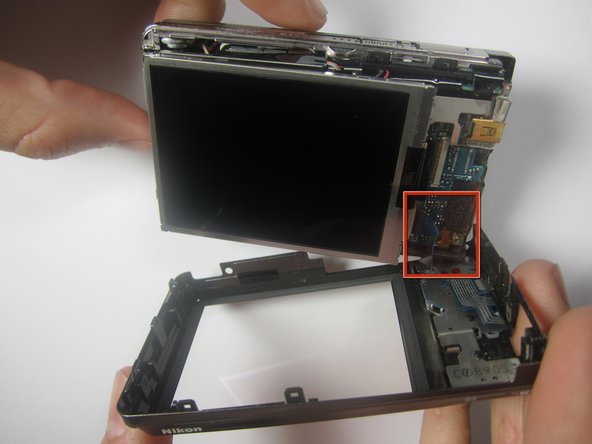
      • Gently separate the back cover from the body of the camera.

      • The back casing will still be connected to the circuit board by a ribbon

      Add Comment

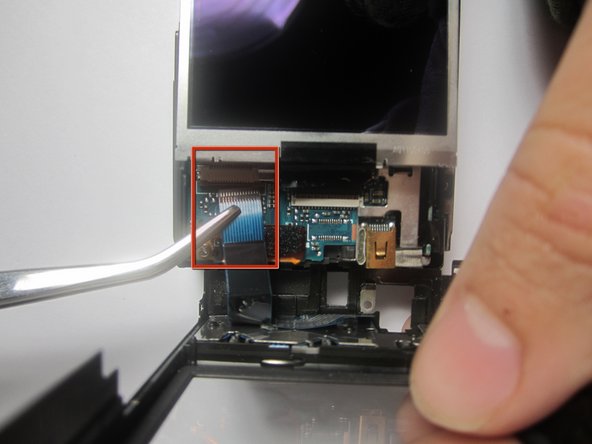
    6. Nikon CoolPix S600 LCD Replacement: step 6, image 1 of 1
      • Use the tweezers to disconnect the ribbon from the circuit board.

      Add Comment

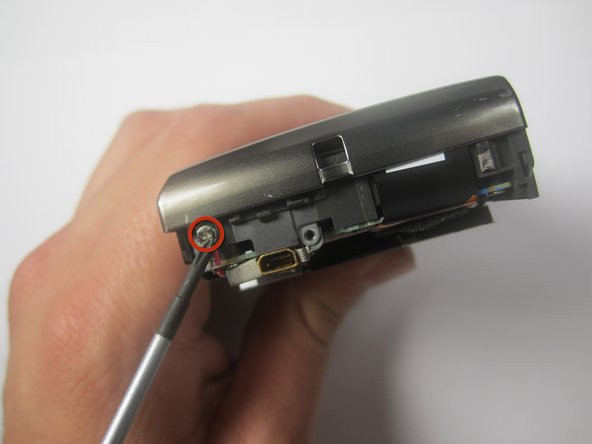
    7. Nikon CoolPix S600 LCD Replacement: step 7, image 1 of 1
      • Remove the one 2.6 mm screw from the left side of the camera (with the lens facing forward)

      Add Comment

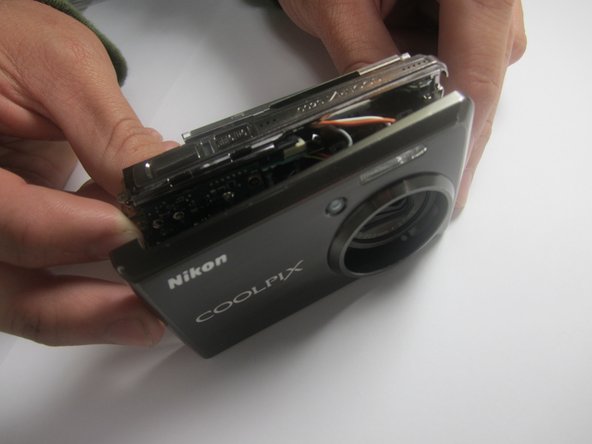
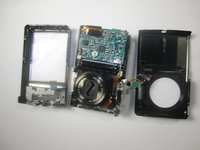
    8. Nikon CoolPix S600 LCD Replacement: step 8, image 1 of 2 Nikon CoolPix S600 LCD Replacement: step 8, image 2 of 2
      • Gently separate the front cover from the body of the camera.

      • The front casing will still be connected to the circuit board by a few wires

      Add Comment

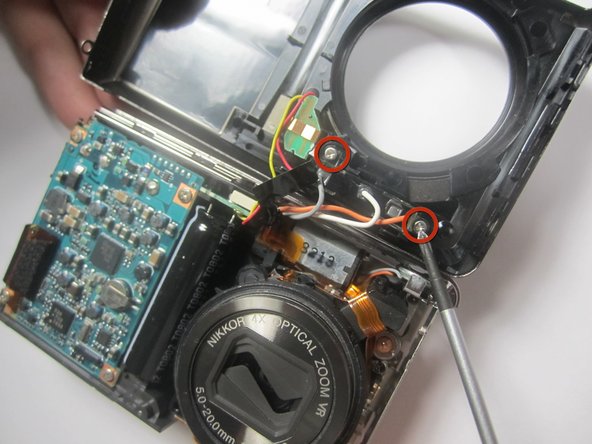
    9. Nikon CoolPix S600 LCD Replacement: step 9, image 1 of 1
      • Remove the two 3.2 mm screws that hold the flash to the front cover.

      Add Comment

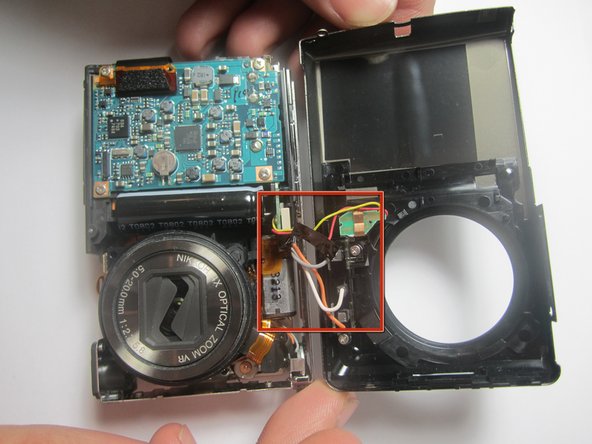
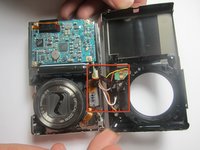
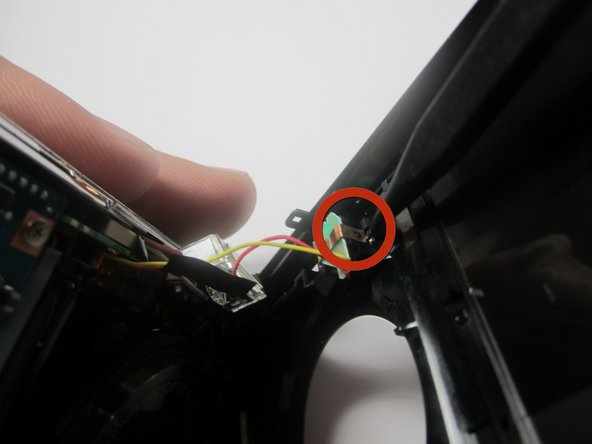
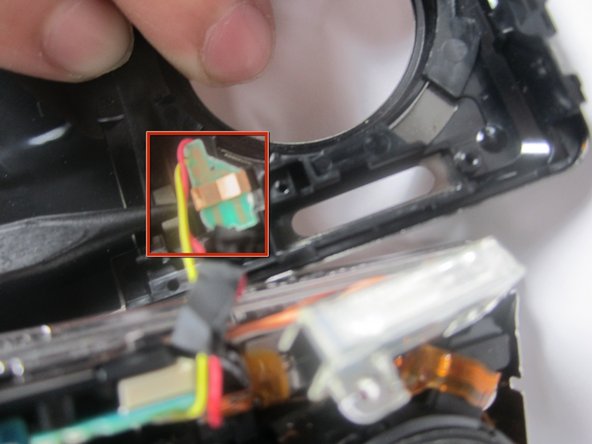
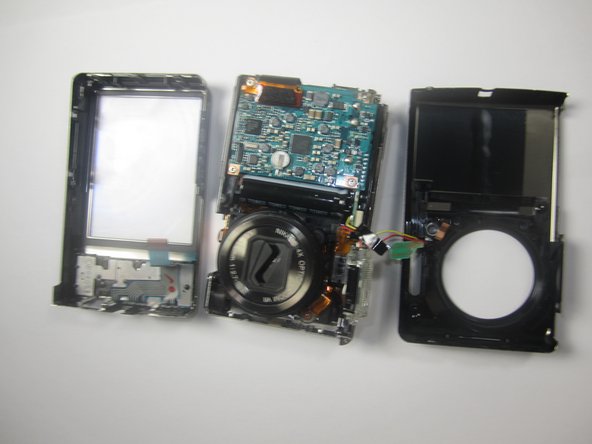
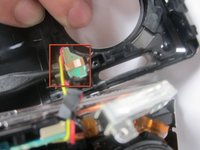
    10. Nikon CoolPix S600 LCD Replacement: step 10, image 1 of 3 Nikon CoolPix S600 LCD Replacement: step 10, image 2 of 3 Nikon CoolPix S600 LCD Replacement: step 10, image 3 of 3
      • Use the Spudger to remove the copper colored light bulb clip.

      • Remove the front cover entierly from the camera body.

      Add Comment

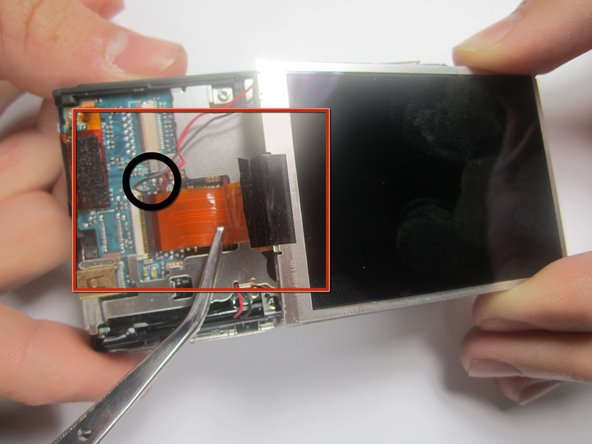
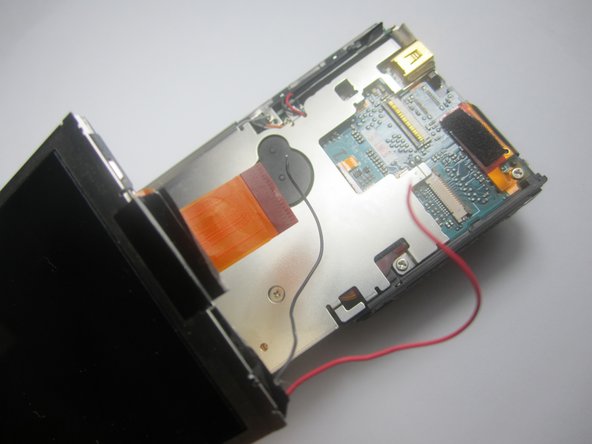
    11. Nikon CoolPix S600 LCD Replacement: step 11, image 1 of 1
      • Gently remove LCD ribbon from the mother board

      • The screen will still be connected to the mother board by two very small wires (black & red)

      Add Comment

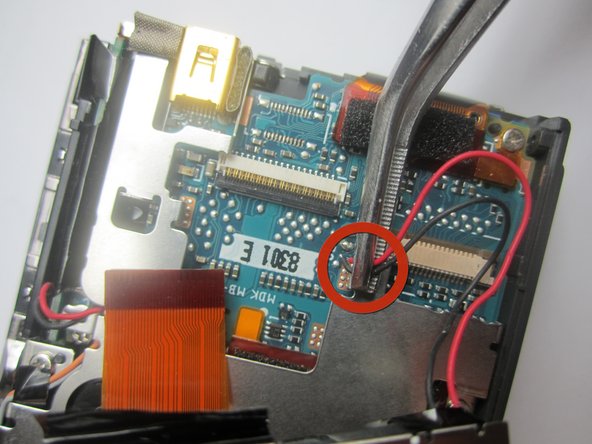
    12. Nikon CoolPix S600 LCD Replacement: step 12, image 1 of 1
      • Desolder both wires from the mother board.

      • Refer to iFixit's solder/desoldering guide for the correct procedure to desolder the connection.

      Add Comment

    13. Nikon CoolPix S600 LCD Replacement: step 13, image 1 of 1
      • Separate the LCD screen from the rest of the mother board

      Add Comment

Conclusion

To reassemble your device, follow these instructions in reverse order.

Cancel: I did not complete this guide.

System

Member since: 09/24/09

2,562 Guides authored

0 Guide Comments

Add Comment

View Statistics:

Past 24 Hours: 0

Past 7 Days: 0

Past 30 Days: 0

All Time: 15