Nikon Coolpix E5700 Rear LCD Replacement

What you need

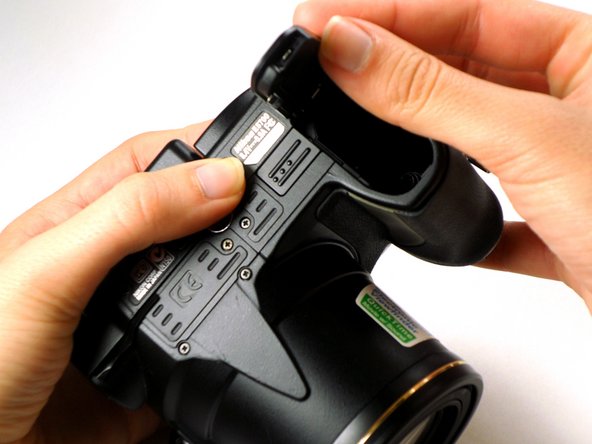
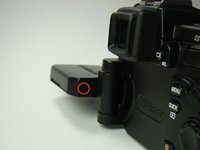
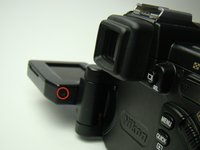
    1. Nikon Coolpix E5700 Rear LCD Replacement, Nikon Coolpix E5700 Rear LCD Replacement: step 1, image 1 of 2 Nikon Coolpix E5700 Rear LCD Replacement, Nikon Coolpix E5700 Rear LCD Replacement: step 1, image 2 of 2
      • Use your finger tip to slide the battery release tab toward the battery symbol on the E5700.

      • Open the battery door.

      Add Comment

    2. Nikon Coolpix E5700 Rear LCD Replacement: step 2, image 1 of 1
      • Pull the battery out of the E5700.

      • It may be necessary to wiggle the battery while pulling to free it from its pocket in the case.

      Add Comment

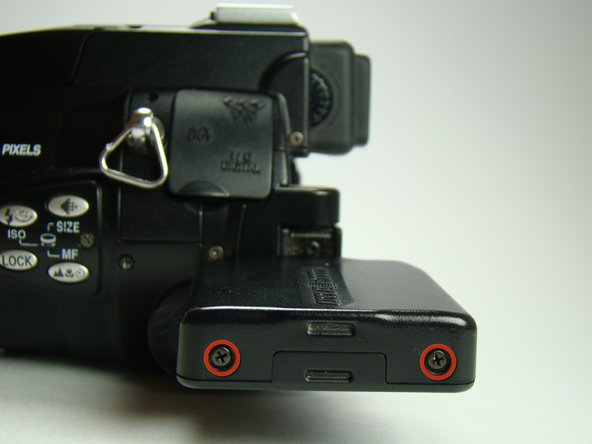
    3. Nikon Coolpix E5700 Rear LCD Replacement: step 3, image 1 of 1
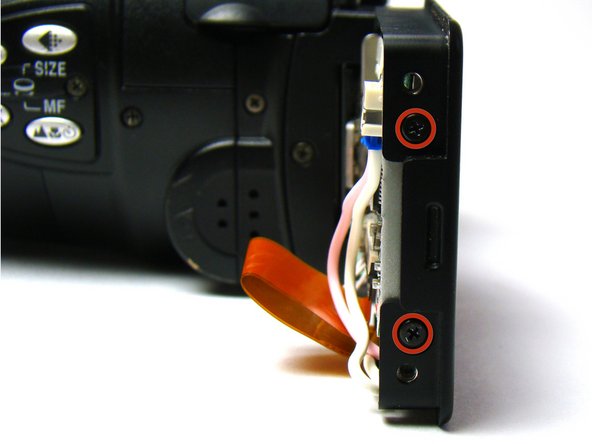
      • Remove two Phillips screws (3.4 mm) located on the left side of the screen.

      Add Comment

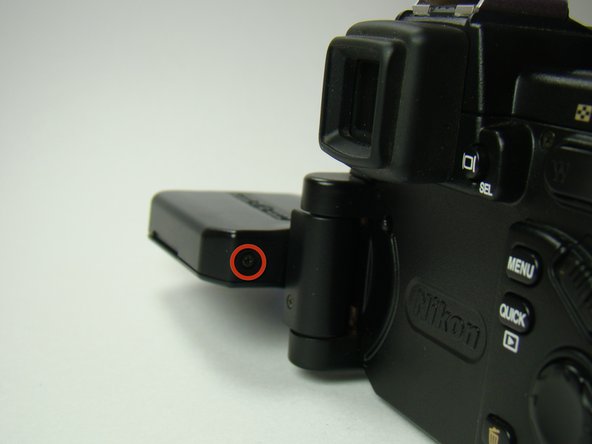
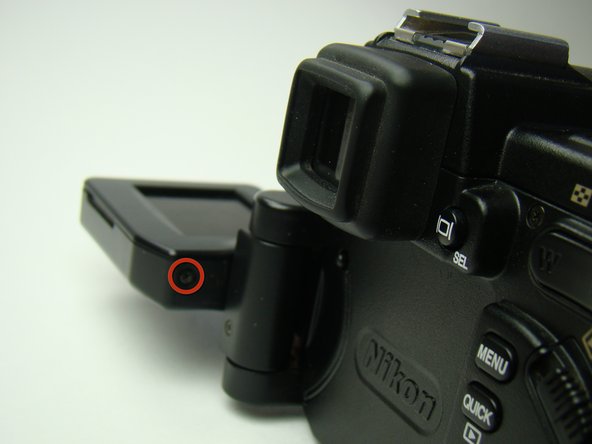
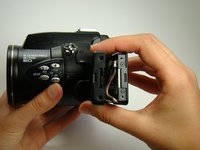
    4. Nikon Coolpix E5700 Rear LCD Replacement: step 4, image 1 of 2 Nikon Coolpix E5700 Rear LCD Replacement: step 4, image 2 of 2
      • Remove two Phillips screws (3.4 mm) located on the right side of the screens.

      Add Comment

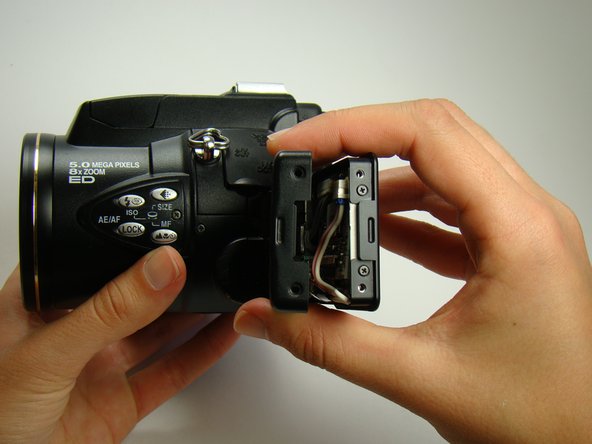
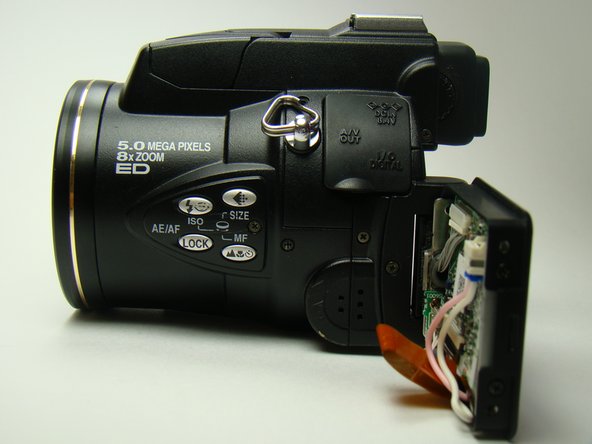
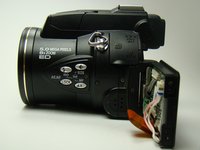
    5. Nikon Coolpix E5700 Rear LCD Replacement: step 5, image 1 of 2 Nikon Coolpix E5700 Rear LCD Replacement: step 5, image 2 of 2
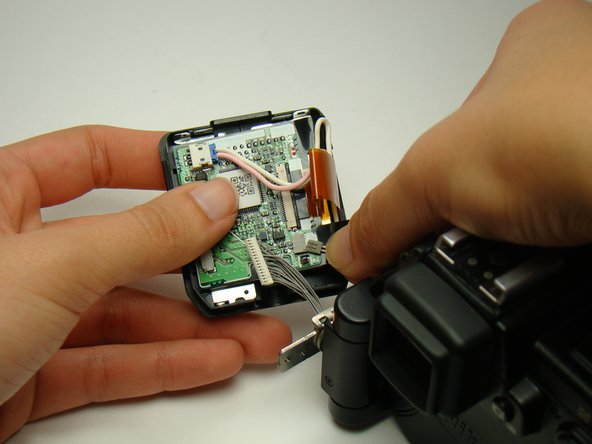
      • Remove back plastic monitor cover.

      Add Comment

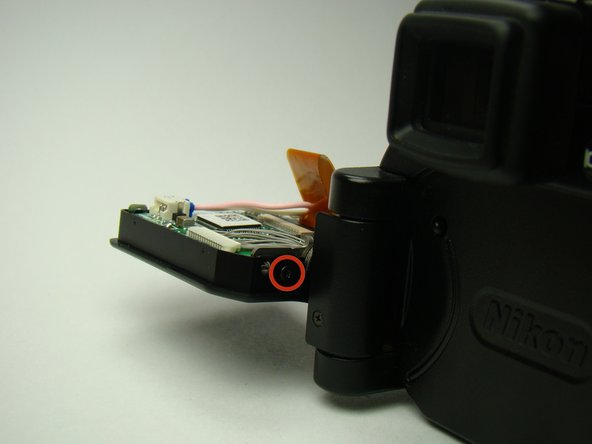
    6. Nikon Coolpix E5700 Rear LCD Replacement: step 6, image 1 of 1
      • Remove the Phillips screw on the top right side of the screen.

      Add Comment

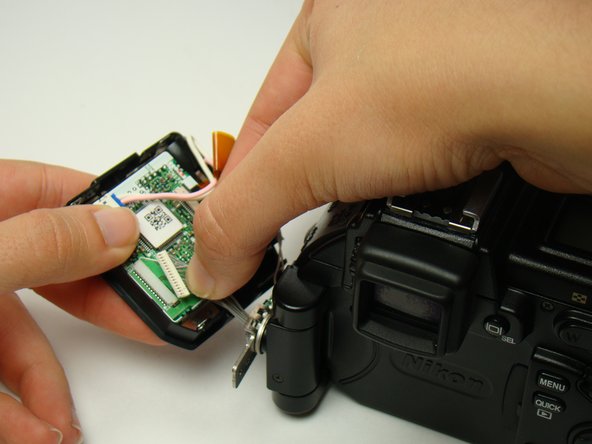
    7. Nikon Coolpix E5700 Rear LCD Replacement: step 7, image 1 of 1
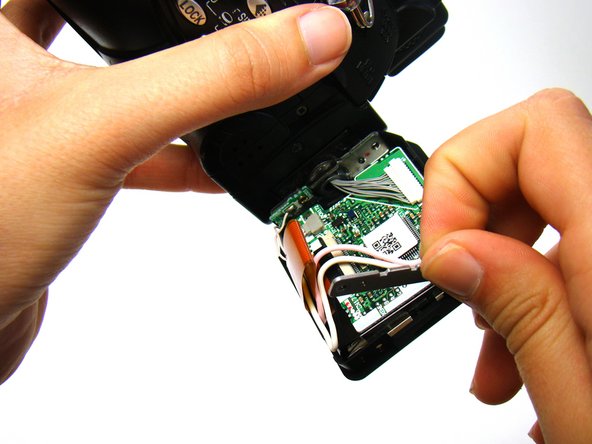
      • Carefully unplug the grey bundle of wires in the white housing.

      Add Comment

    8. Nikon Coolpix E5700 Rear LCD Replacement: step 8, image 1 of 1
      • Carefully unplug the small pink and wires in the grey housing.

      Add Comment

    9. Nikon Coolpix E5700 Rear LCD Replacement: step 9, image 1 of 1
      • Remove the two Phillips screws on the left side of the screen.

      Add Comment

    10. Nikon Coolpix E5700 Rear LCD Replacement: step 10, image 1 of 1
      • Remove the metal bar on the left side of the screen.

      • Remove the screen from the front plastic housing.

      Add Comment

Conclusion

To reassemble your device, follow these instructions in reverse order.

Cancel: I did not complete this guide.

System

Member since: 09/24/09

2,562 Guides authored

0 Guide Comments

Add Comment

View Statistics:

Past 24 Hours: 0

Past 7 Days: 0

Past 30 Days: 0

All Time: 11