Nintendo 3DS SD Board Replacement

What you need

    1. Nintendo 3DS SD Board Replacement, Nintendo 3DS SD Board Replacement: step 1, image 1 of 1
      • Unscrew the four Phillips #00 screws along the top of the back cover.

      • The screws are held in place by locking washers, and will not come out of the back cover.

      • The comments section is full of unlucky souls who will tell you that the screws here through step 4 will strip incredibly easily. Press down fairly hard, and go slow.

      Add Comment

    2. Nintendo 3DS SD Board Replacement: step 2, image 1 of 2 Nintendo 3DS SD Board Replacement: step 2, image 2 of 2
      • Hold the device in one hand and turn it over.

      • Grab the top edge of the back cover with your opposite hand so that the cover does not fall back into place.

      • Flip the 3DS over again so that the back cover is facing up.

      • Pull the back cover up and away from the rest of the device to remove it.

      Add Comment

    3. Nintendo 3DS SD Board Replacement: step 3, image 1 of 3 Nintendo 3DS SD Board Replacement: step 3, image 2 of 3 Nintendo 3DS SD Board Replacement: step 3, image 3 of 3
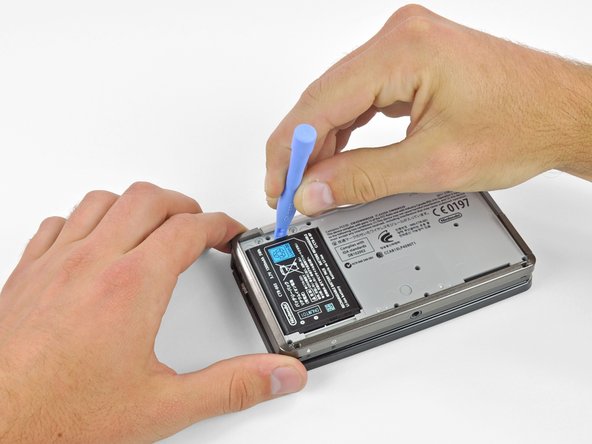
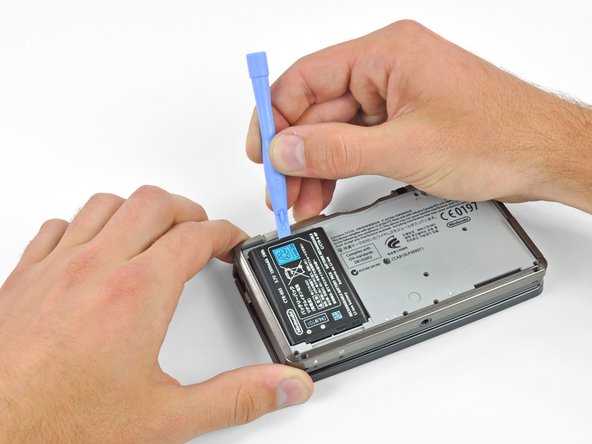
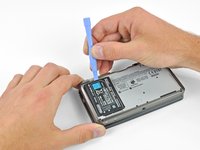
      • Insert a plastic opening tool into the notch in the lower case above the battery.

      • Pry the battery up with the plastic opening tool.

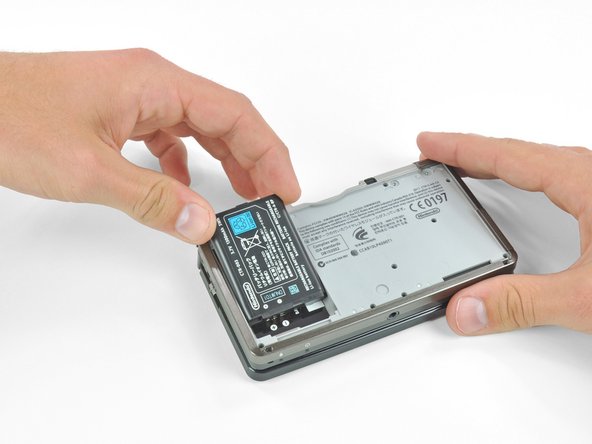
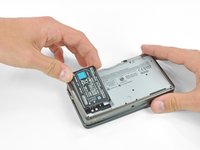
      • Grab the top edge of the battery and lift it out of the lower case.

      Add Comment

    4. Nintendo 3DS SD Board Replacement: step 4, image 1 of 1
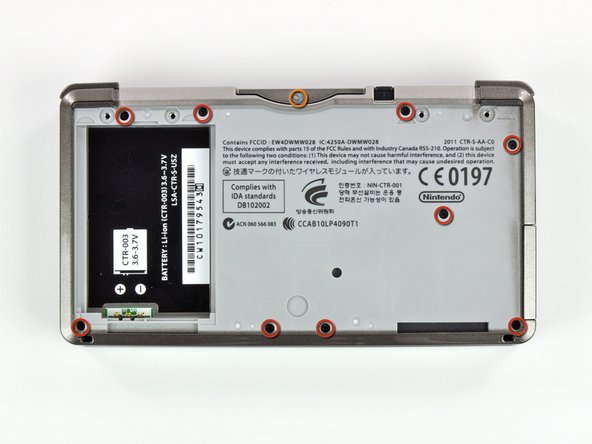
      • Remove the nine 6.3 mm black Phillips screws from the lower case.

      • Remove the 2.4 mm silver Phillips screw above the game cartridge slot.

      Add Comment

    5. Nintendo 3DS SD Board Replacement: step 5, image 1 of 3 Nintendo 3DS SD Board Replacement: step 5, image 2 of 3 Nintendo 3DS SD Board Replacement: step 5, image 3 of 3
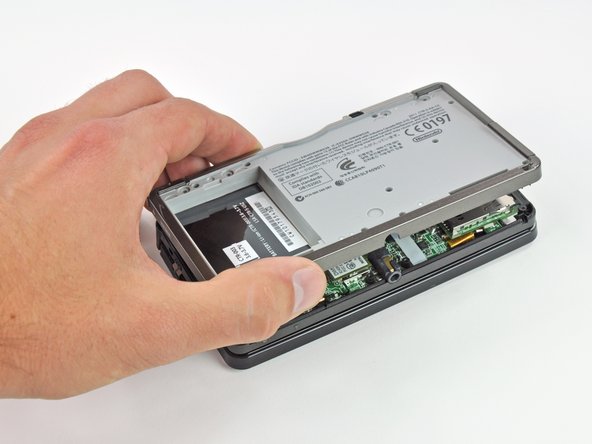
      • Lift the bottom edge of the lower case off the rest of the 3DS.

      • There are still two ribbon cables connecting the mother board to the case, so be sure not to pull the lower case all the way off.

      • Use a plastic opening tool to pry the shoulder button ribbon cables off their sockets on the motherboard.

      • Remove the lower case from the device.

      Add Comment

    6. Nintendo 3DS SD Board Replacement: step 6, image 1 of 1
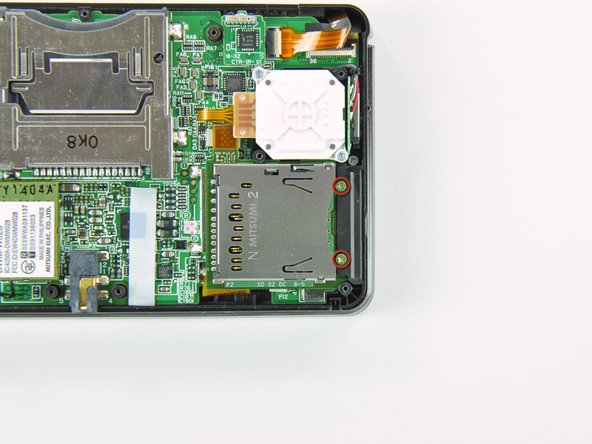
      • Remove the two 4.5 mm Phillips screws securing the SD board to the motherboard.

      Add Comment

    7. Nintendo 3DS SD Board Replacement: step 7, image 1 of 2 Nintendo 3DS SD Board Replacement: step 7, image 2 of 2
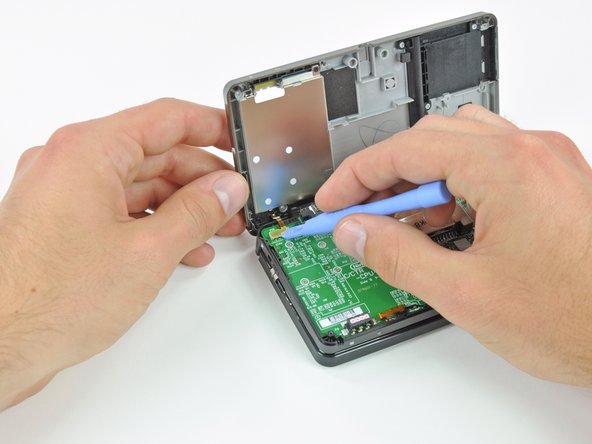
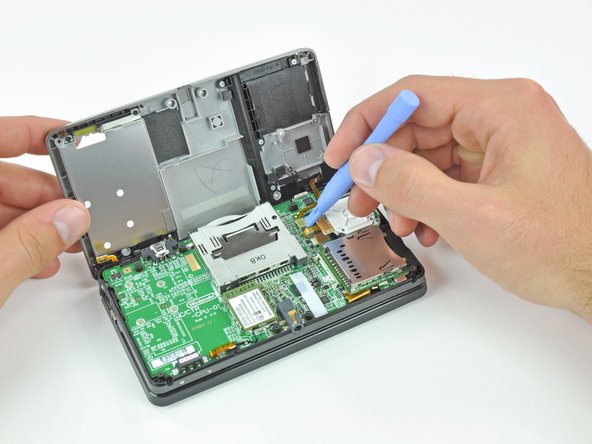
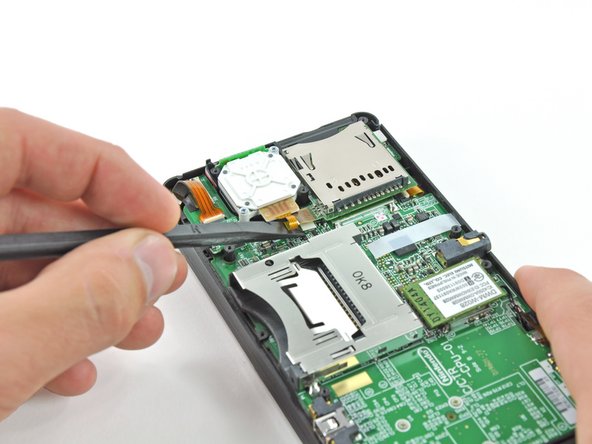
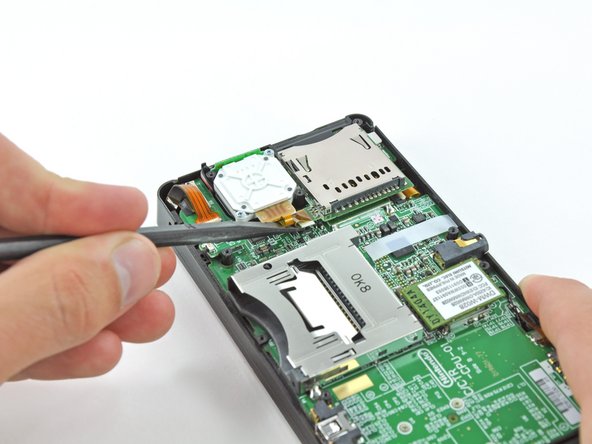
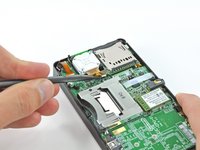
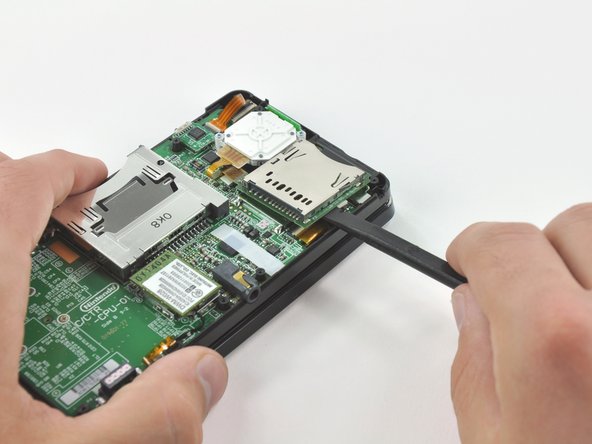
      • The connector for the SD board sits underneath the Circle Pad ribbon cable.

      • Use the flat end of a spudger to pry the SD board ribbon cable connector off its socket on the motherboard.

      Add Comment

    8. Nintendo 3DS SD Board Replacement: step 8, image 1 of 3 Nintendo 3DS SD Board Replacement: step 8, image 2 of 3 Nintendo 3DS SD Board Replacement: step 8, image 3 of 3
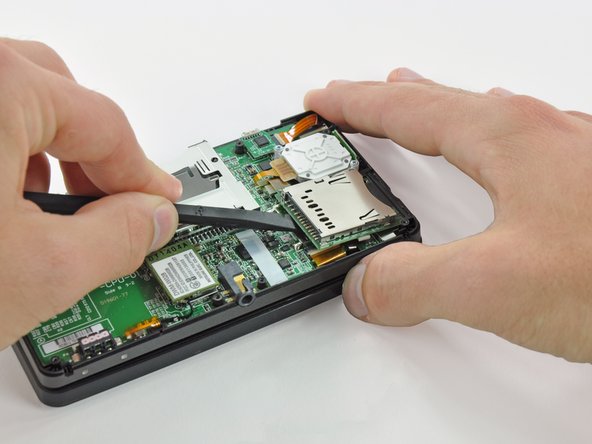
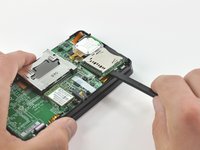
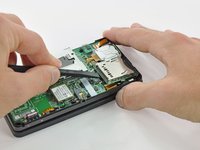
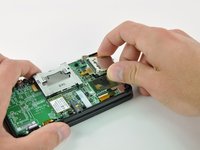
      • Insert the flat end of a spudger between the SD board and the motherboard.

      • Run the spudger along the sides of the SD board to free it from the adhesive pad holding it in place.

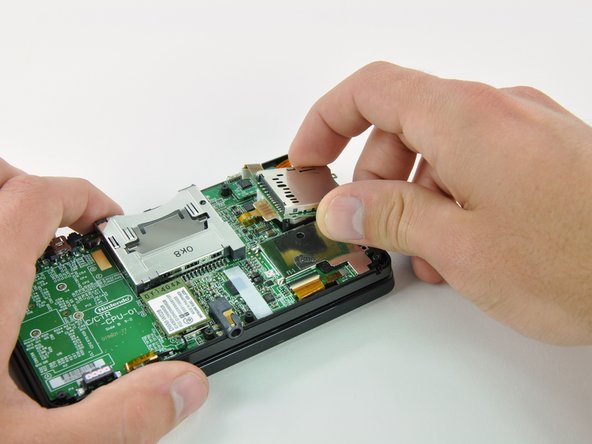
      • Once completely freed, lift the SD board straight off the motherboard.

      Add Comment

Conclusion

To reassemble your device, follow these instructions in reverse order.

Cancel: I did not complete this guide.

System

Member since: 09/24/09

2,562 Guides authored

0 Guide Comments

Add Comment

View Statistics:

Past 24 Hours: 0

Past 7 Days: 1

Past 30 Days: 3

All Time: 36