Nintendo DS Back Panel Replacement

What you need

    1. Nintendo DS Back Panel Replacement, Nintendo DS Back Panel Replacement: step 1, image 1 of 2 Nintendo DS Back Panel Replacement, Nintendo DS Back Panel Replacement: step 1, image 2 of 2
      • Remove the cartridge from the console.

      • Use a Phillips #00 Screwdriver to remove the screw securing the battery door to the rear case.

      • Remove the battery door.

      Add Comment

    2. Nintendo DS Back Panel Replacement: step 2, image 1 of 1
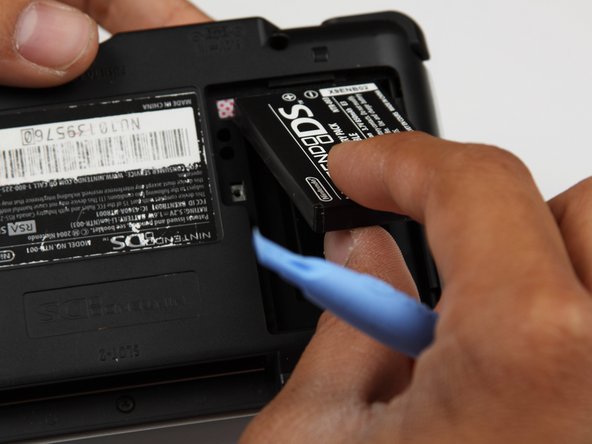
      • Use a plastic opening tool or spudger to pry out the battery from the bottom. If a plastic open tool or spudger isn't available, your fingernails may work.

      Add Comment

    3. Nintendo DS Back Panel Replacement: step 3, image 1 of 1
      • Remove the battery from the Nintendo DS.

      Add Comment

    4. Nintendo DS Back Panel Replacement: step 4, image 1 of 1
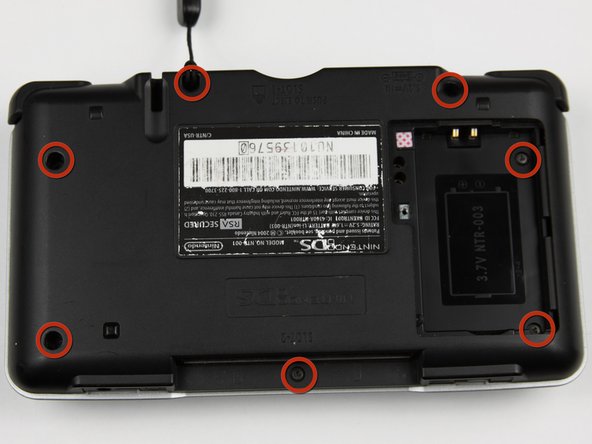
      • Remove the 7 Y0 screws located on the back.

      • It might be helpful to remove the strap from the hole to access the top left screw.

      Add Comment

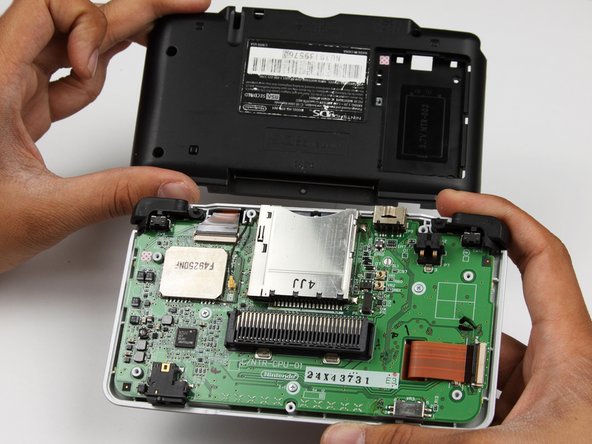
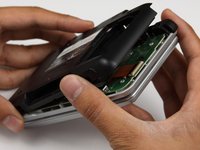
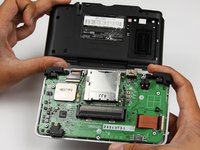
    5. Nintendo DS Back Panel Replacement: step 5, image 1 of 3 Nintendo DS Back Panel Replacement: step 5, image 2 of 3 Nintendo DS Back Panel Replacement: step 5, image 3 of 3
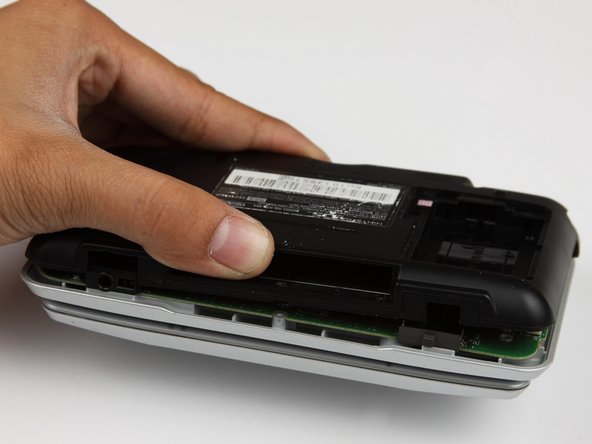
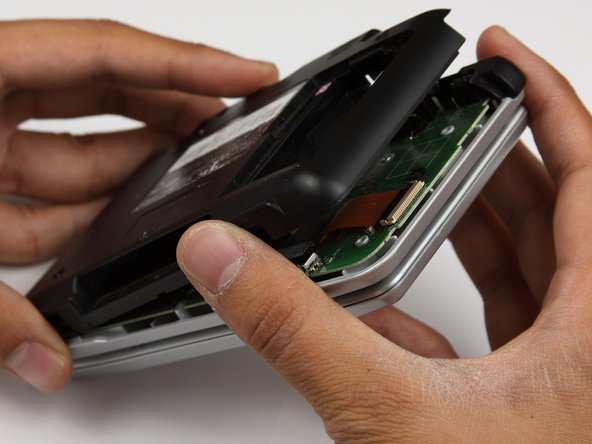
      • With your hands, pry the back panel off the main case.

      • Separate the back from the front, and set it aside.

      Add Comment

Conclusion

To reassemble your device, follow these instructions in reverse order.

Cancel: I did not complete this guide.

System

Member since: 09/24/09

2,562 Guides authored

0 Guide Comments

Add Comment

View Statistics:

Past 24 Hours: 0

Past 7 Days: 2

Past 30 Days: 5

All Time: 55