/

Nintendo DS Lite Power Switch Replacement

What you need

  1. Nintendo DS Lite Power Switch Replacement, Nintendo DS Lite Power Switch Replacement: step 1, image 1 of 2 Nintendo DS Lite Power Switch Replacement, Nintendo DS Lite Power Switch Replacement: step 1, image 2 of 2
    • Unscrew the Phillips screw securing the battery cover to the lower case.

    • The screw remains captive to the battery cover.

    • Pry the battery cover upward with a spudger or fingernail, and lift out of the lower case.

  2. Nintendo DS Lite Power Switch Replacement: step 2, image 1 of 1
    • Wedge the edge of a spudger in between the side of the battery and the lower case housing and pry upward to dislodge the battery.

    • Remove the battery from the DS Lite.

  3. Nintendo DS Lite Power Switch Replacement: step 3, image 1 of 2 Nintendo DS Lite Power Switch Replacement: step 3, image 2 of 2
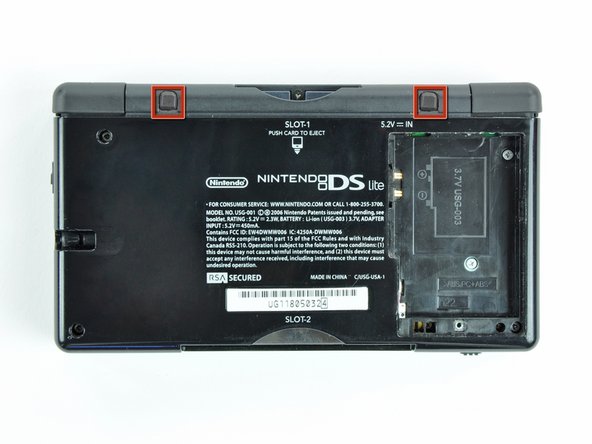
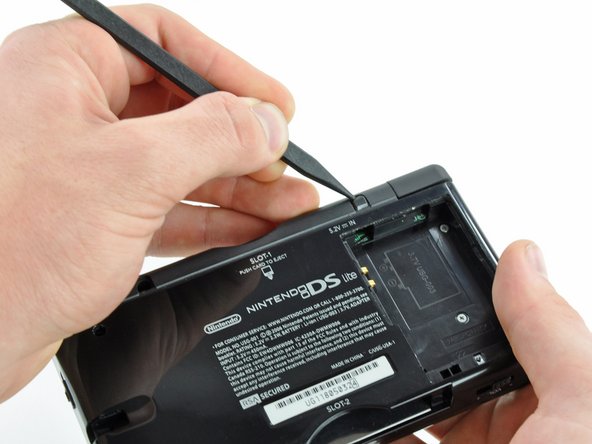
    • Use the tip of a spudger to pry both rubber feet off the DS Lite.

  4. Nintendo DS Lite Power Switch Replacement: step 4, image 1 of 1
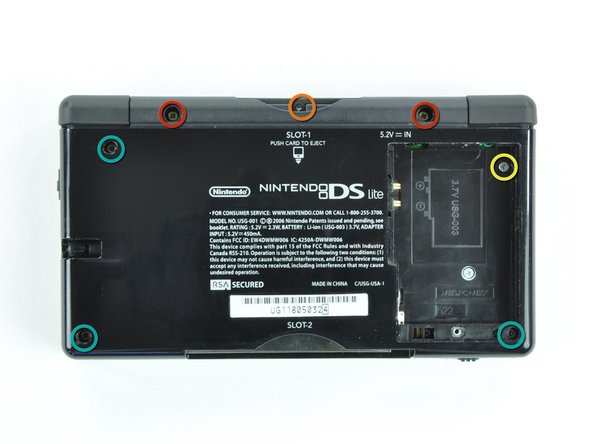
    • Remove the following screws securing the lower case to the body of the DS Lite:

    • Two 4.3 mm gold Phillips screws

    • One 3.9 mm black Tri-Wing screw

    • One 3.3 mm silver Phillips screw

    • Three 5.5 mm silver Tri-Wing screws

  5. Nintendo DS Lite Power Switch Replacement: step 5, image 1 of 3 Nintendo DS Lite Power Switch Replacement: step 5, image 2 of 3 Nintendo DS Lite Power Switch Replacement: step 5, image 3 of 3
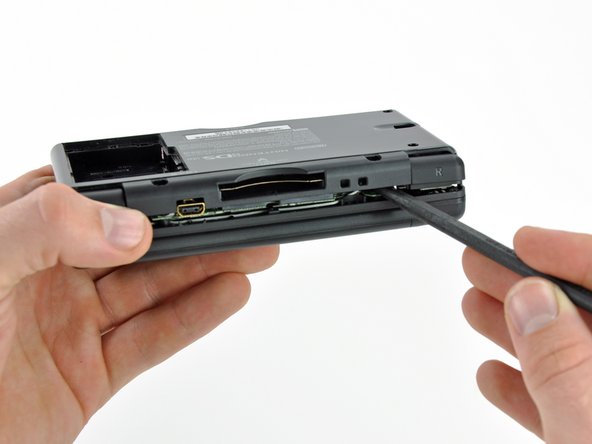
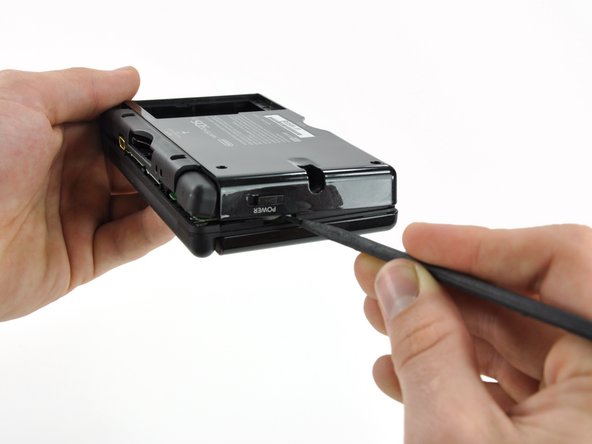
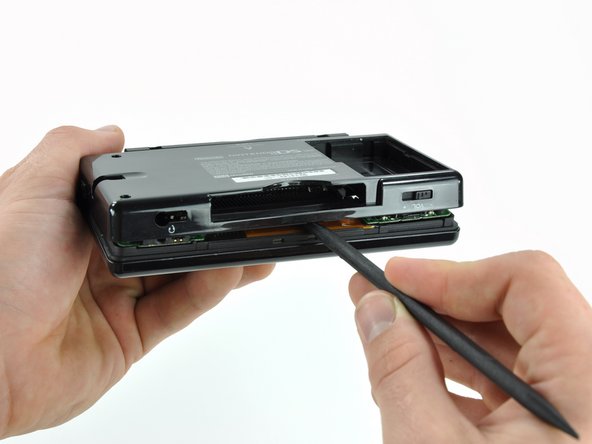
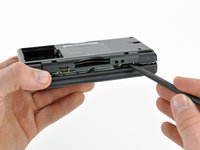
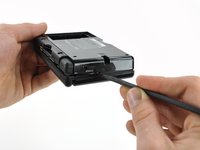
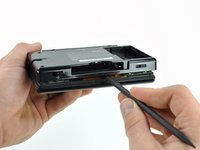
    • Insert the edge of a spudger in between the lower and upper case near the top right corner of the DS Lite.

    • Carefully run the spudger along the right edge of the DS Lite, creating an opening in the process.

    • Continue running the spudger along the backside of the DS Lite until the majority of the lower case has been separated from the upper case.

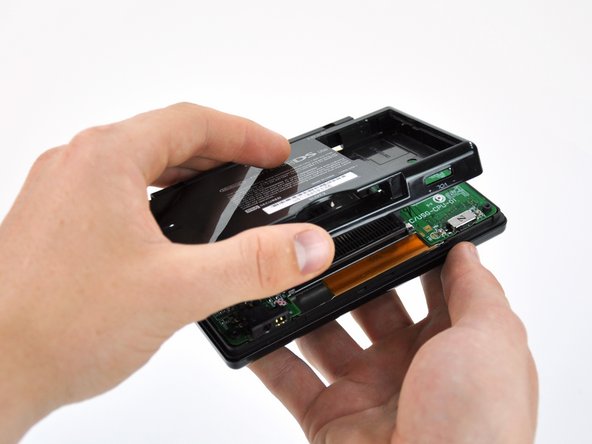
  6. Nintendo DS Lite Power Switch Replacement: step 6, image 1 of 1
    • Lift the lower case away from the rest of the DS Lite.

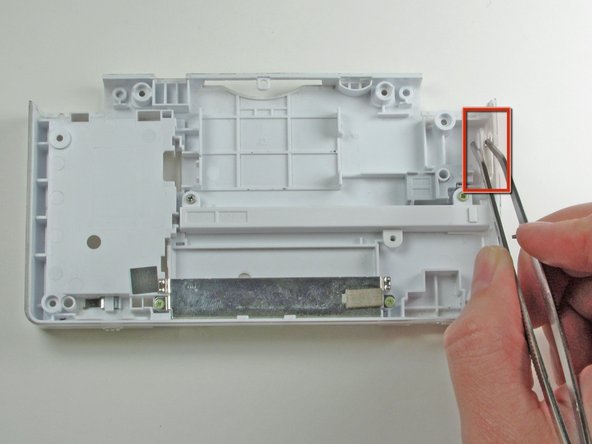
  7. Nintendo DS Lite Power Switch Replacement: step 7, image 1 of 1
    • Use a pair of tweezers to carefully remove the power switch.

Conclusion

To reassemble your device, follow these instructions in reverse order.

System

Member since: 09/24/09

2,562 Guides authored

0 Comments

Add Comment

View Statistics:

Past 24 Hours: 0

Past 7 Days: 0

Past 30 Days: 0

All Time: 2