/

Nintendo DS Lite Wi-Fi Board Replacement

What you need

  1. Nintendo DS Lite Wi-Fi Board Replacement, Nintendo DS Lite Wi-Fi Board Replacement: step 1, image 1 of 2 Nintendo DS Lite Wi-Fi Board Replacement, Nintendo DS Lite Wi-Fi Board Replacement: step 1, image 2 of 2
    • Unscrew the Phillips screw securing the battery cover to the lower case.

    • The screw remains captive to the battery cover.

    • Pry the battery cover upward with a spudger or fingernail, and lift out of the lower case.

  2. Nintendo DS Lite Wi-Fi Board Replacement: step 2, image 1 of 1
    • Wedge the edge of a spudger in between the side of the battery and the lower case housing and pry upward to dislodge the battery.

    • Remove the battery from the DS Lite.

  3. Nintendo DS Lite Wi-Fi Board Replacement: step 3, image 1 of 2 Nintendo DS Lite Wi-Fi Board Replacement: step 3, image 2 of 2
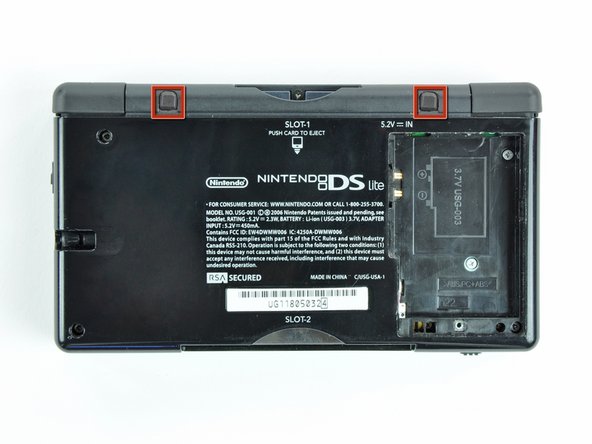
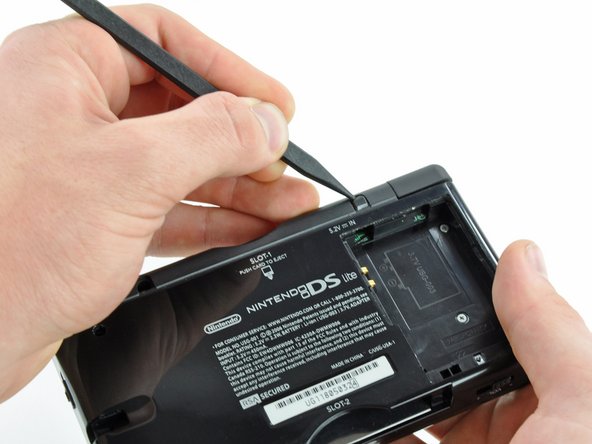
    • Use the tip of a spudger to pry both rubber feet off the DS Lite.

  4. Nintendo DS Lite Wi-Fi Board Replacement: step 4, image 1 of 1
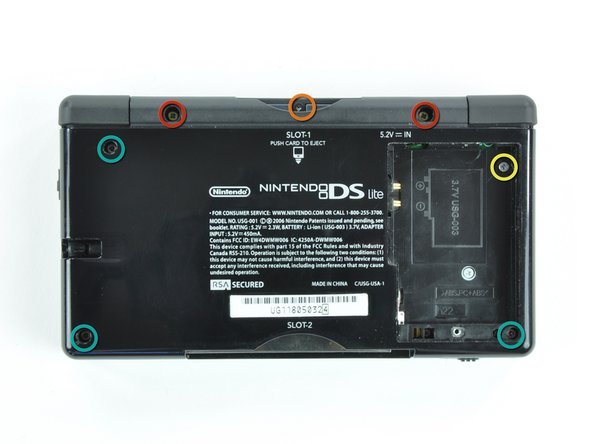
    • Remove the following screws securing the lower case to the body of the DS Lite:

    • Two 4.3 mm gold Phillips screws

    • One 3.9 mm black Tri-Wing screw

    • One 3.3 mm silver Phillips screw

    • Three 5.5 mm silver Tri-Wing screws

  5. Nintendo DS Lite Wi-Fi Board Replacement: step 5, image 1 of 3 Nintendo DS Lite Wi-Fi Board Replacement: step 5, image 2 of 3 Nintendo DS Lite Wi-Fi Board Replacement: step 5, image 3 of 3
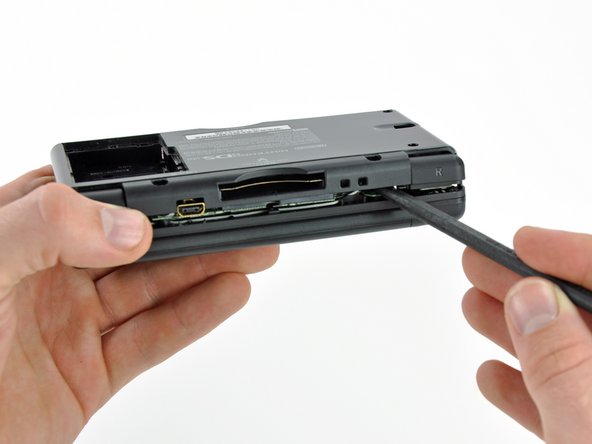
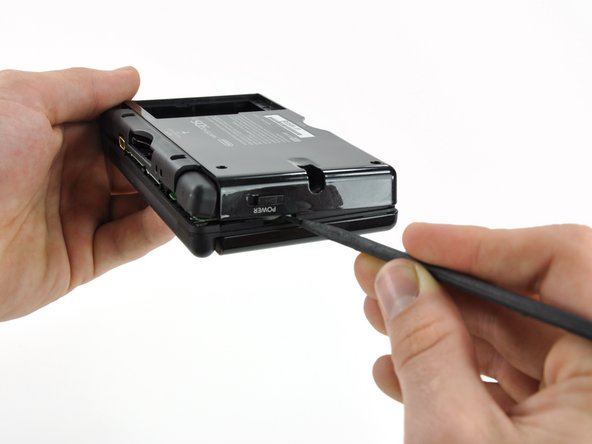
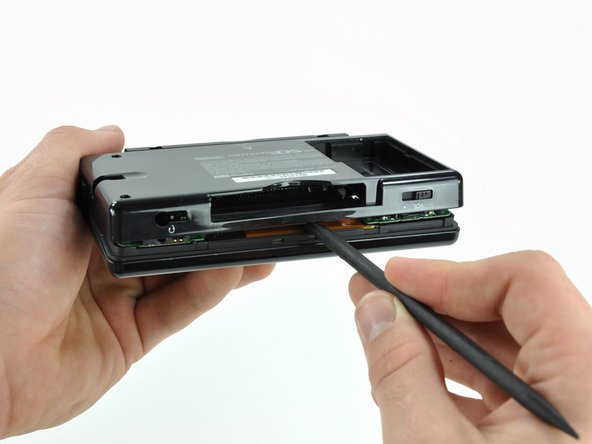
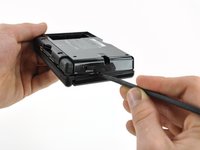
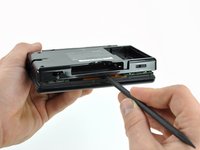
    • Insert the edge of a spudger in between the lower and upper case near the top right corner of the DS Lite.

    • Carefully run the spudger along the right edge of the DS Lite, creating an opening in the process.

    • Continue running the spudger along the backside of the DS Lite until the majority of the lower case has been separated from the upper case.

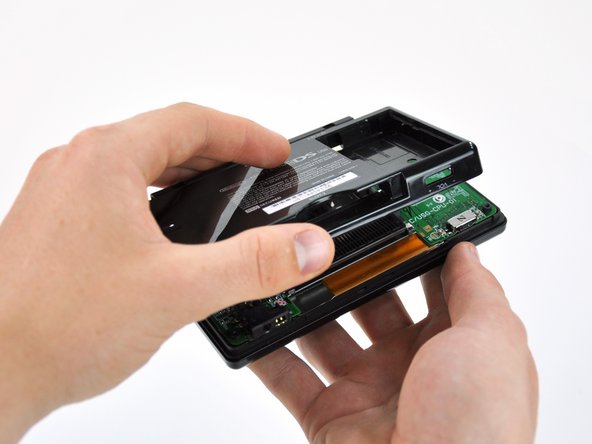
  6. Nintendo DS Lite Wi-Fi Board Replacement: step 6, image 1 of 1
    • Lift the lower case away from the rest of the DS Lite.

  7. Nintendo DS Lite Wi-Fi Board Replacement: step 7, image 1 of 2 Nintendo DS Lite Wi-Fi Board Replacement: step 7, image 2 of 2
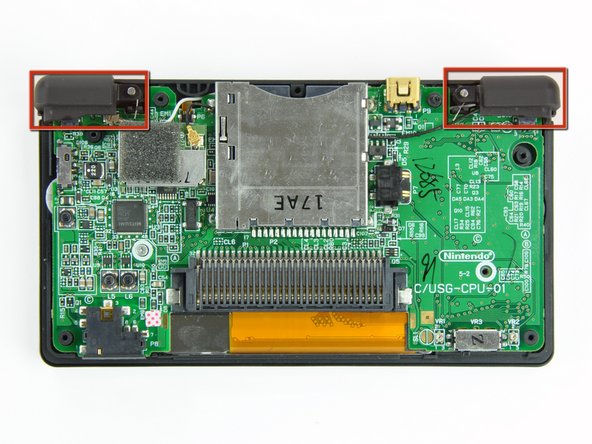
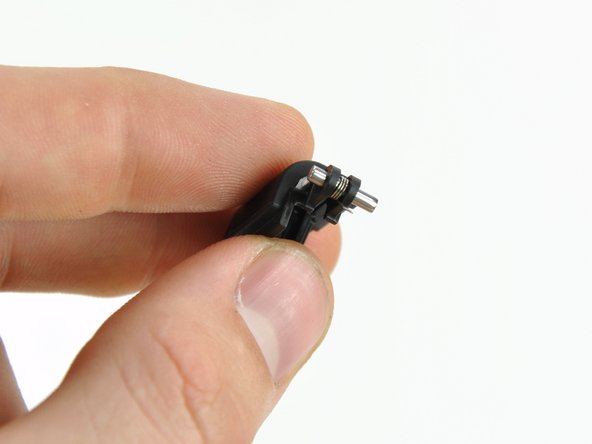
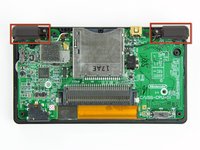
    • Lift both trigger buttons out of the DS Lite.

    • The trigger buttons are held in very loosely by small metal pegs and springs. Don't lose track of these pieces.

    • The second picture shows the correct configuration of the trigger assembly for reassembly purposes.

  8. Nintendo DS Lite Wi-Fi Board Replacement: step 8, image 1 of 1
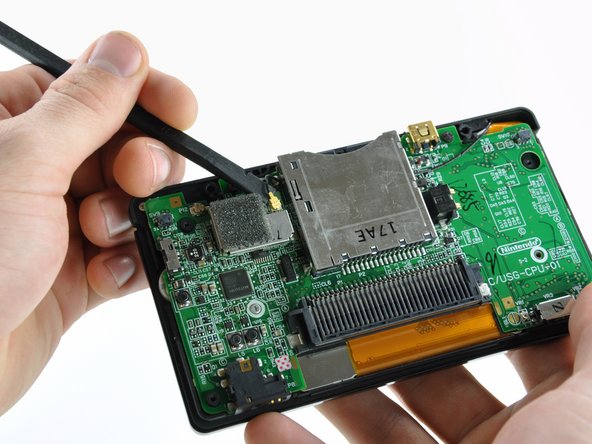
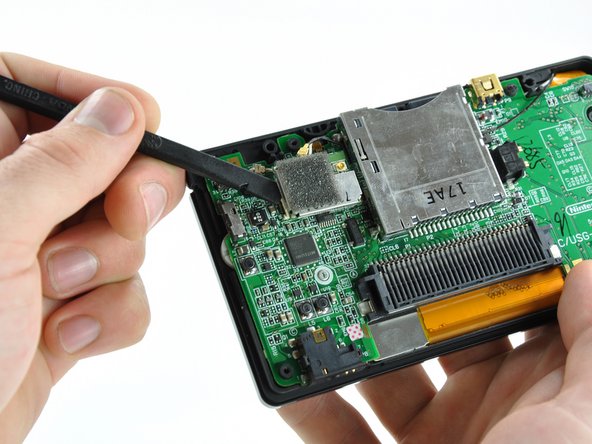
    • Use the flat edge of a spudger to pry the Wi-Fi antenna connector straight up from its socket on the Wi-Fi board.

  9. Nintendo DS Lite Wi-Fi Board Replacement: step 9, image 1 of 1
    • Use the flat edge of a spudger to pry the Wi-Fi board connector straight up from its socket on the motherboard.

  10. Nintendo DS Lite Wi-Fi Board Replacement: step 10, image 1 of 1
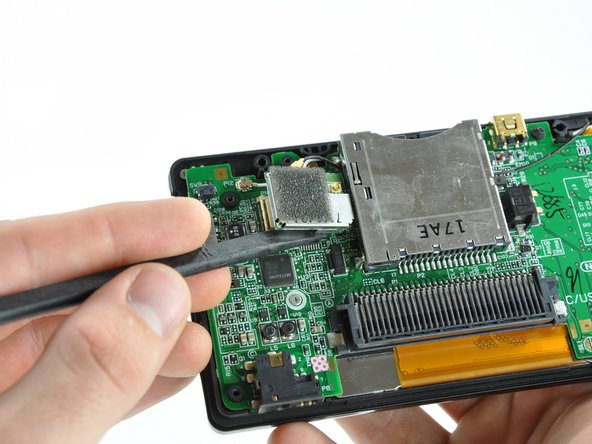
    • Use the flat edge of a spudger to separate the right edge of the Wi-Fi board from the motherboard.

    • The Wi-Fi board is secured to the motherboard with a layer of adhesive.

    • Remove the Wi-Fi board from the DS Lite.

Conclusion

To reassemble your device, follow these instructions in reverse order.

System

Member since: 09/24/09

2,562 Guides authored

0 Comments

Add Comment

View Statistics:

Past 24 Hours: 0

Past 7 Days: 0

Past 30 Days: 0

All Time: 2