/

Nintendo GameCube Fan replacement for cleaning

What you need

  1. Nintendo GameCube Fan replacement for cleaning, Nintendo GameCube Fan replacement for cleaning: step 1, image 1 of 3 Nintendo GameCube Fan replacement for cleaning, Nintendo GameCube Fan replacement for cleaning: step 1, image 2 of 3 Nintendo GameCube Fan replacement for cleaning, Nintendo GameCube Fan replacement for cleaning: step 1, image 3 of 3
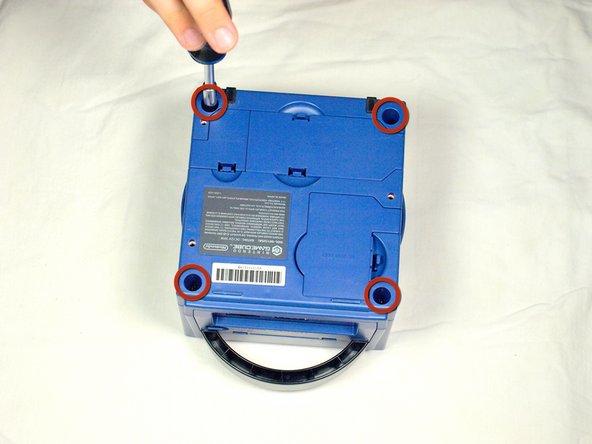
    • Turn over the Gamecube so that the bottom side is facing up.

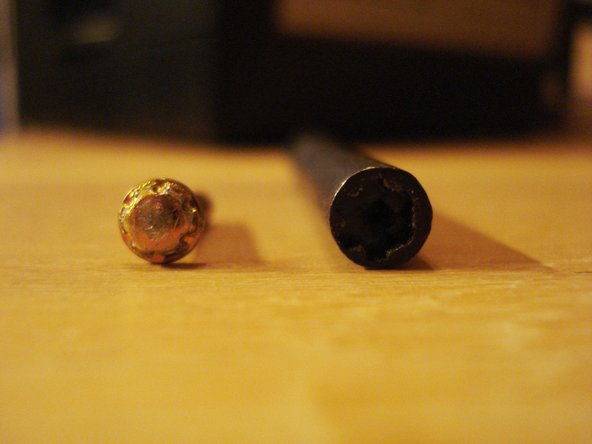
    • Locate the four screws (circled in red) on each corner of the device. Then, use a 4.5 mm Gamebit screwdriver to remove all four screws.

  2. Nintendo GameCube Fan replacement for cleaning: step 2, image 1 of 3 Nintendo GameCube Fan replacement for cleaning: step 2, image 2 of 3 Nintendo GameCube Fan replacement for cleaning: step 2, image 3 of 3
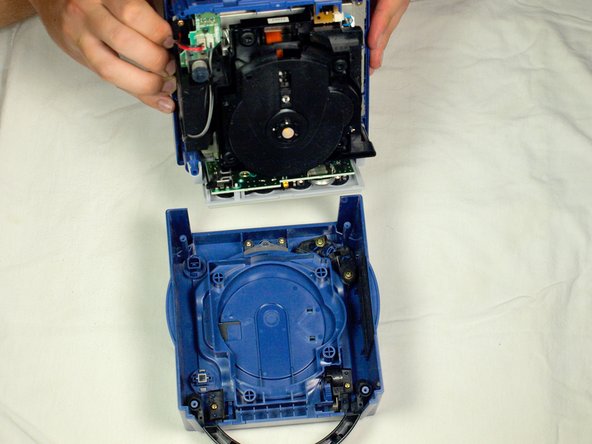
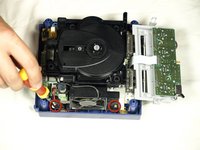
    • With the bottom side of the GameCube facing upward and the screws removed, carefully pull the outer shell of the unit away from the top half. Then place the inside of the unit facing up.

  3. Nintendo GameCube Fan replacement for cleaning: step 3, image 1 of 2 Nintendo GameCube Fan replacement for cleaning: step 3, image 2 of 2
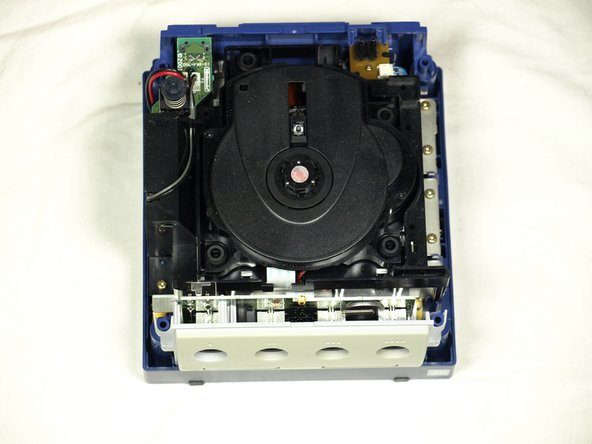
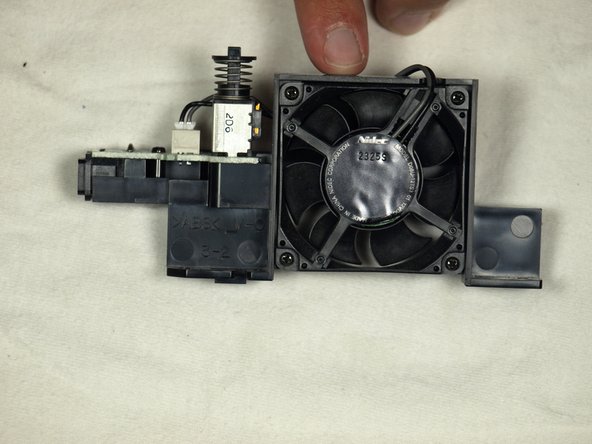
    • Using a Phillips #2 screwdriver, remove the two screws (circled in red) attaching the fan assembly to the unit.

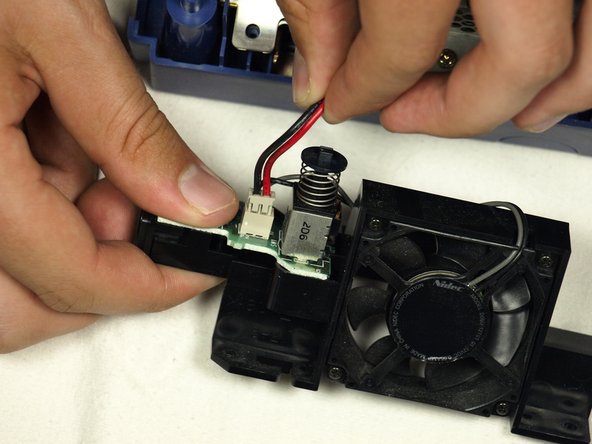
    • Carefully disconnect the fan connector from the socket, as depicted in the second picture.

    • The controller connector panel can be gently pulled out of the main unit and laid down, as depicted. This is not strictly required, but may provide more maneuverability inside the case.

    • Make sure to not pull out the wires while removing the fan. Doing so may damage the connector wire or the PCB.

  4. Nintendo GameCube Fan replacement for cleaning: step 4, image 1 of 2 Nintendo GameCube Fan replacement for cleaning: step 4, image 2 of 2
    • Once the fan is removed, use compressed air to clean the dust off of the fan blades.

    • It is highly recommended that you use a toothpick to prevent the fan blades from moving while cleaning. This will prevent accidental damage to the fans motor.

Conclusion

To reassemble your device, follow these instructions in reverse order.

System

Member since: 09/24/09

2,562 Guides authored

0 Comments

Add Comment

View Statistics:

Past 24 Hours: 0

Past 7 Days: 0

Past 30 Days: 0

All Time: 7