/

Nintendo GameCube Motherboard Replacement

What you need

  1. Nintendo GameCube Motherboard Replacement, Nintendo GameCube Motherboard Replacement: step 1, image 1 of 3 Nintendo GameCube Motherboard Replacement, Nintendo GameCube Motherboard Replacement: step 1, image 2 of 3 Nintendo GameCube Motherboard Replacement, Nintendo GameCube Motherboard Replacement: step 1, image 3 of 3
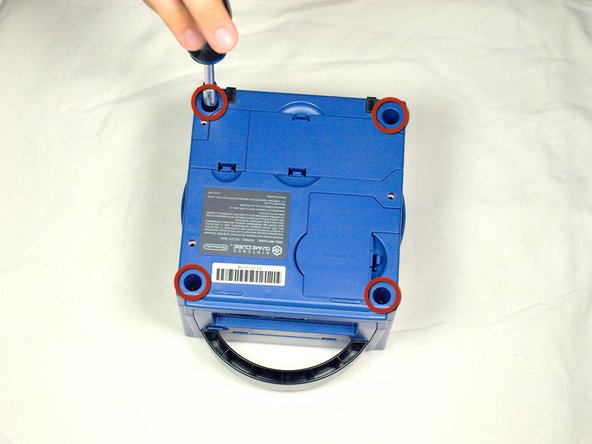
    • Turn over the Gamecube so that the bottom side is facing up.

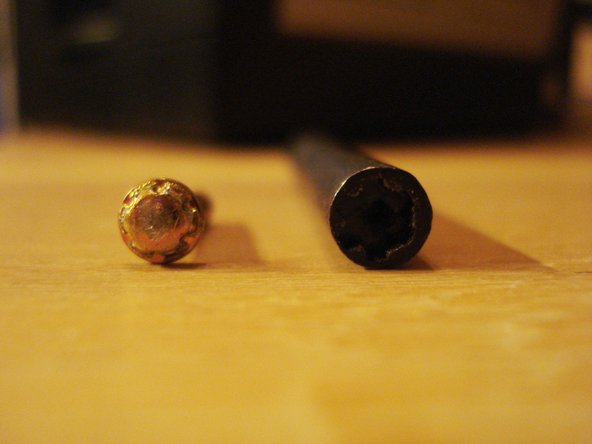
    • Locate the four screws (circled in red) on each corner of the device. Then, use a 4.5 mm Gamebit screwdriver to remove all four screws.

  2. Nintendo GameCube Motherboard Replacement: step 2, image 1 of 3 Nintendo GameCube Motherboard Replacement: step 2, image 2 of 3 Nintendo GameCube Motherboard Replacement: step 2, image 3 of 3
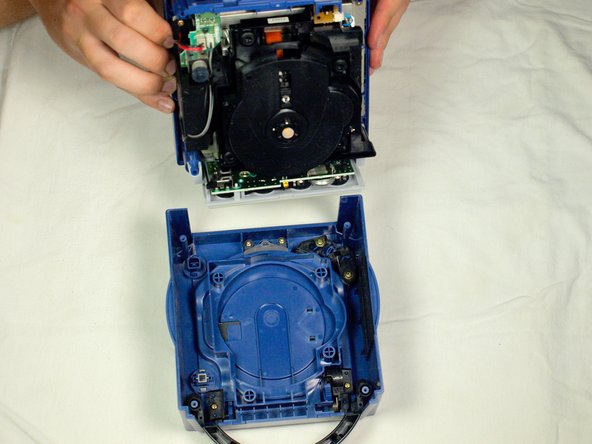
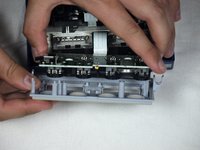
    • With the bottom side of the GameCube facing upward and the screws removed, carefully pull the outer shell of the unit away from the top half. Then place the inside of the unit facing up.

  3. Nintendo GameCube Motherboard Replacement: step 3, image 1 of 1
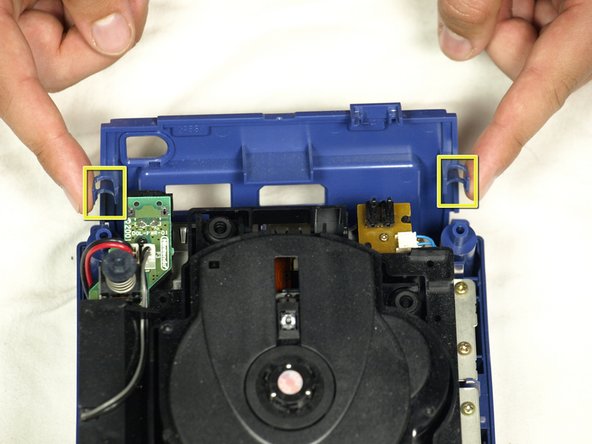
    • Gently press down on the clips located on either side of the the back panel, as shown, and carefully remove it from the main part of the device.

  4. Nintendo GameCube Motherboard Replacement: step 4, image 1 of 1
    • With the back panel removed, carefully unclip the controller ports at the front of the unit.

    • A ribbon cable (outlined in yellow) is still attached to the unit. Do not disconnect this cable.

    • Controller ports are where the controllers plug into the game console, and are a half circular shape.

  5. Nintendo GameCube Motherboard Replacement: step 5, image 1 of 2 Nintendo GameCube Motherboard Replacement: step 5, image 2 of 2
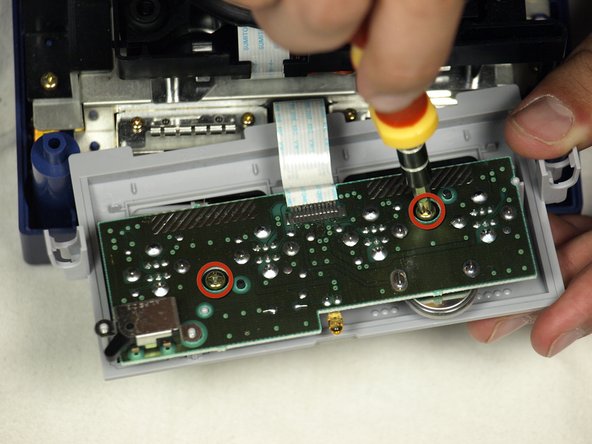
    • Use a Phillips screwdriver to remove the two 2 screws(circled in red) that are located on the back of the control port.

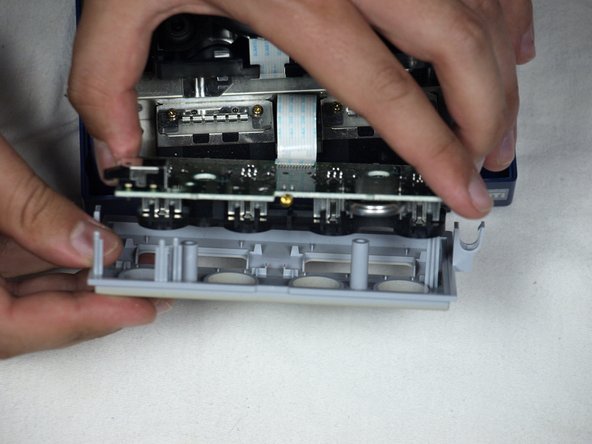
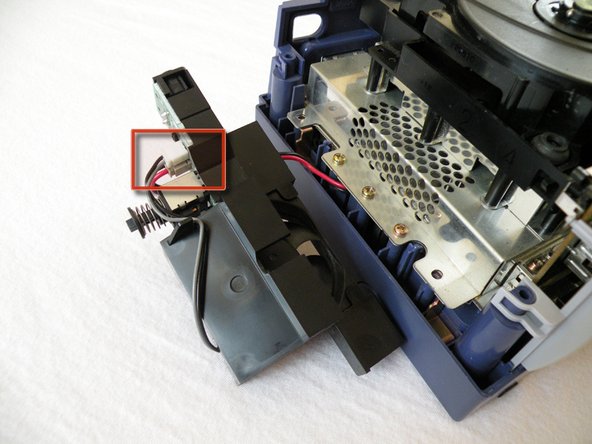
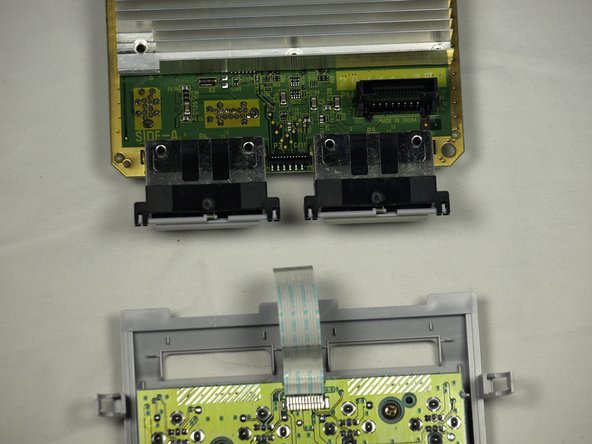
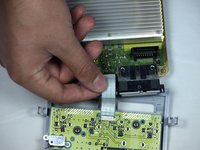
    • Carefully separate the gray outer casing of the control port and the circuit board.

  6. Nintendo GameCube Motherboard Replacement: step 6, image 1 of 2 Nintendo GameCube Motherboard Replacement: step 6, image 2 of 2
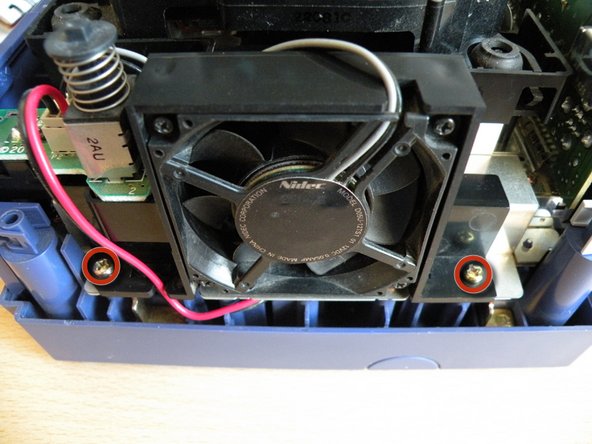
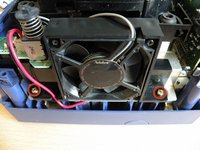
    • The left side of the unit contains the cooling fan and its housing. Carefully remove the two (2) screws attaching the cooling fan housing to the unit.

    • Do not detach the red and black cooling fan wire from the main unit.(red wire)

  7. Nintendo GameCube Motherboard Replacement: step 7, image 1 of 2 Nintendo GameCube Motherboard Replacement: step 7, image 2 of 2
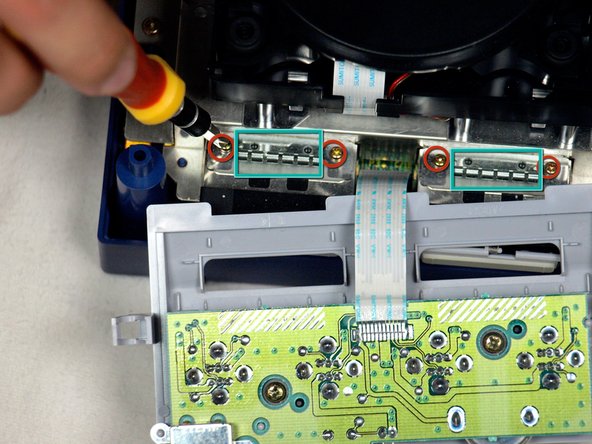
    • Remove the four (4) Phillips #1 screws retaining the ground springs (outlined in teal).

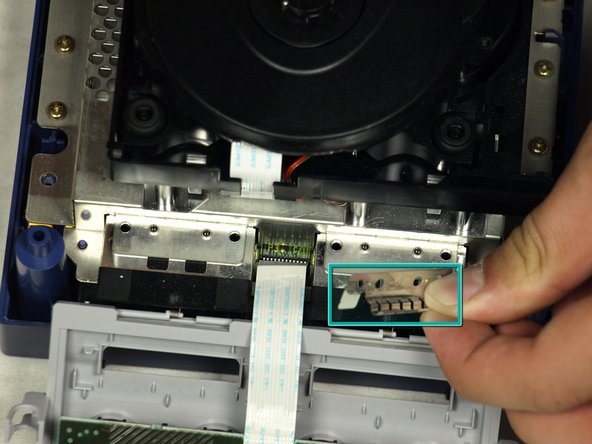
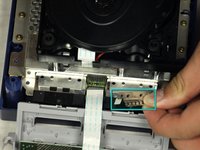
    • Carefully remove the ground springs from the main unit as shown in the second photograph.

  8. Nintendo GameCube Motherboard Replacement: step 8, image 1 of 2 Nintendo GameCube Motherboard Replacement: step 8, image 2 of 2
    • The optical drive is secured to a metal plate.

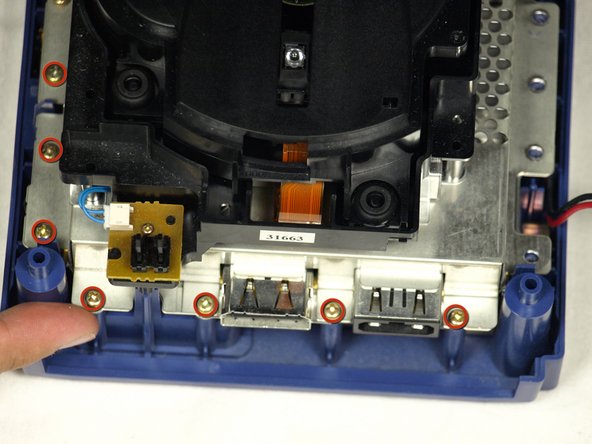
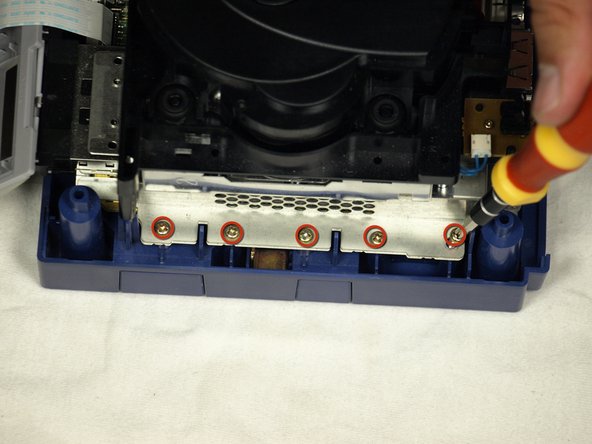
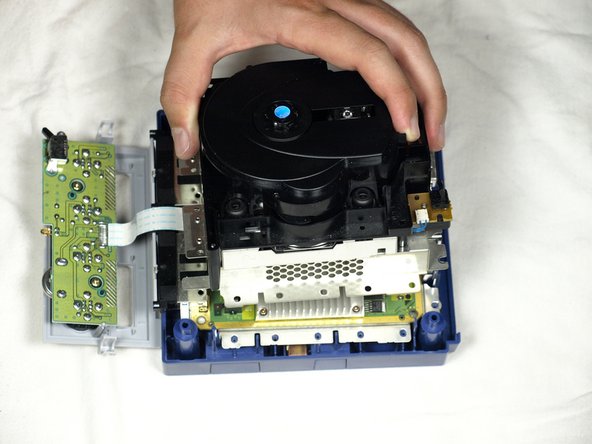
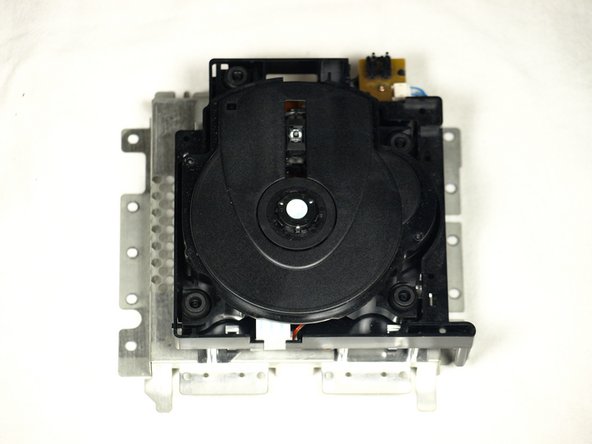
    • Using a Phillips #2 screwdriver, unscrew the twelve (12) screws that are around the outer edge of the optical drive (circled in red).

  9. Nintendo GameCube Motherboard Replacement: step 9, image 1 of 3 Nintendo GameCube Motherboard Replacement: step 9, image 2 of 3 Nintendo GameCube Motherboard Replacement: step 9, image 3 of 3
    • Carefully separate the optical drive assembly from the rest of the GameCube unit.

    • The optical drive assembly is secured to the motherboard underneath by a slot; some force may be required to carefully free the assembly.

    • The metal plate and the actual optical drive will remain attached (picture 3).

  10. Nintendo GameCube Motherboard Replacement: step 10, image 1 of 2 Nintendo GameCube Motherboard Replacement: step 10, image 2 of 2
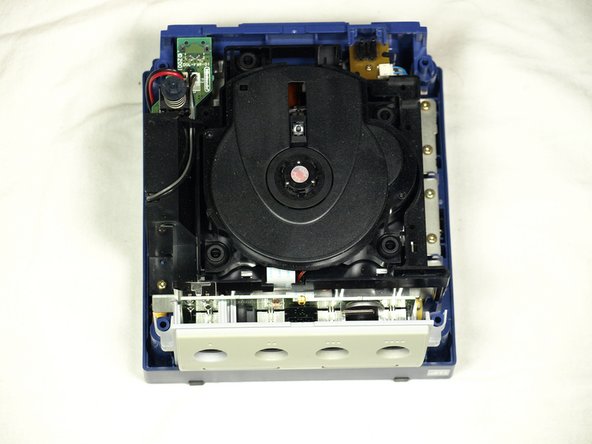
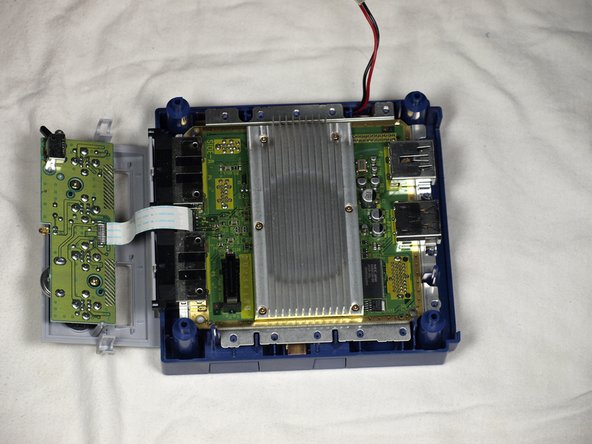
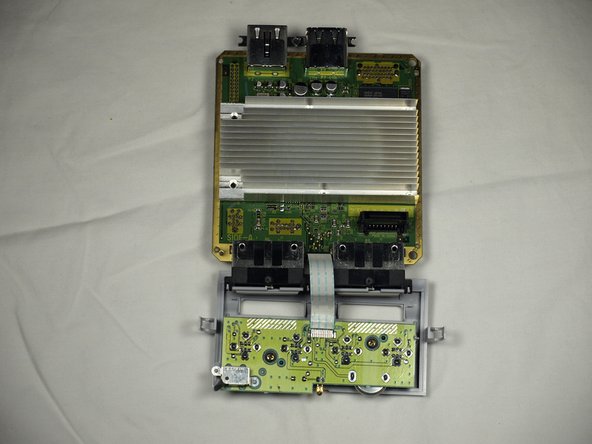
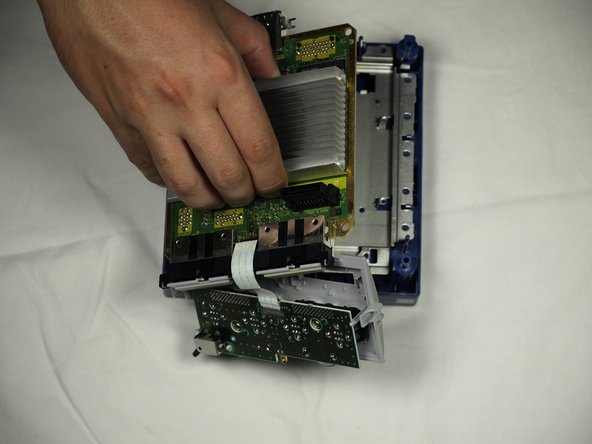
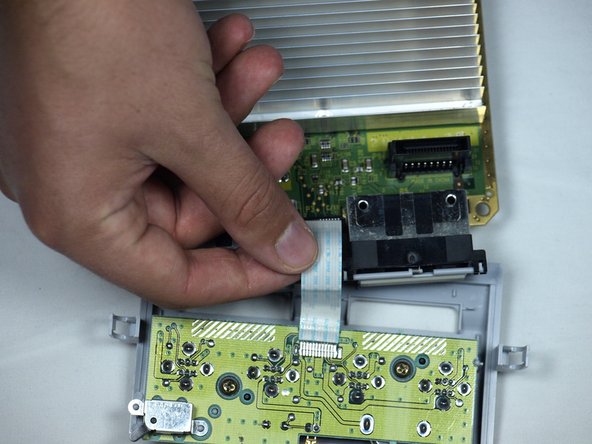
    • With the Optical Drive Assembly removed, your GameCube should now look like this.

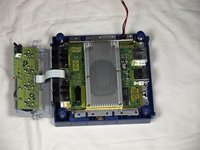
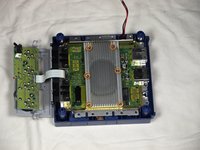
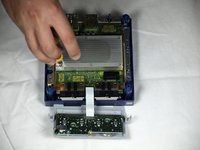
    • Remove the 6 screws (circled in orange) on the heat sink using a #1 Phillips screwdriver.

  11. Nintendo GameCube Motherboard Replacement: step 11, image 1 of 2 Nintendo GameCube Motherboard Replacement: step 11, image 2 of 2
    • Gently lift the motherboard from base (as shown in second picture).

  12. Nintendo GameCube Motherboard Replacement: step 12, image 1 of 2 Nintendo GameCube Motherboard Replacement: step 12, image 2 of 2
    • Carefully disconnect the ribbon cable connecting the motherboard with the front panel.

    • At this point you can replace the old motherboard with a new one and enjoy your now-functional GameCube!

Conclusion

To reassemble your device, follow these instructions in reverse order.

System

Member since: 09/24/09

2,562 Guides authored

0 Comments

Add Comment

View Statistics:

Past 24 Hours: 0

Past 7 Days: 0

Past 30 Days: 0

All Time: 25