

Nintendo GameCube Top Case Replacement

Last updated on Sep 17, 2016
Views: 67
View statistics:
- Past 24 Hours:
- 0
- Past 7 Days:
- 0
- Past 30 Days:
- 3
- All Time:
- 67
Comments: 0
No one has left comments on this guide. Will you be first?
Go to guide commentsCompleted: 0 1
No one has marked this guide "completed." Will you be the first?
1 person has marked this guide "completed." It's you — great job!
Favorites: 0 1
No one has favorited (and subscribed to) this guide. Will you be the first?
1 person has favorited (and subscribed to) this guide — and that's you!
Introduction
Go to step 1 ↓Removing the top case will allow you access to the GameCube's internal parts.
What you need
-
-
-
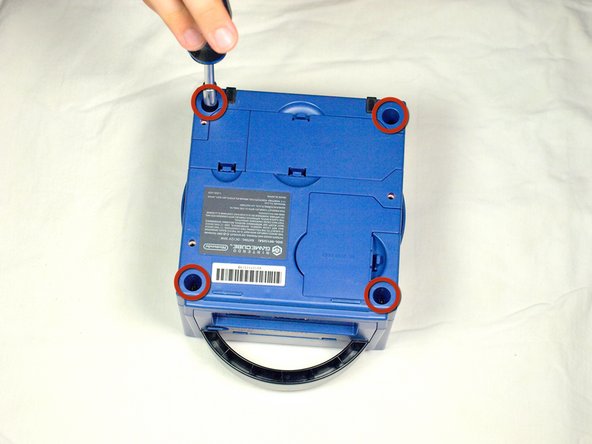
Turn over the Gamecube so that the bottom side is facing up.
-
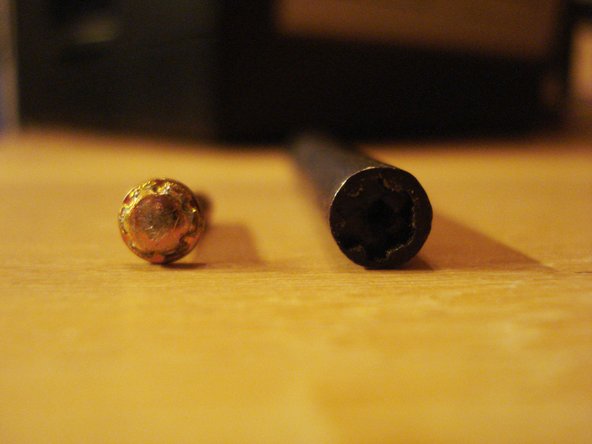
Locate the four screws (circled in red) on each corner of the device. Then, use a 4.5 mm Gamebit screwdriver to remove all four screws.
-
-
-
With the bottom side of the GameCube facing upward and the screws removed, carefully pull the outer shell of the unit away from the top half. Then place the inside of the unit facing up.
-
-



To reassemble your device, follow these instructions in reverse order.

