/

Nintendo GameCube Top Case Replacement

What you need

  1. Nintendo GameCube Top Case Replacement, Nintendo GameCube Top Case Replacement: step 1, image 1 of 3 Nintendo GameCube Top Case Replacement, Nintendo GameCube Top Case Replacement: step 1, image 2 of 3 Nintendo GameCube Top Case Replacement, Nintendo GameCube Top Case Replacement: step 1, image 3 of 3
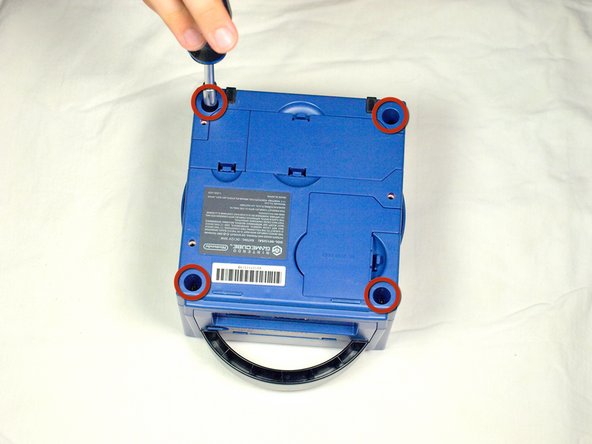
    • Turn over the Gamecube so that the bottom side is facing up.

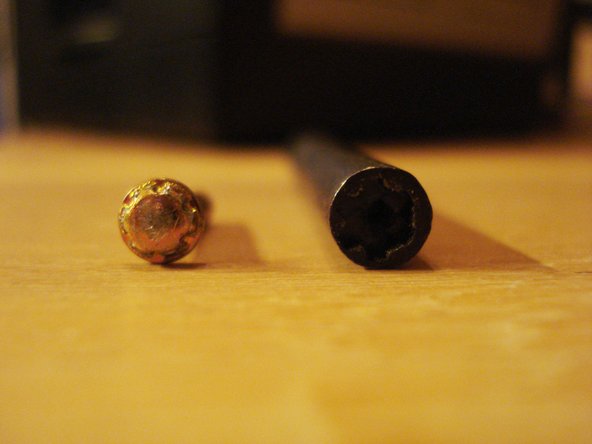
    • Locate the four screws (circled in red) on each corner of the device. Then, use a 4.5 mm Gamebit screwdriver to remove all four screws.

  2. Nintendo GameCube Top Case Replacement: step 2, image 1 of 3 Nintendo GameCube Top Case Replacement: step 2, image 2 of 3 Nintendo GameCube Top Case Replacement: step 2, image 3 of 3
    • With the bottom side of the GameCube facing upward and the screws removed, carefully pull the outer shell of the unit away from the top half. Then place the inside of the unit facing up.

Conclusion

To reassemble your device, follow these instructions in reverse order.

System

Member since: 09/24/09

2,562 Guides authored

0 Comments

Add Comment

View Statistics:

Past 24 Hours: 0

Past 7 Days: 0

Past 30 Days: 0

All Time: 22