Nintendo Wii Bottom Panel Replacement

What you need

    1. Nintendo Wii Bottom Panel Replacement, Nintendo Wii Bottom Panel Replacement: step 1, image 1 of 2 Nintendo Wii Bottom Panel Replacement, Nintendo Wii Bottom Panel Replacement: step 1, image 2 of 2
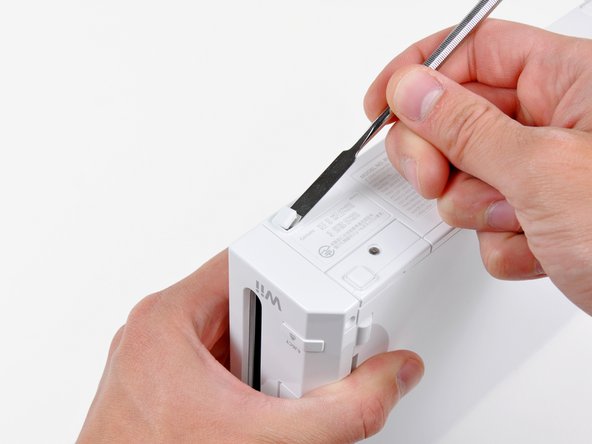
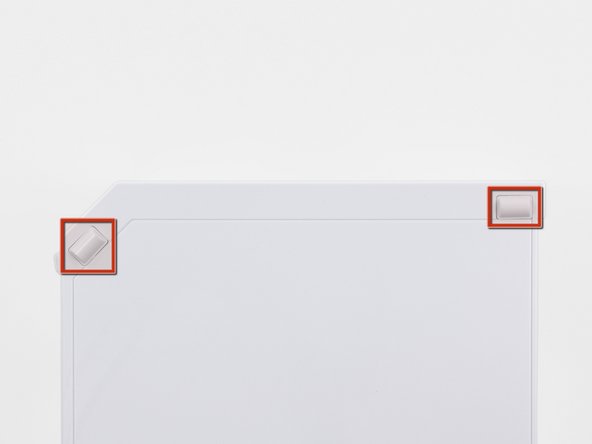
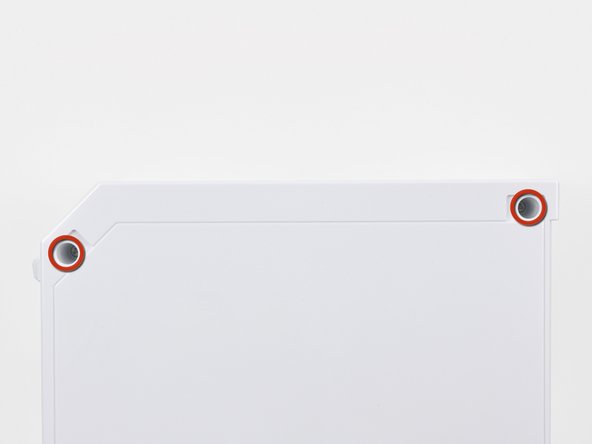
      • Use a metal spudger to remove the white plastic screw covers stuck to the lower case near the front of the Wii.

      Add Comment

    2. Nintendo Wii Bottom Panel Replacement: step 2, image 1 of 1
      • Remove the two 8.3 mm Tri-Wing screws hidden under the covers you just removed.

      Add Comment

    3. Nintendo Wii Bottom Panel Replacement: step 3, image 1 of 1
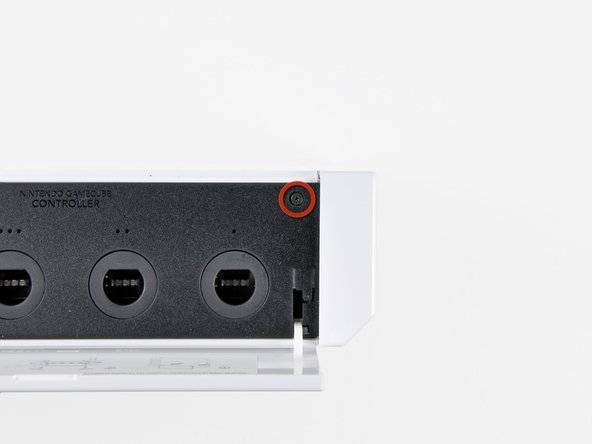
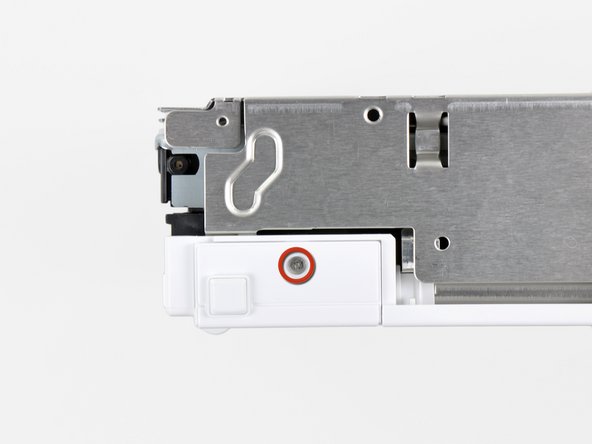
      • Remove the single 5.9 mm Phillips screw under the controller port door nearest the faceplate.

      Add Comment

    4. Nintendo Wii Bottom Panel Replacement: step 4, image 1 of 1
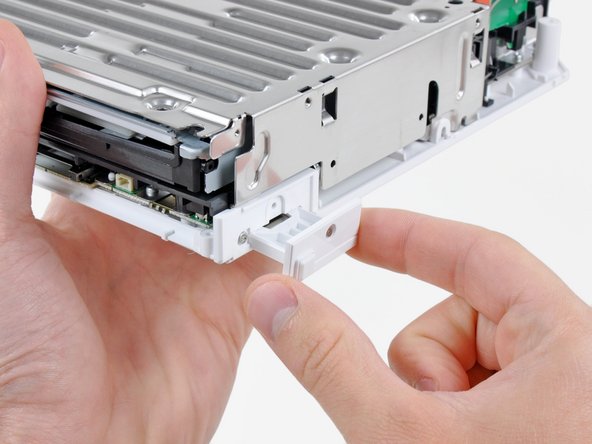
      • Use a metal spudger to remove the rubber foot stuck to the side of the Wii near the DVD drive opening.

      Add Comment

    5. Nintendo Wii Bottom Panel Replacement: step 5, image 1 of 1
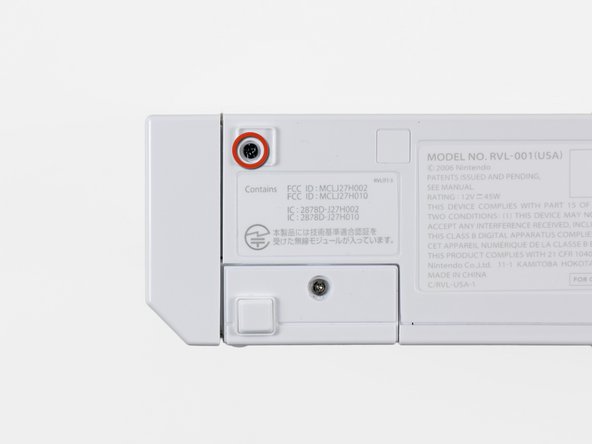
      • Remove the single 5.9 mm Phillips screw hidden under the foot you just removed.

      Add Comment

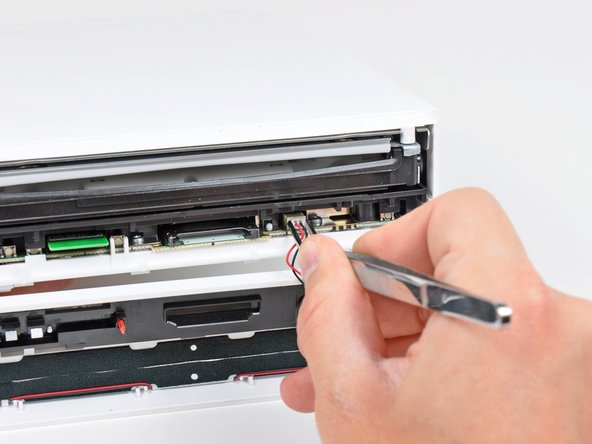
    6. Nintendo Wii Bottom Panel Replacement: step 6, image 1 of 2 Nintendo Wii Bottom Panel Replacement: step 6, image 2 of 2
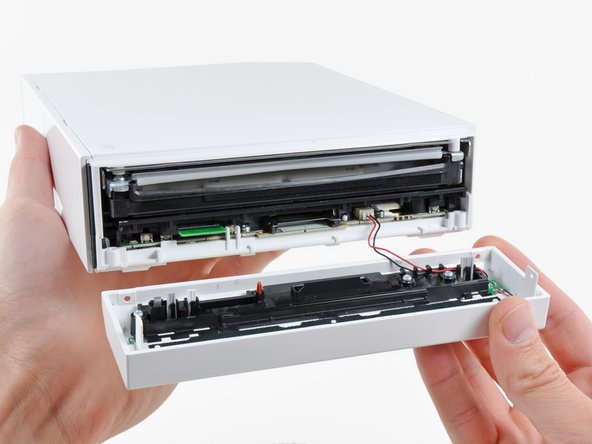
      • Carefully pull the faceplate away from the front of the Wii.

      • Use a pair of tweezers to disconnect the LED cable's plastic connector from the motherboard.

      • Remove the faceplate.

      Add Comment

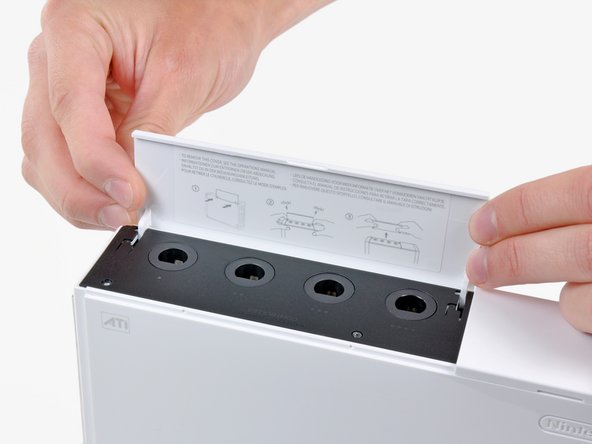
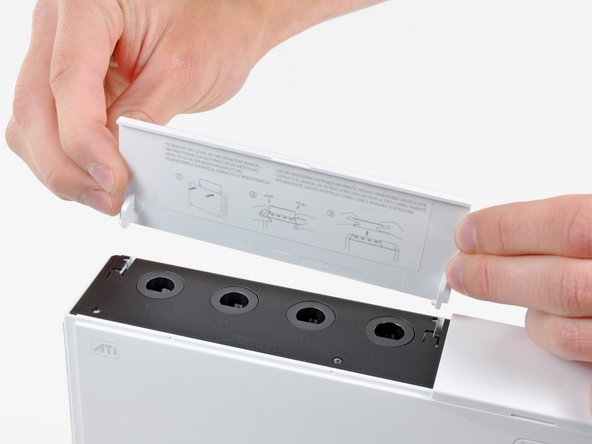
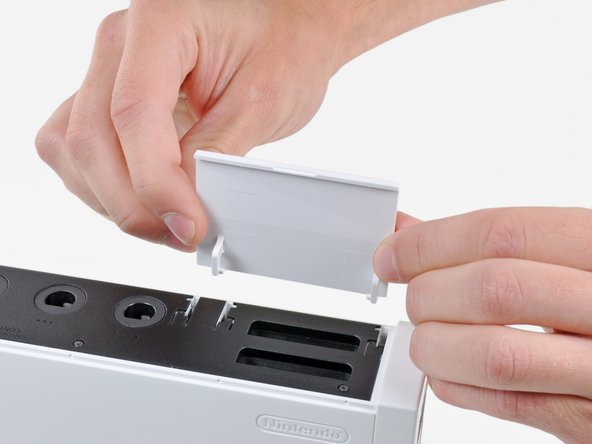
    7. Nintendo Wii Bottom Panel Replacement: step 7, image 1 of 3 Nintendo Wii Bottom Panel Replacement: step 7, image 2 of 3 Nintendo Wii Bottom Panel Replacement: step 7, image 3 of 3
      • Open the controller port cover until it is perpendicular to the black controller port bezel.

      • Pull the controller port cover straight up to release it from the outer case.

      • Repeat this procedure for the memory card port cover.

      Add Comment

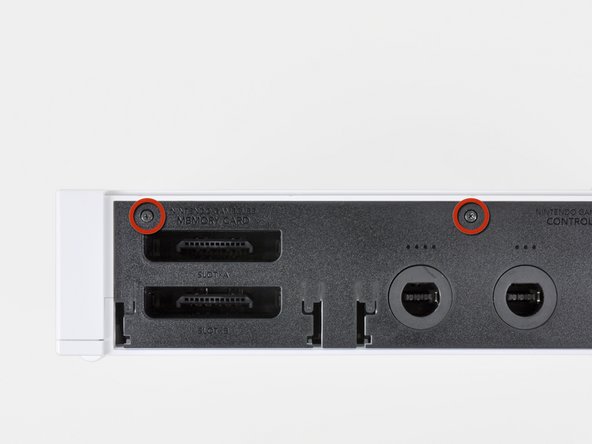
    8. Nintendo Wii Bottom Panel Replacement: step 8, image 1 of 2 Nintendo Wii Bottom Panel Replacement: step 8, image 2 of 2
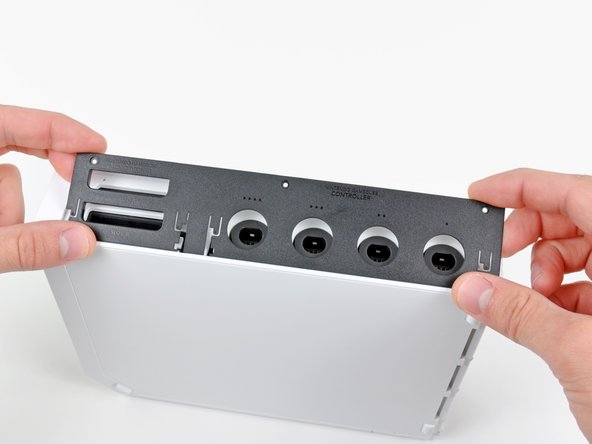
      • Remove the two remaining 4.1 mm Phillips screws along the top edge of the black plastic controller port bezel.

      • Lift the bezel from the long edge furthest away from the controller ports and remove it from the Wii.

      Add Comment

    9. Nintendo Wii Bottom Panel Replacement: step 9, image 1 of 1
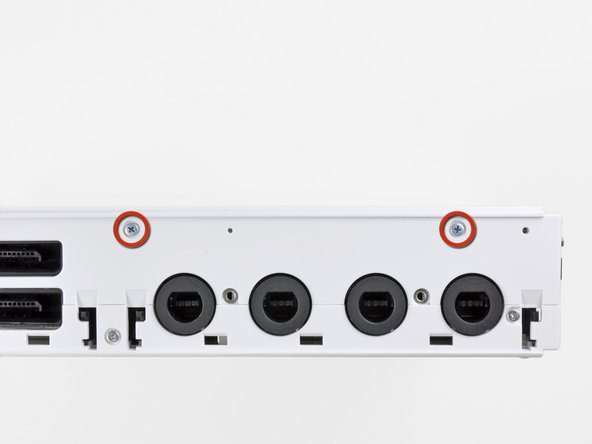
      • Remove the two 5 mm Phillips screws above the controller ports.

      Add Comment

    10. Nintendo Wii Bottom Panel Replacement: step 10, image 1 of 1
      • Use a metal spudger to remove the three highlighted screw covers stuck to the side of the Wii.

      Add Comment

    11. Nintendo Wii Bottom Panel Replacement: step 11, image 1 of 1
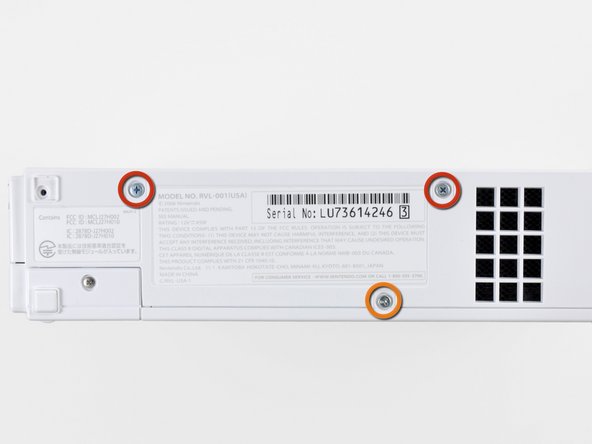
      • Remove the following screws:

      • Two 5 mm Phillips screws

      • One 8.2 mm Tri-Wing screw

      Add Comment

    12. Nintendo Wii Bottom Panel Replacement: step 12, image 1 of 1
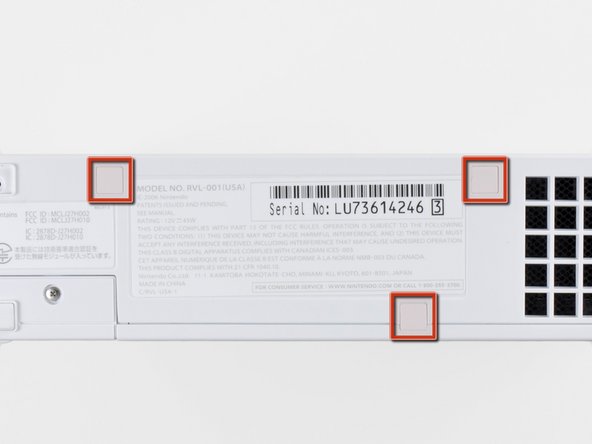
      • Use a metal spudger to remove the two rubber feet stuck to the bottom face of the Wii near the rear ports.

      Add Comment

    13. Nintendo Wii Bottom Panel Replacement: step 13, image 1 of 1
      • Remove the two 8.2 mm Tri-Wing screws hidden under the feet you just removed.

      Add Comment

    14. Nintendo Wii Bottom Panel Replacement: step 14, image 1 of 1
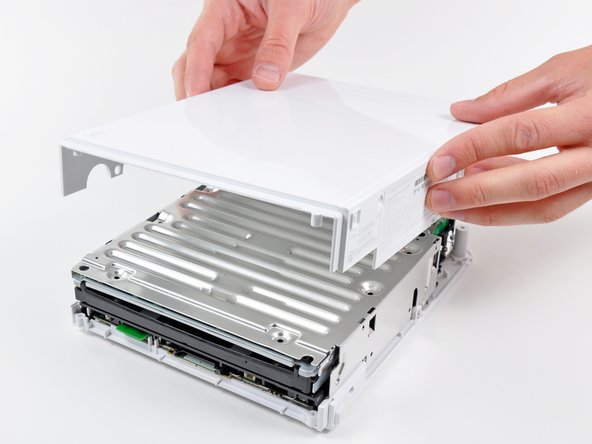
      • Lift the outer case straight up off the body of the Wii.

      Add Comment

    15. Nintendo Wii Bottom Panel Replacement: step 15, image 1 of 2 Nintendo Wii Bottom Panel Replacement: step 15, image 2 of 2
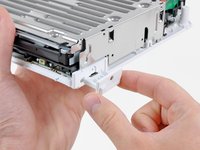
      • Remove the small Phillips screw securing the battery door to the bottom panel.

      • This screw is captive to the battery door.

      • Pull the battery door out of the Wii.

      • This is a good time to change the CR2032 battery if it hasn't been changed recently.

      Add Comment

    16. Nintendo Wii Bottom Panel Replacement: step 16, image 1 of 1
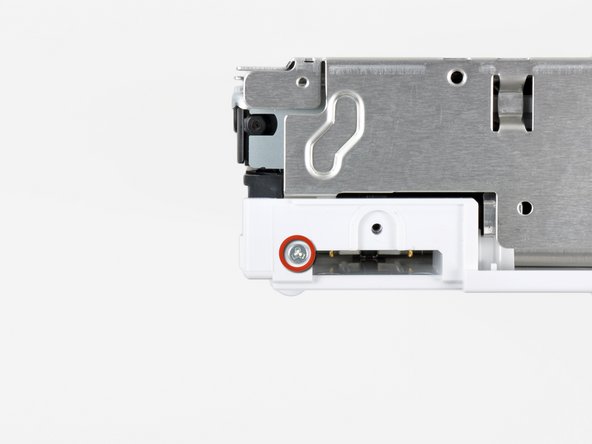
      • Remove the 8.2 mm Tri-Wing screw that was hidden beneath the battery door.

      Add Comment

    17. Nintendo Wii Bottom Panel Replacement: step 17, image 1 of 1
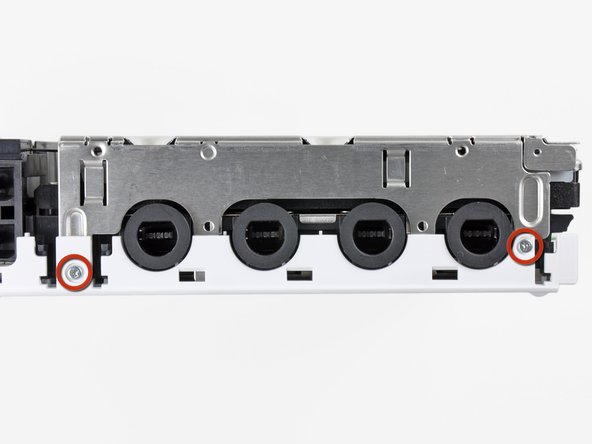
      • Remove the two 8.2 mm Tri-Wing screws securing the DVD drive shield near the controller ports.

      Add Comment

    18. Nintendo Wii Bottom Panel Replacement: step 18, image 1 of 1
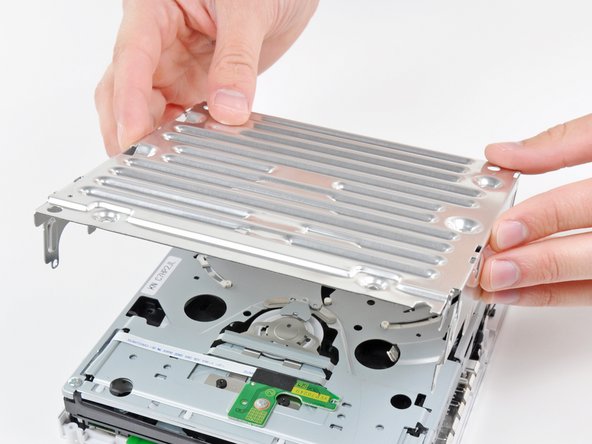
      • Lift the DVD drive shield upward and remove it from the Wii.

      Add Comment

    19. Nintendo Wii Bottom Panel Replacement: step 19, image 1 of 1
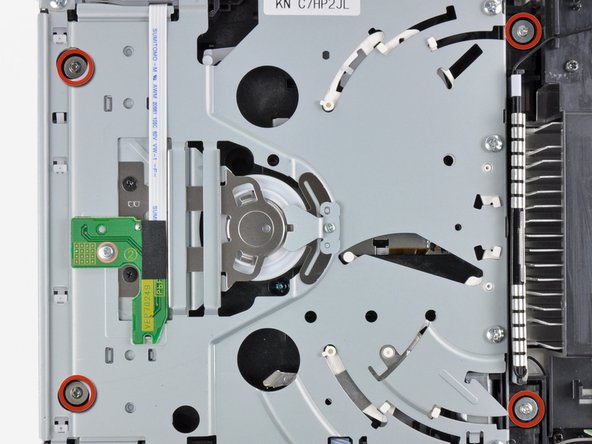
      • Remove the four 9 mm Phillips screws securing the DVD drive to the bottom panel.

      Add Comment

    20. Nintendo Wii Bottom Panel Replacement: step 20, image 1 of 1
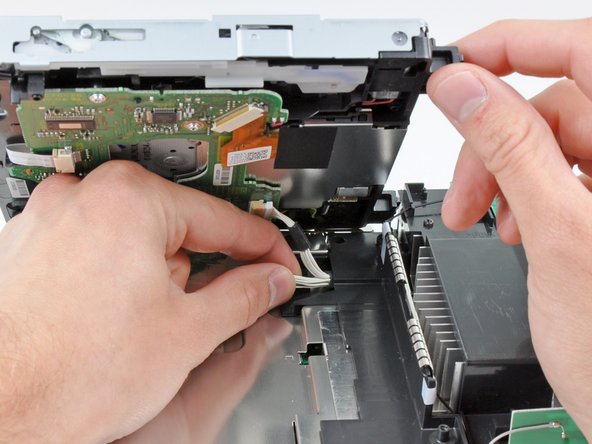
      • Lift the side of the DVD drive opposite the controller ports enough to access the cables on its bottom face.

      • Carefully pull the DVD drive power cable out from under the plastic shroud near the heat sink.

      Add Comment

    21. Nintendo Wii Bottom Panel Replacement: step 21, image 1 of 1
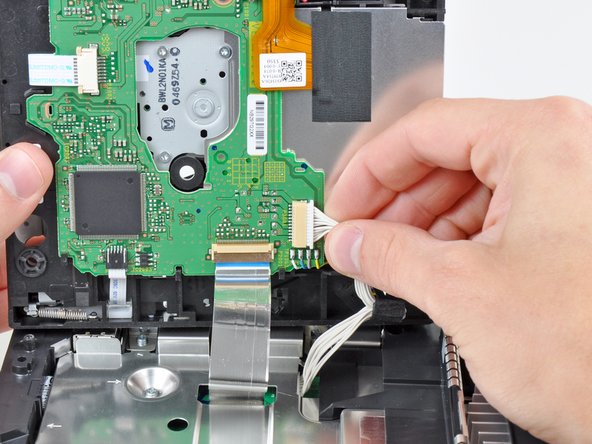
      • Pull the DVD drive power cable away from its socket on the DVD drive.

      Add Comment

    22. Nintendo Wii Bottom Panel Replacement: step 22, image 1 of 2 Nintendo Wii Bottom Panel Replacement: step 22, image 2 of 2
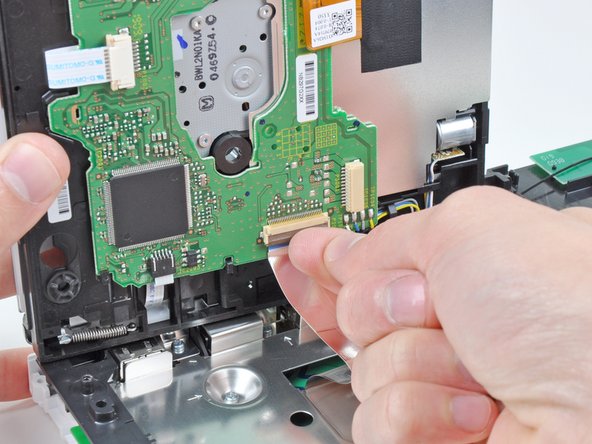
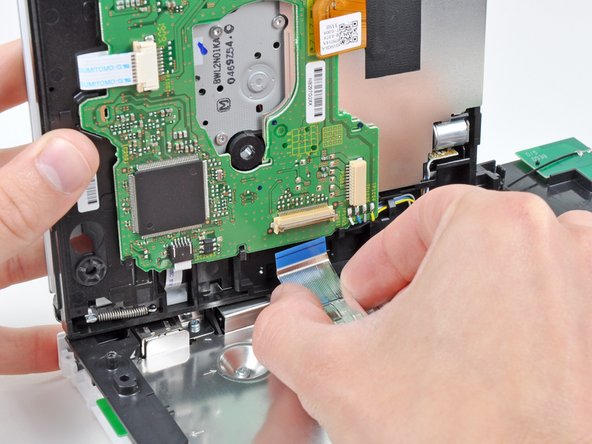
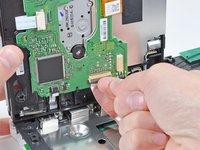
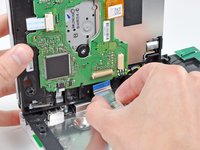
      • Use your fingernail to flip up the retaining flap on the DVD drive ribbon cable socket.

      • Be sure you are prying up on the retaining flap, not the socket itself.

      • Pull the DVD drive ribbon cable out of its socket.

      • Remove the DVD drive from the Wii.

      Add Comment

    23. Nintendo Wii Bottom Panel Replacement: step 23, image 1 of 1
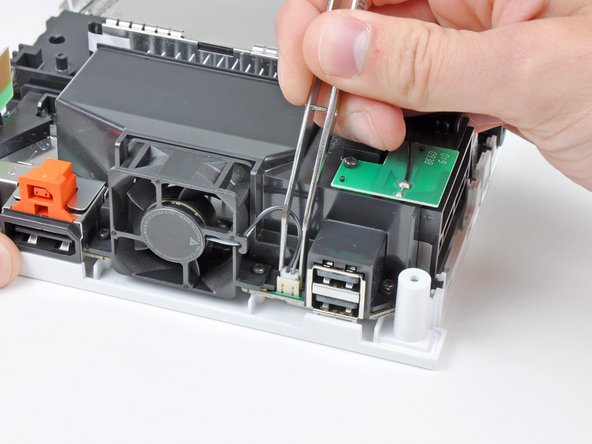
      • Use a pair of tweezers to lift the fan connector up and out of its socket on the logic board.

      • Be sure your tweezers are clamped down on the fan connector, not the socket on the motherboard.

      Add Comment

    24. Nintendo Wii Bottom Panel Replacement: step 24, image 1 of 2 Nintendo Wii Bottom Panel Replacement: step 24, image 2 of 2
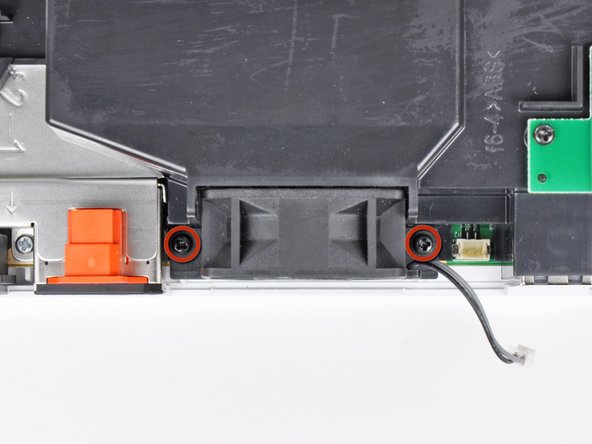
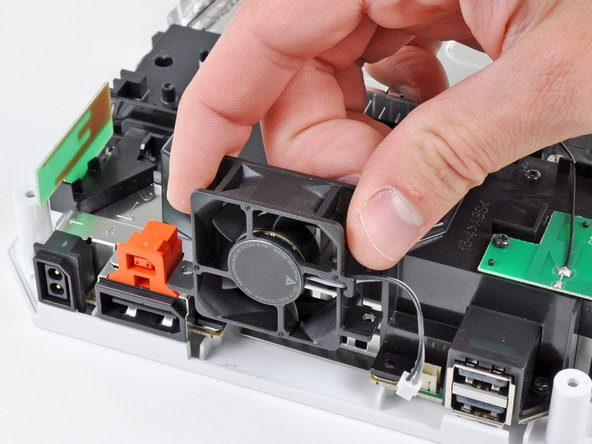
      • Remove the two 10 mm Phillips screws securing the fan to the fan shroud.

      • Remove the fan from the Wii.

      Add Comment

    25. Nintendo Wii Bottom Panel Replacement: step 25, image 1 of 2 Nintendo Wii Bottom Panel Replacement: step 25, image 2 of 2
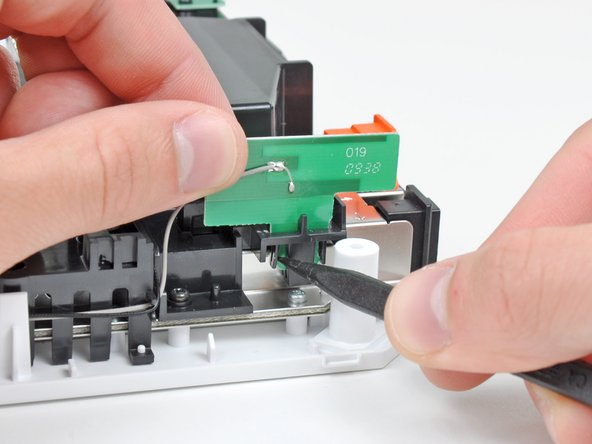
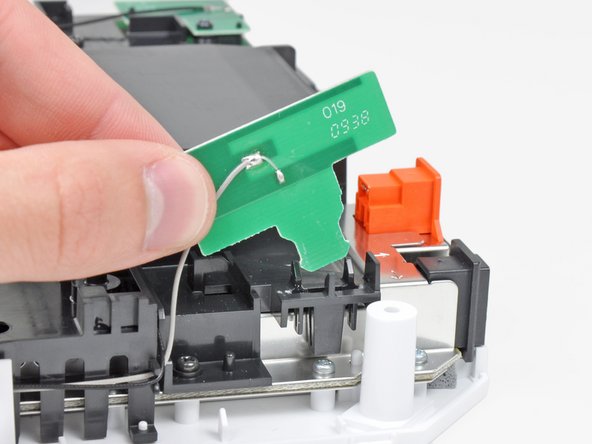
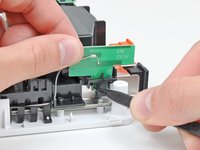
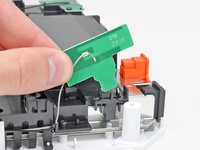
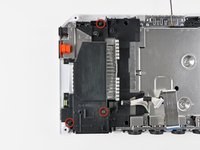
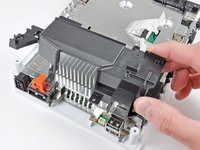
      • Use the tip of a spudger or another fine-pointed tool to carefully pry one of the black plastic retaining fingers attached to the fan shroud away from the Wi-Fi antenna board.

      • Lift the Wi-Fi antenna out of the fan shroud.

      Add Comment

    26. Nintendo Wii Bottom Panel Replacement: step 26, image 1 of 1
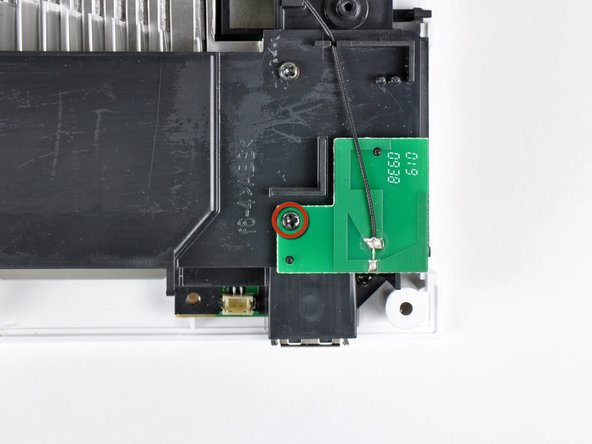
      • Remove the single 10 mm Phillips screw securing the second Wi-Fi antenna to the top of the fan shroud.

      Add Comment

    27. Nintendo Wii Bottom Panel Replacement: step 27, image 1 of 1
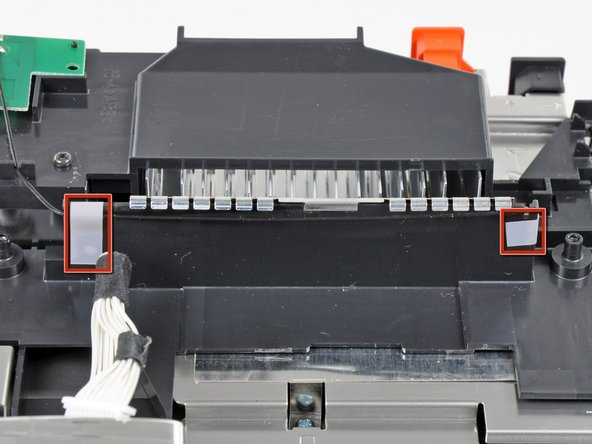
      • Remove the two pieces of tape securing the second Wi-Fi antenna cable to the plastic bracket near the heat sink.

      Add Comment

    28. Nintendo Wii Bottom Panel Replacement: step 28, image 1 of 1
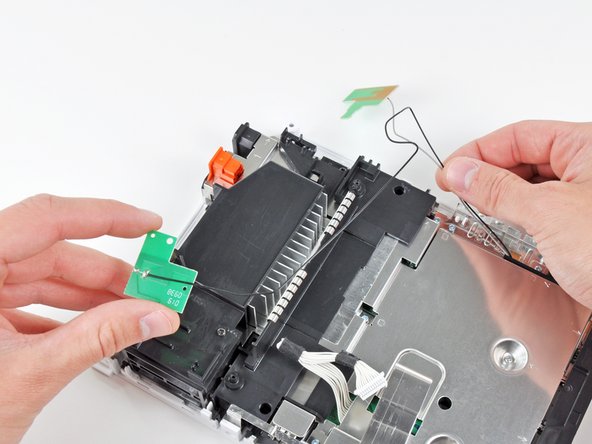
      • Carefully de-route both antennas from the frame of the Wii and lay them aside.

      Add Comment

    29. Nintendo Wii Bottom Panel Replacement: step 29, image 1 of 2 Nintendo Wii Bottom Panel Replacement: step 29, image 2 of 2
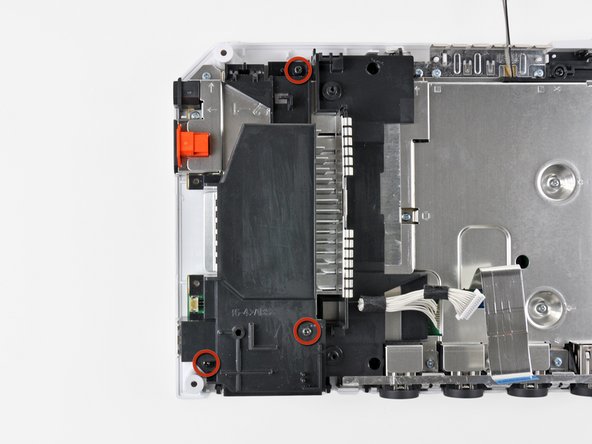
      • Remove the three 10 mm Phillips screws securing the fan shroud to the Wii.

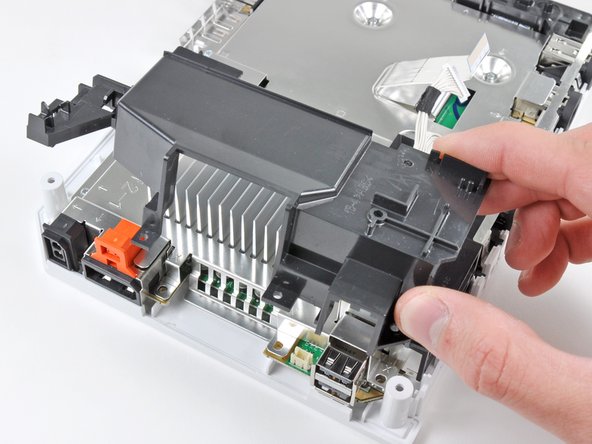
      • Lift the fan shroud off the heat sink and remove it from the Wii.

      Add Comment

    30. Nintendo Wii Bottom Panel Replacement: step 30, image 1 of 3 Nintendo Wii Bottom Panel Replacement: step 30, image 2 of 3 Nintendo Wii Bottom Panel Replacement: step 30, image 3 of 3
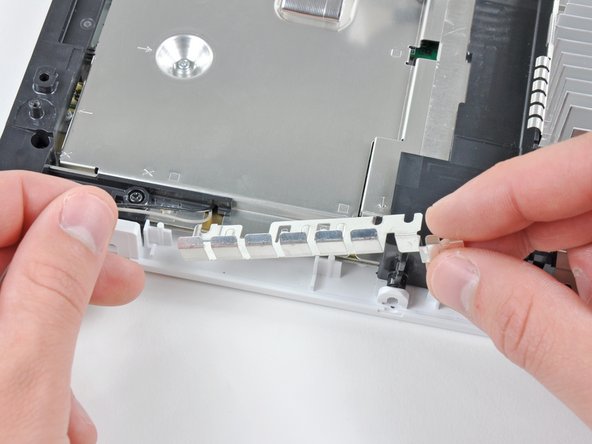
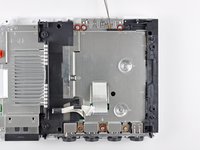
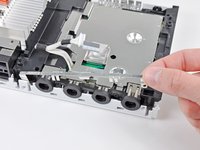
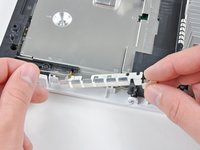
      • Remove the following six screws securing the EMI fingers to the bottom panel:

      • Four 7 mm Phillips screws

      • Two 11.3 mm Phillips screws

      • Remove both sets of EMI fingers from the Wii.

      Add Comment

    31. Nintendo Wii Bottom Panel Replacement: step 31, image 1 of 2 Nintendo Wii Bottom Panel Replacement: step 31, image 2 of 2
      • Remove the following three screws:

      • One 7 mm Phillips screw

      • Two 10 mm Phillips screws

      • Lift the bracket out of the Wii.

      Add Comment

    32. Nintendo Wii Bottom Panel Replacement: step 32, image 1 of 3 Nintendo Wii Bottom Panel Replacement: step 32, image 2 of 3 Nintendo Wii Bottom Panel Replacement: step 32, image 3 of 3
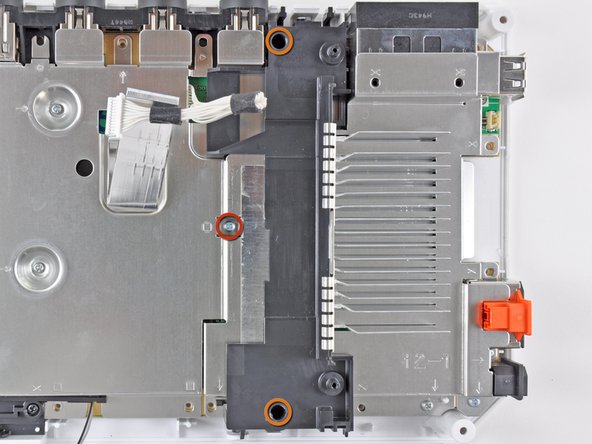
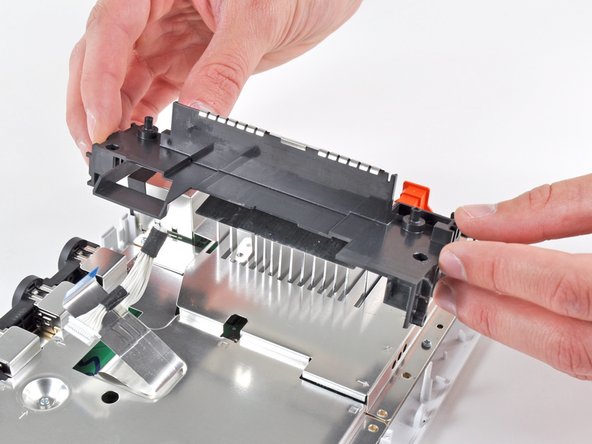
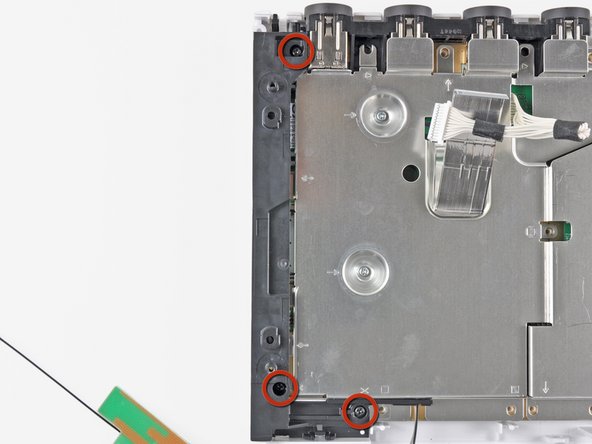
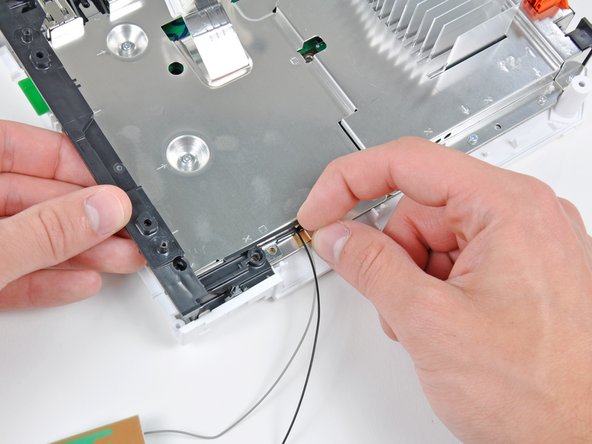
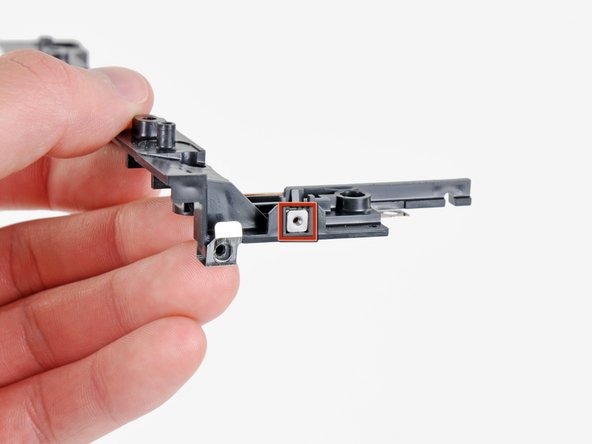
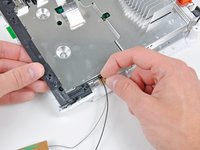
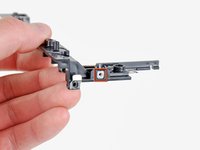
      • Remove the three 10 mm Phillips screws securing the black bracket to the bottom panel near the front of the Wii.

      • Slightly lift the bracket and use your other hand to pull the retaining clip away from where the Wi-Fi antennas enter the motherboard sheild.

      • Remove the bracket from the Wii.

      • Be sure not to lose the small square nut loosely held by the black plastic bracket.

      Add Comment

    33. Nintendo Wii Bottom Panel Replacement: step 33, image 1 of 1
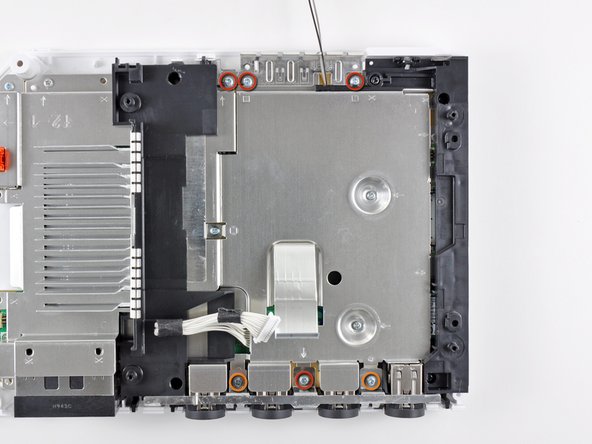
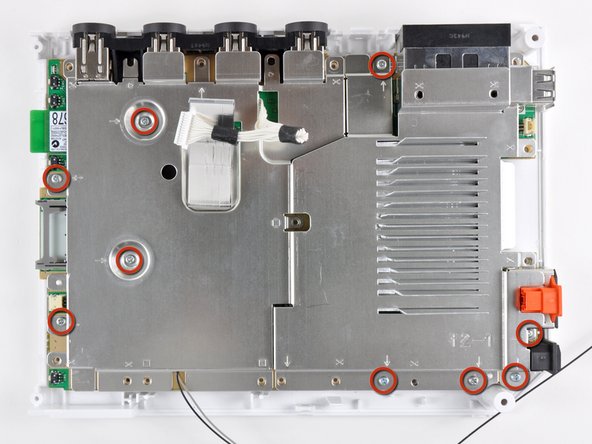
      • Remove the nine remaining 7 mm Phillips screws securing the motherboard cover to the bottom panel.

      Add Comment

    34. Nintendo Wii Bottom Panel Replacement: step 34, image 1 of 1
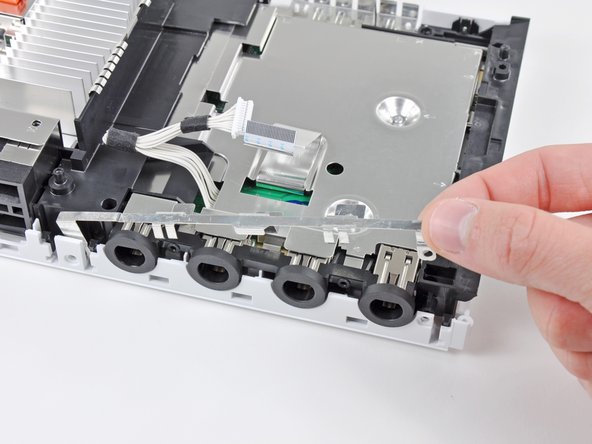
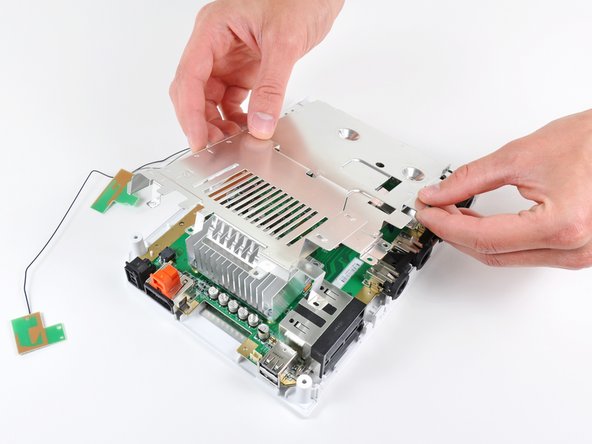
      • Carefully lift the motherboard cover off the motherboard, minding any cables that may get caught.

      Add Comment

    35. Nintendo Wii Bottom Panel Replacement: step 35, image 1 of 1
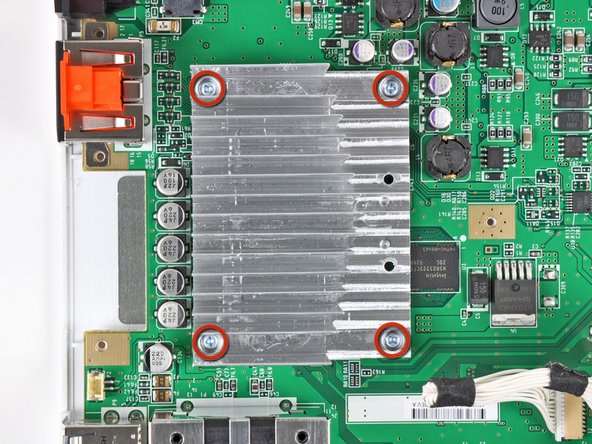
      • Remove the four 11.3 mm Phillips screws securing the heat sink to the bottom panel.

      Add Comment

    36. Nintendo Wii Bottom Panel Replacement: step 36, image 1 of 1
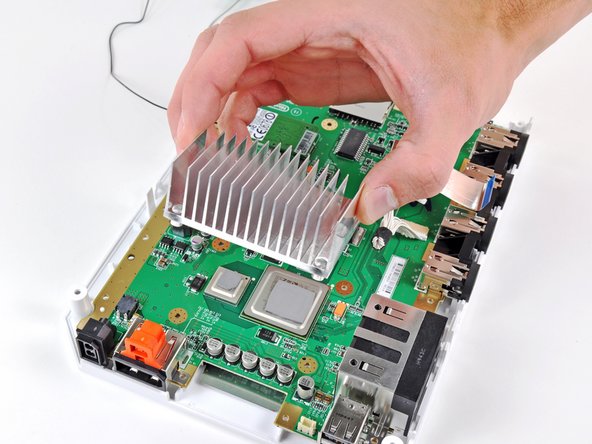
      • Lift the heat sink off the motherboard.

      • When working near the exposed processors, be sure not to disturb the thermal pads as the thermal paste may leak out.

      Add Comment

    37. Nintendo Wii Bottom Panel Replacement: step 37, image 1 of 1
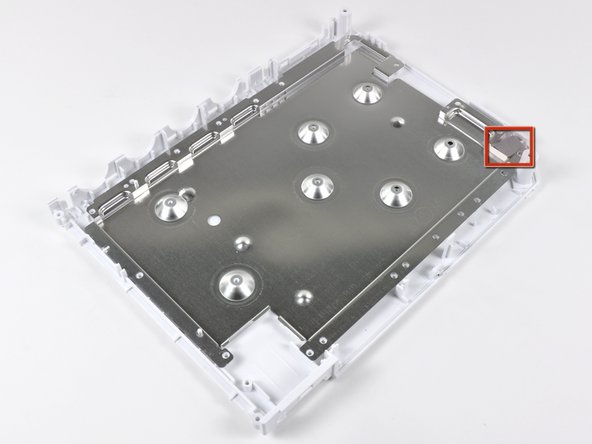
      • Lift the motherboard assembly off the bottom panel, minding any cables that may get caught.

      • Bottom panel remains.

      • Be sure to keep track of the small piece of foam highlighted in red.

      Add Comment

Conclusion

To reassemble your device, follow these instructions in reverse order.

Cancel: I did not complete this guide.

System

Member since: 09/24/09

2,562 Guides authored

0 Guide Comments

Add Comment

View Statistics:

Past 24 Hours: 0

Past 7 Days: 1

Past 30 Days: 5

All Time: 49