Nintendo Wii Faceplate Replacement

What you need

    1. Nintendo Wii Faceplate Replacement, Nintendo Wii Faceplate Replacement: step 1, image 1 of 2 Nintendo Wii Faceplate Replacement, Nintendo Wii Faceplate Replacement: step 1, image 2 of 2
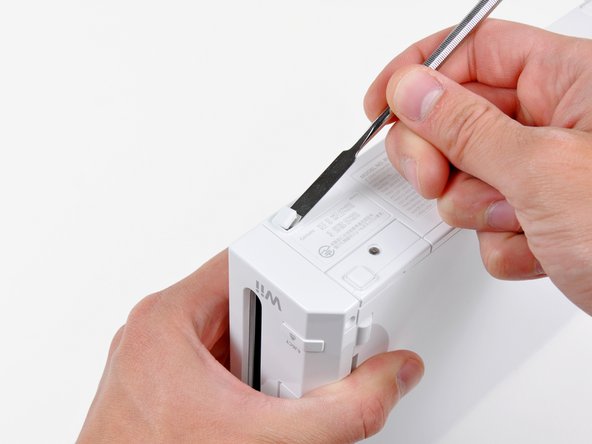
      • Use a metal spudger to remove the white plastic screw covers stuck to the lower case near the front of the Wii.

      Add Comment

    2. Nintendo Wii Faceplate Replacement: step 2, image 1 of 1
      • Remove the two 8.3 mm Tri-Wing screws hidden under the covers you just removed.

      Add Comment

    3. Nintendo Wii Faceplate Replacement: step 3, image 1 of 1
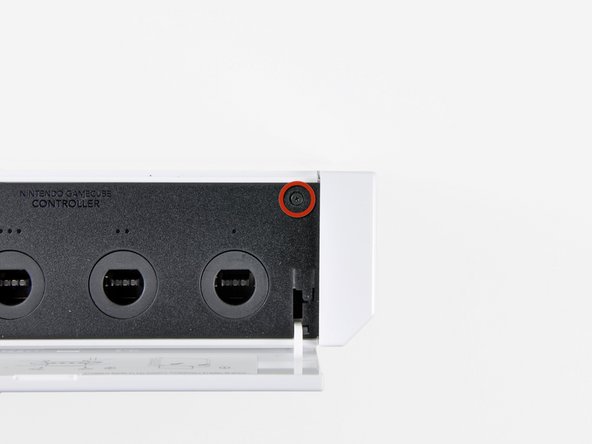
      • Remove the single 5.9 mm Phillips screw under the controller port door nearest the faceplate.

      Add Comment

    4. Nintendo Wii Faceplate Replacement: step 4, image 1 of 1
      • Use a metal spudger to remove the rubber foot stuck to the side of the Wii near the DVD drive opening.

      Add Comment

    5. Nintendo Wii Faceplate Replacement: step 5, image 1 of 1
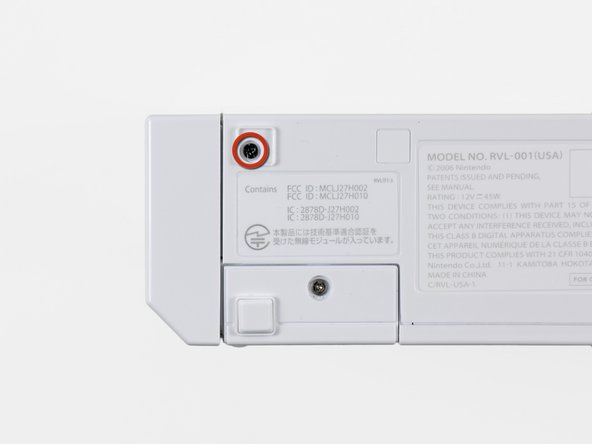
      • Remove the single 5.9 mm Phillips screw hidden under the foot you just removed.

      Add Comment

    6. Nintendo Wii Faceplate Replacement: step 6, image 1 of 2 Nintendo Wii Faceplate Replacement: step 6, image 2 of 2
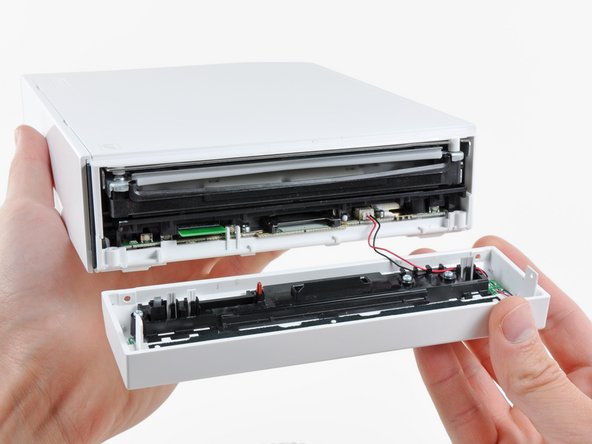
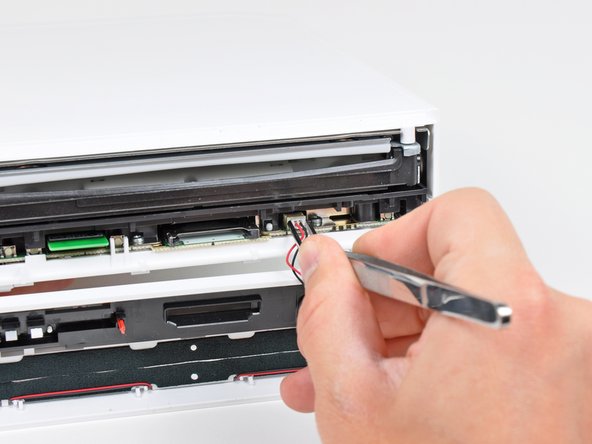
      • Carefully pull the faceplate away from the front of the Wii.

      • Use a pair of tweezers to disconnect the LED cable's plastic connector from the motherboard.

      • Remove the faceplate.

      Add Comment

Conclusion

To reassemble your device, follow these instructions in reverse order.

Cancel: I did not complete this guide.

System

Member since: 09/24/09

2,562 Guides authored

0 Guide Comments

Add Comment

View Statistics:

Past 24 Hours: 0

Past 7 Days: 0

Past 30 Days: 1

All Time: 41