
-
-
In order to remove the back-cover 18 little clips have to be pried open using a small metal-spattle or similar lever tool. This should not require much time and leave the back-cover intact.
-
The buttons on the outer edges of the device will also be easily removable now.
-
-
-
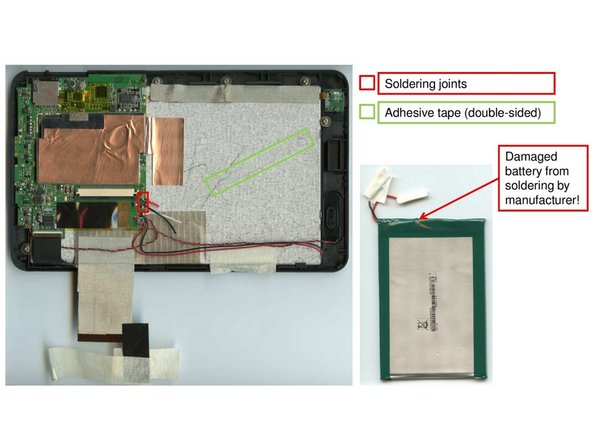
Once the back-cover is removed, three cables need to be loosened before removing the battery is possible. The cables are fixed with three adhesive patches as indicated in the figure.
-
The cables can then be easily removed. The ribbon cable connector needs to be unplugged.
-
Now the battery is accessible. As it is still attached to the deive thorugh a soldering joint, this joint must be unsoldered or destroyed in order to remove the battery from the device.
-
-
-
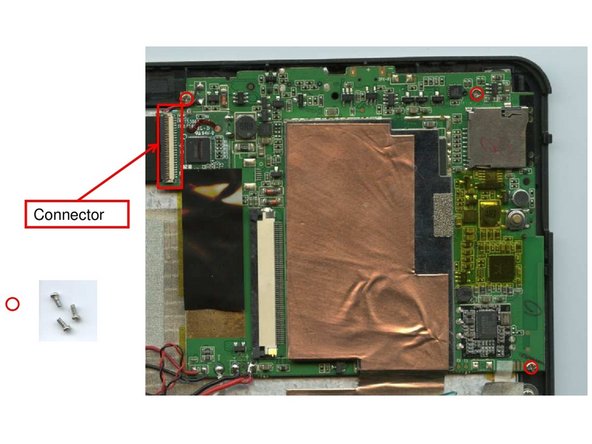
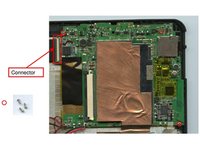
The first step of removing the mainboard is loosening the connector as indicated in the first figure. Also three screws need to be removed using a #00 screw driver.
-
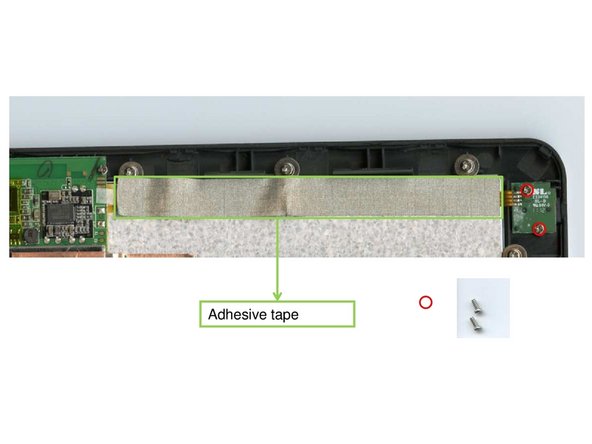
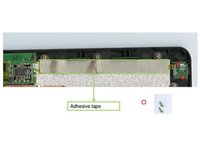
Next, a one-sided adhesive close to one of the outer edges of the device (close to the headphone connectors) needs to be removed. The two crews that are marked in the second figure can be removed using a #00 screw driver.
-
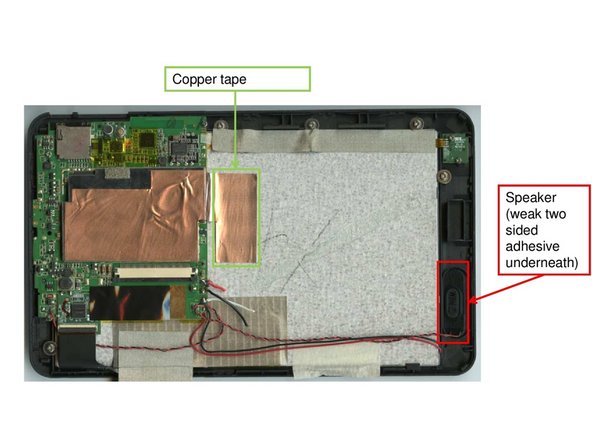
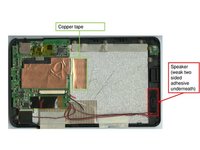
The large patch of copper tape highlighted in figure three needs to be pulled off slowly. After this, the speaker on one of the short edges of the device can be easily removed.
-
After this, the mainboard can be removed from the device. Display cables and the connection to the speakers are still attached to the mainboard and may be removed.
-
-
-
In order to remove the display unit from the device. Five screws located in two opposite corners of the device need to be removed using a #1 screw driver.
-
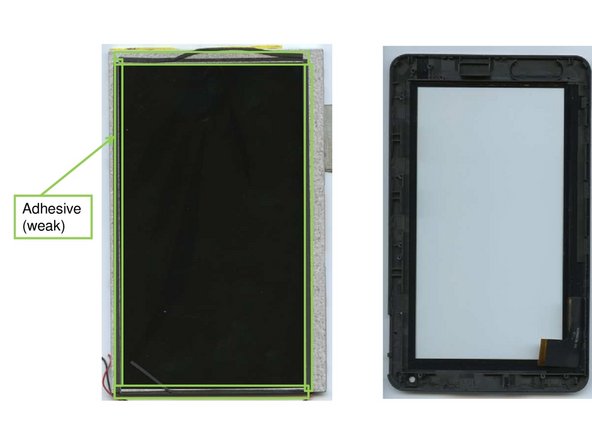
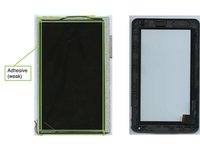
As the dislpay unit is only connected to the frame with a very weak adhesive, it can be easily pulled removed.
-
-
-
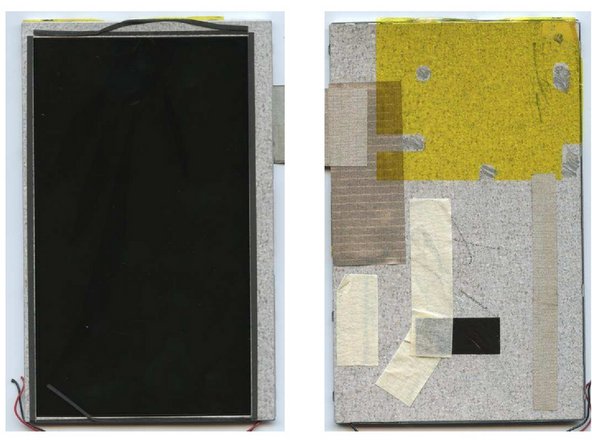
In order to separate display unit and front glass, much force is required to pry off both components
-


Finish Line