PSP 2000 Memory Stick Slot Replacement

What you need

    1. PSP 2000  Memory Stick Slot Replacement, PSP 2000  Memory Stick Slot Replacement: step 1, image 1 of 3 PSP 2000  Memory Stick Slot Replacement, PSP 2000  Memory Stick Slot Replacement: step 1, image 2 of 3 PSP 2000  Memory Stick Slot Replacement, PSP 2000  Memory Stick Slot Replacement: step 1, image 3 of 3
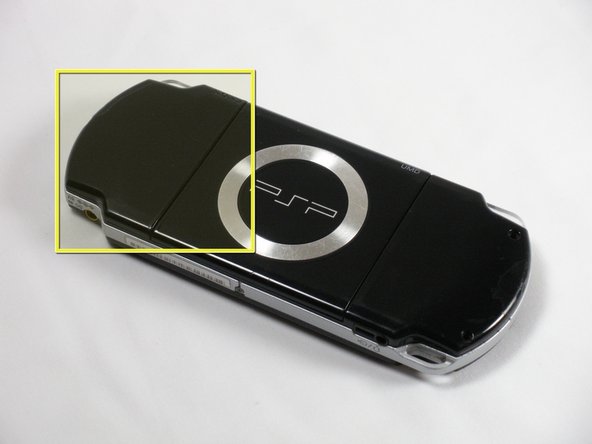
      • Place PSP face down, so that the UMD Drive is facing upwards.

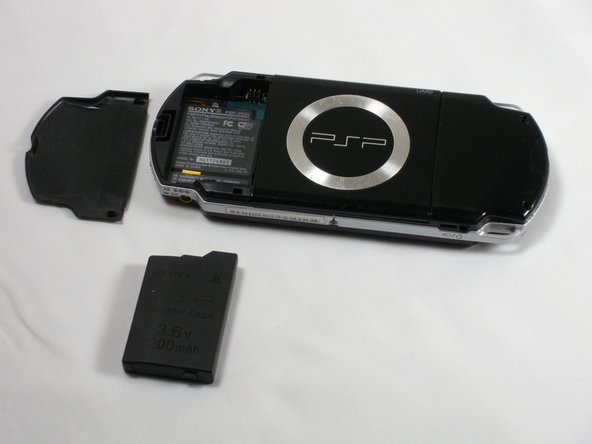
      • Locate the battery door and open.

      • Remove the battery from inside.

      Add Comment

    2. PSP 2000  Memory Stick Slot Replacement: step 2, image 1 of 1
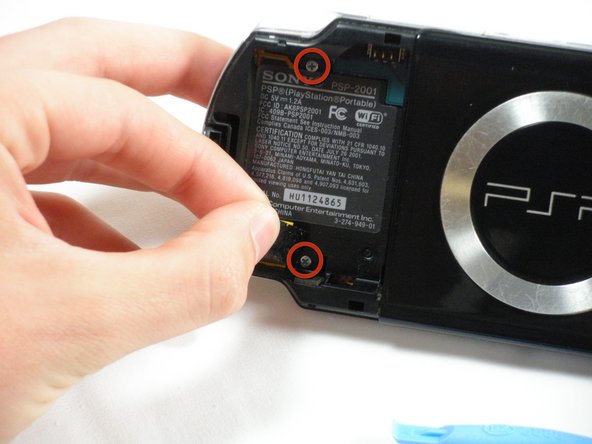
      • This step requires the removal of the warranty sticker. Removing the sticker will void the warranty.

      • Locate the sticker in the battery compartment labeled: "En: Warranty Void if Seal Damaged."

      • Remove the sticker using the PSP Opening Tools.

      • Under the sticker is a 5mm Phillips screw needed in the next step.

      Add Comment

    3. PSP 2000  Memory Stick Slot Replacement: step 3, image 1 of 2 PSP 2000  Memory Stick Slot Replacement: step 3, image 2 of 2
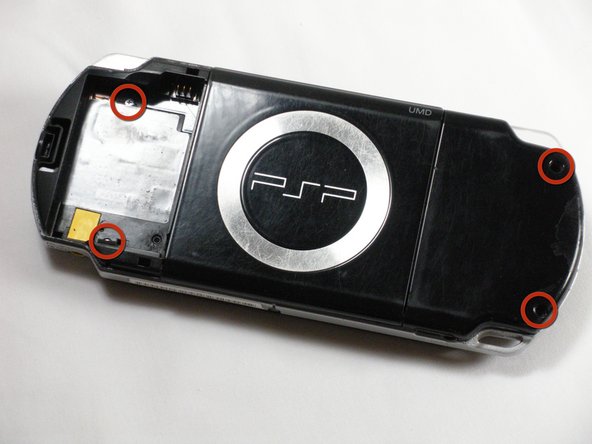
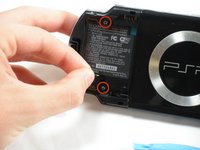
      • Remove four 5 mm Phillips from the case.

      • If the screws stick in the case, you can use a magnetized screwdriver to draw them out.

      Add Comment

    4. PSP 2000  Memory Stick Slot Replacement: step 4, image 1 of 2 PSP 2000  Memory Stick Slot Replacement: step 4, image 2 of 2
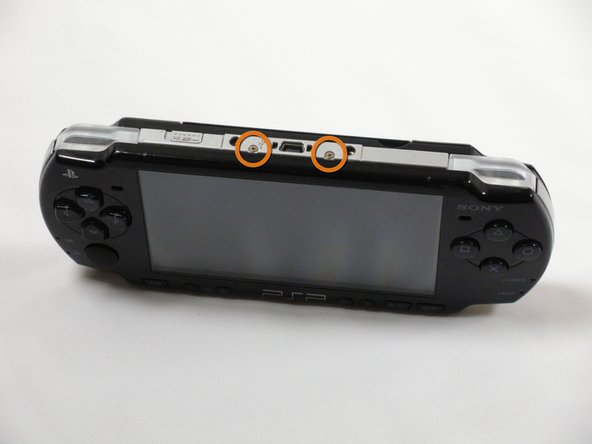
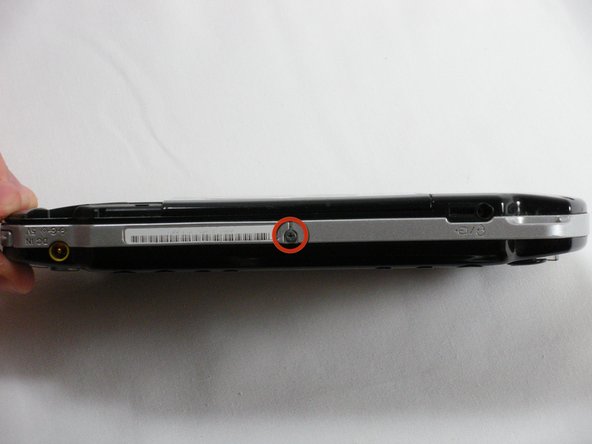
      • Remove the following screws from around the bezel:

      • Two 4 mm Phillips

      • One 5 mm Phillips

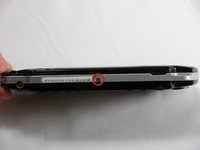
      • The two shorter 4 mm screws are on the top of the PSP; the longer 5 mm screw is on the bottom.

      Add Comment

    5. PSP 2000  Memory Stick Slot Replacement: step 5, image 1 of 2 PSP 2000  Memory Stick Slot Replacement: step 5, image 2 of 2
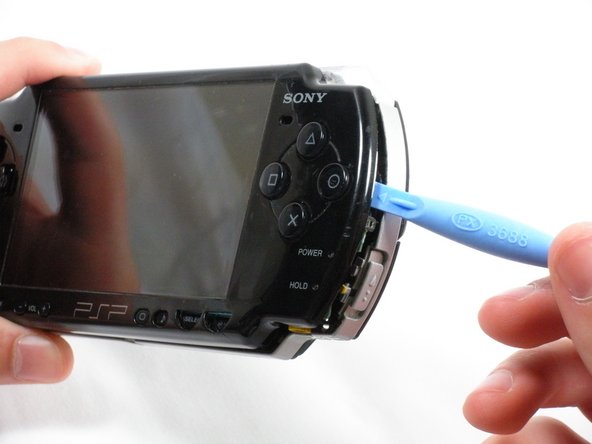
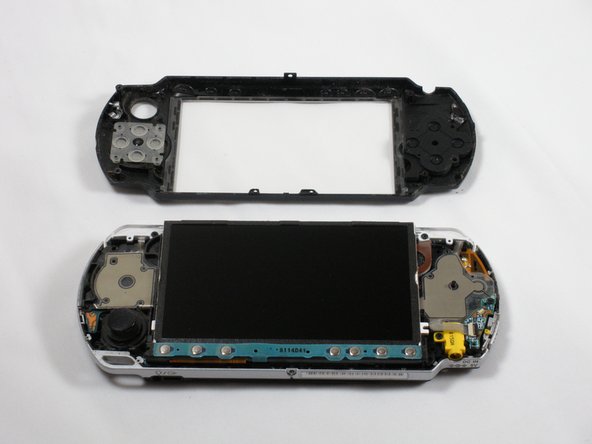
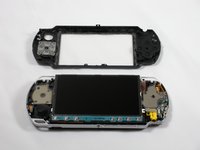
      • Gently pry the front bezel away from the casing using a PSP opening tool.

      • Start on the right hand side of the PSP bezel, and carefully work the tool around the side.

      • If you want to clean the control buttons or D-pad, you can easily pop them out once the faceplate is off and wipe them clean.

      Add Comment

    6. PSP 2000  Memory Stick Slot Replacement: step 6, image 1 of 3 PSP 2000  Memory Stick Slot Replacement: step 6, image 2 of 3 PSP 2000  Memory Stick Slot Replacement: step 6, image 3 of 3
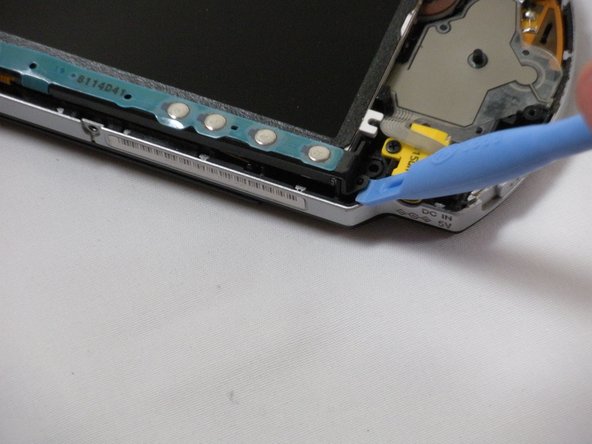
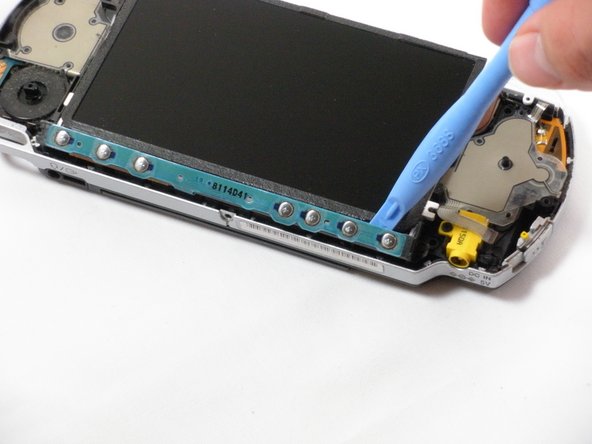
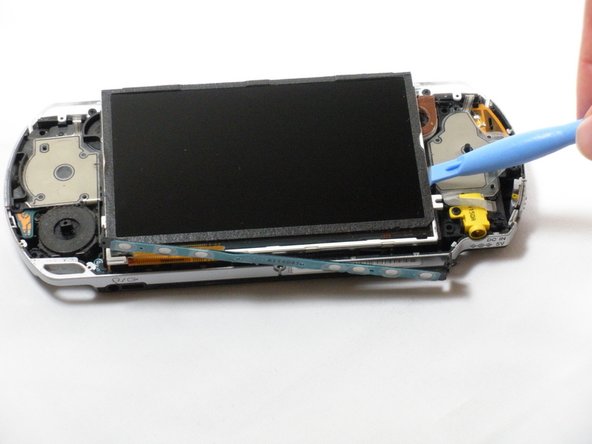
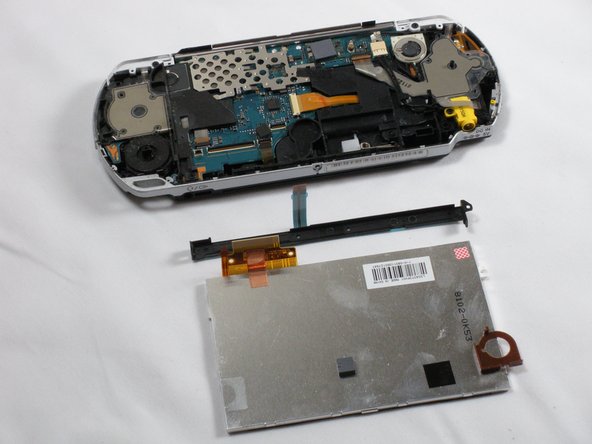
      • Remove the home bar by gently prying on the left and right sides of it with the opening tools. Lift the bar out of the device.

      • A ribbon cable connects the home bar to the logic board. Be careful not to damage the cable when removing the bar.

      Add Comment

    7. PSP 2000  Memory Stick Slot Replacement: step 7, image 1 of 3 PSP 2000  Memory Stick Slot Replacement: step 7, image 2 of 3 PSP 2000  Memory Stick Slot Replacement: step 7, image 3 of 3
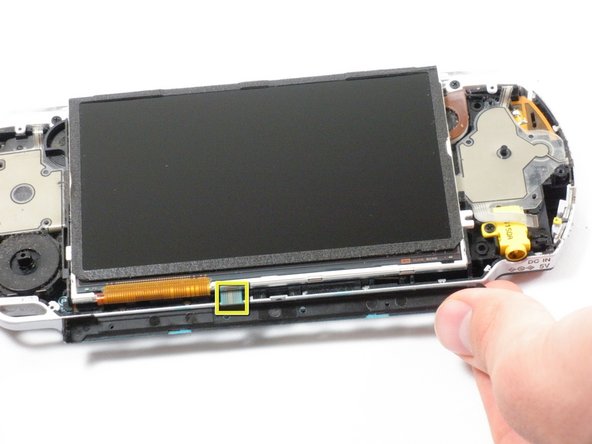
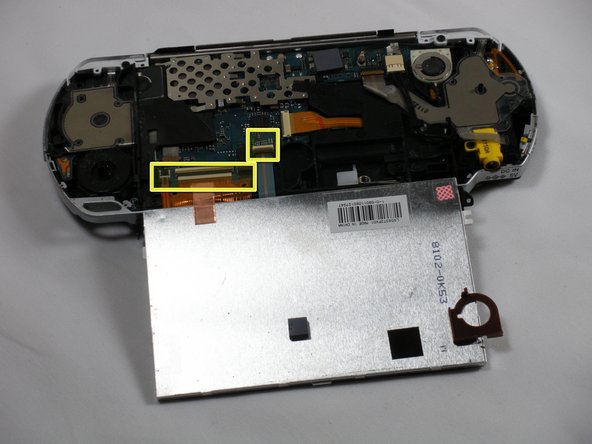
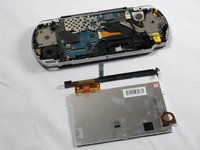
      • With the home bar out of the way, gently pry up the display using the opening tools.

      • There is another ribbon cable attached to the bottom of the LCD. Be careful not to damage either of the connectors when removing.

      • Lift the black tabs of the ribbon cable connectors using a opening tool. Pull the ribbons out towards the bottom of the PSP to disconnect.

      • Gently lift out the display.

      Add Comment

    8. PSP 2000  Memory Stick Slot Replacement: step 8, image 1 of 3 PSP 2000  Memory Stick Slot Replacement: step 8, image 2 of 3 PSP 2000  Memory Stick Slot Replacement: step 8, image 3 of 3
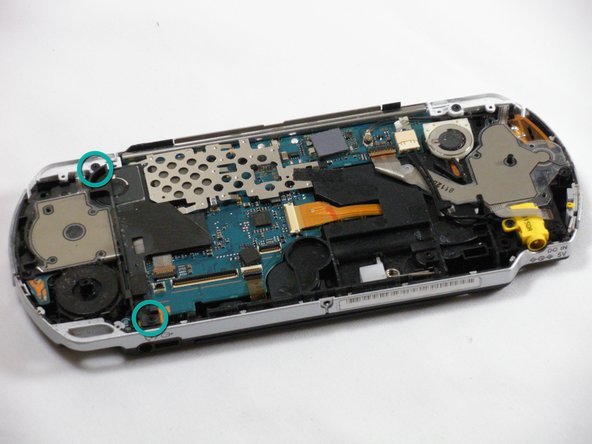
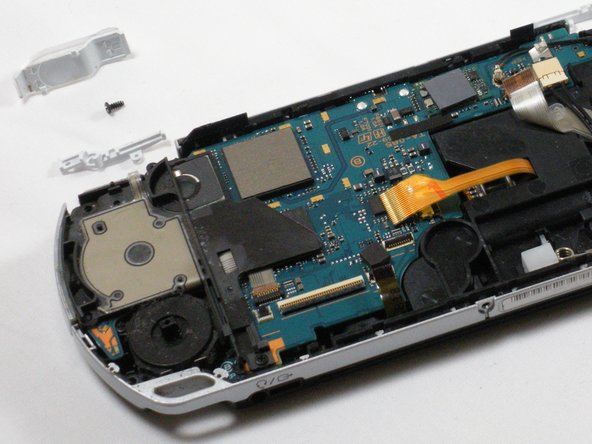
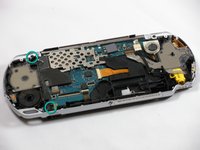
      • Remove two 4.5 mm Phillips screws from the left-hand side of the PSP.

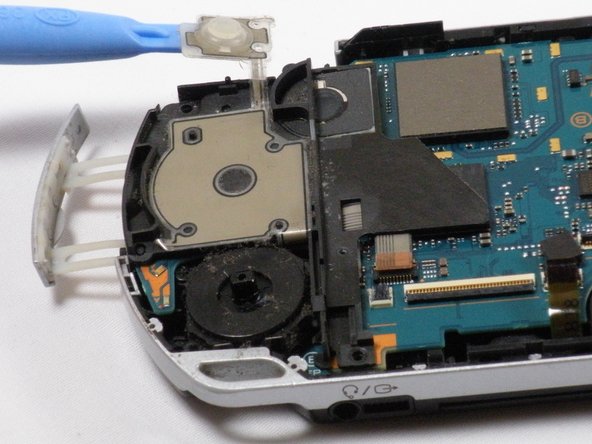
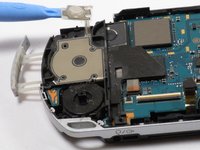
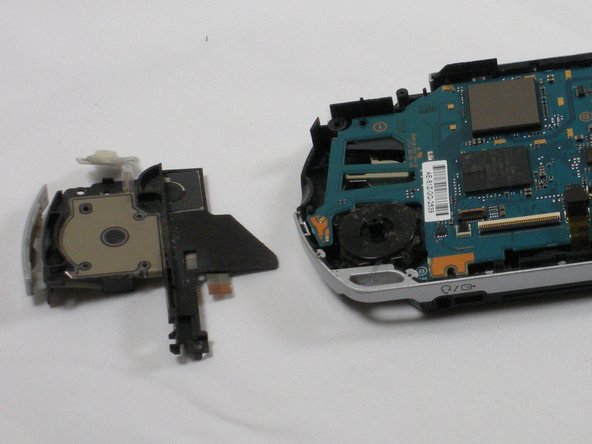
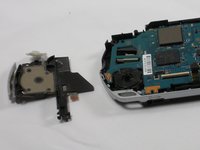
      • Slide off the left trigger along with the plastic bracket underneath.

      • Carefully pry off left trigger button using opening tools.

      • The button is adhered to the body. It can be re-adhered with hot glue after being pried-up, if necessary.

      Add Comment

    9. PSP 2000  Memory Stick Slot Replacement: step 9, image 1 of 2 PSP 2000  Memory Stick Slot Replacement: step 9, image 2 of 2
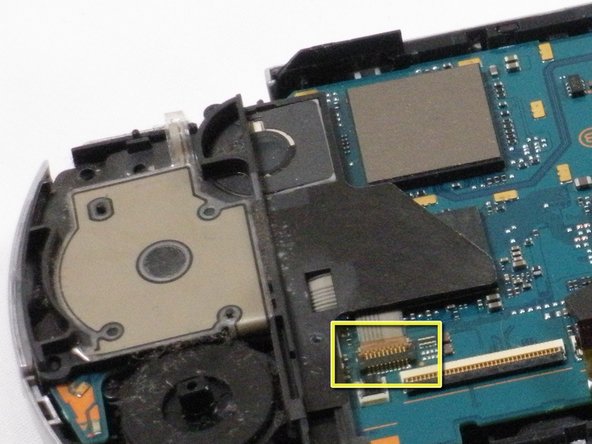
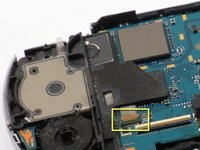
      • Use an opening tool to lift up the brown tab on the connector and remove the cable horizontally.

      • Gently remove the memory card slot by pulling it straight out.

      Add Comment

Conclusion

To reassemble your device, follow these instructions in reverse order.

Cancel: I did not complete this guide.

System

Member since: 09/24/09

2,562 Guides authored

0 Guide Comments

Add Comment

View Statistics:

Past 24 Hours: 1

Past 7 Days: 2

Past 30 Days: 3

All Time: 40