
Introduction
Having trouble reading discs? This guide is for you!
What you need
-
-
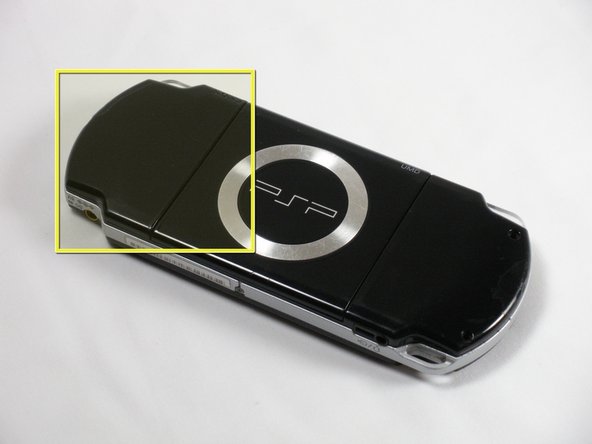
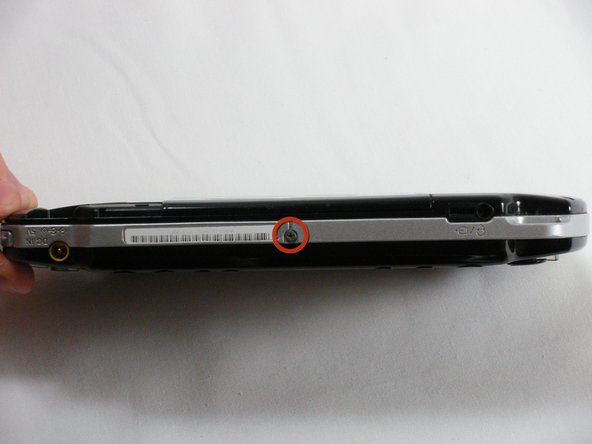
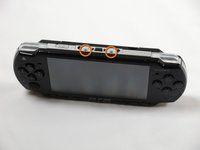
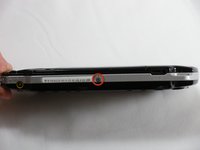
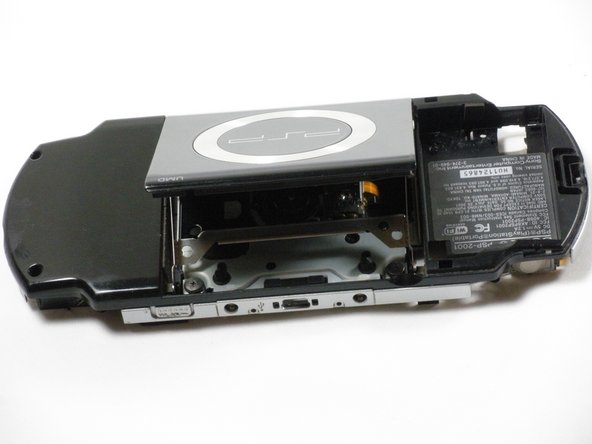
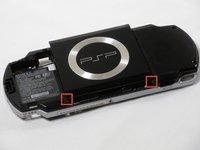
Place PSP face down, so that the UMD Drive is facing upwards.
-
Locate the battery door and open.
-
Remove the battery from inside.
-
-
-
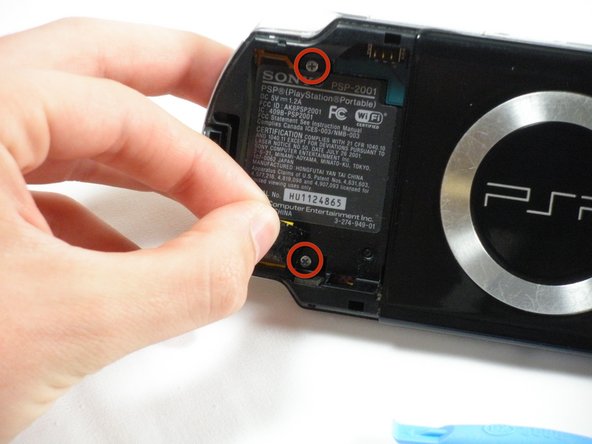
Locate the sticker in the battery compartment labeled: "En: Warranty Void if Seal Damaged."
-
Remove the sticker using the PSP Opening Tools.
-
-
-
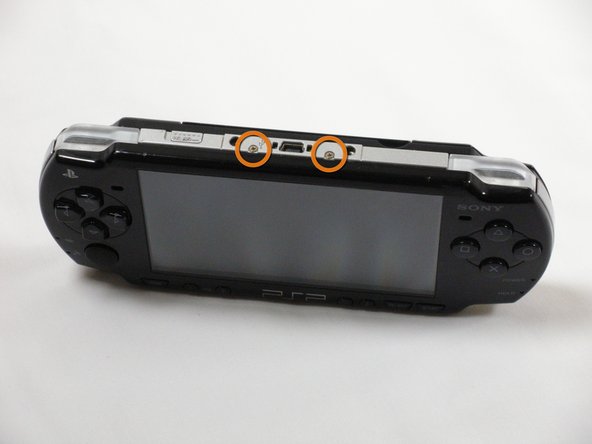
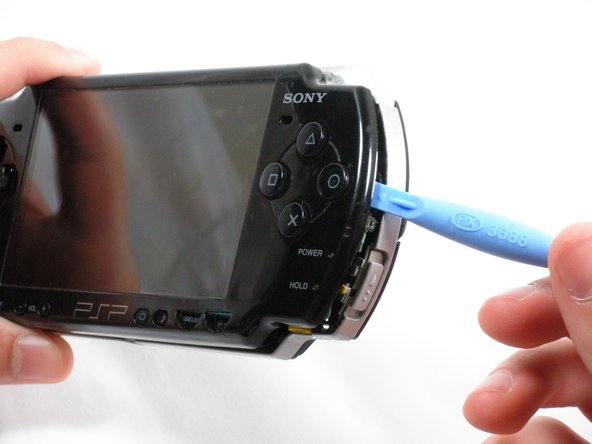
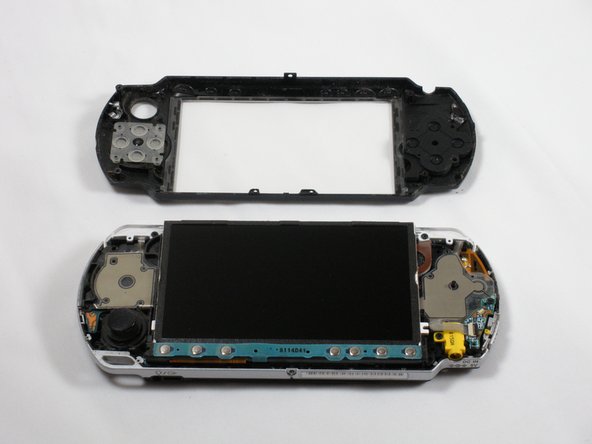
Gently pry the front bezel away from the casing using a PSP opening tool.
-
Start on the right hand side of the PSP bezel, and carefully work the tool around the side.
-
-
-
Remove the home bar by gently prying on the left and right sides of it with the opening tools. Lift the bar out of the device.
-
-
-
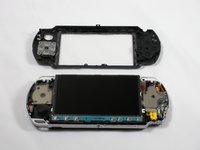
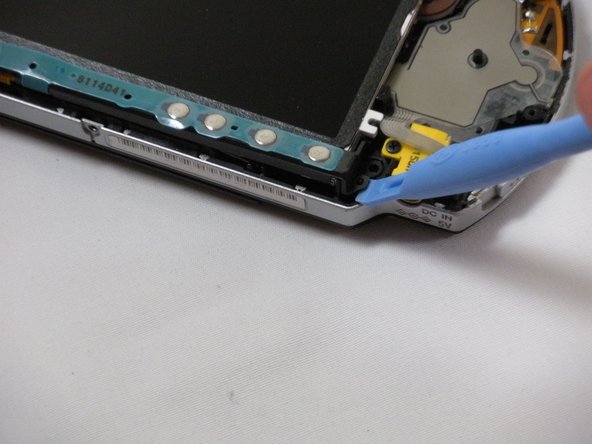
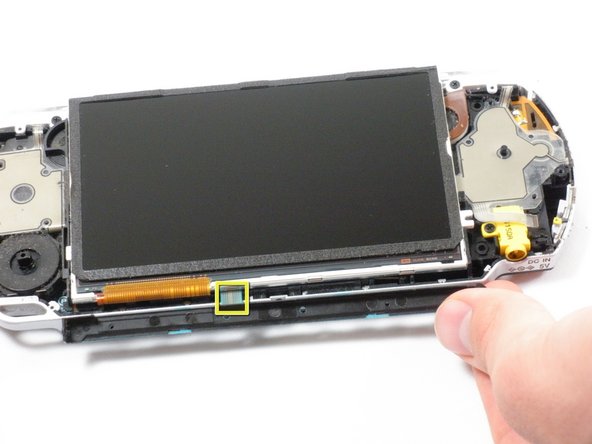
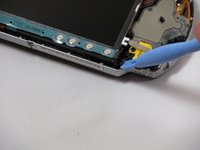
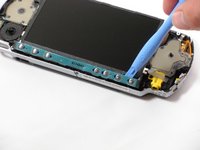
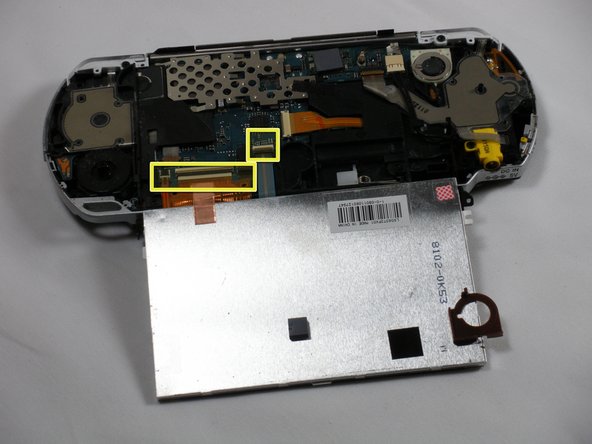
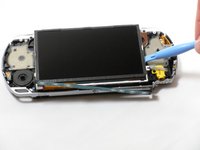
With the home bar out of the way, gently pry up the display using the opening tools.
-
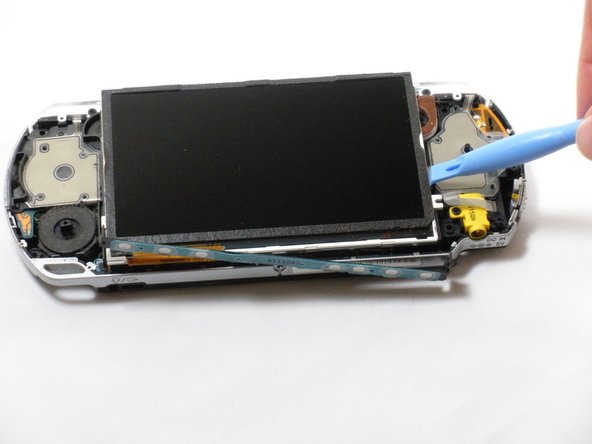
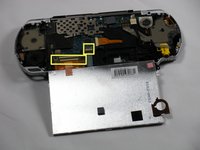
Lift the black tabs of the ribbon cable connectors using a opening tool. Pull the ribbons out towards the bottom of the PSP to disconnect.
-
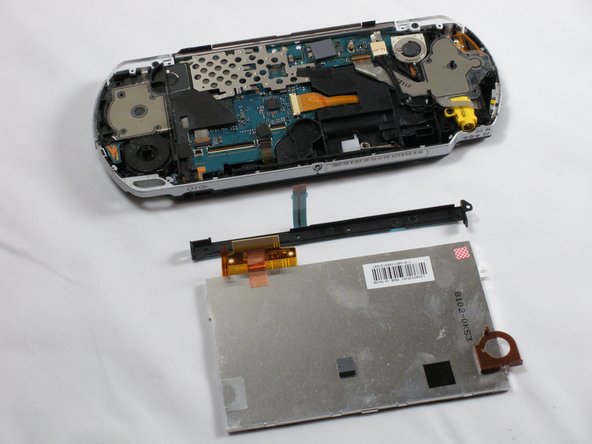
Gently lift out the display.
-
-
-
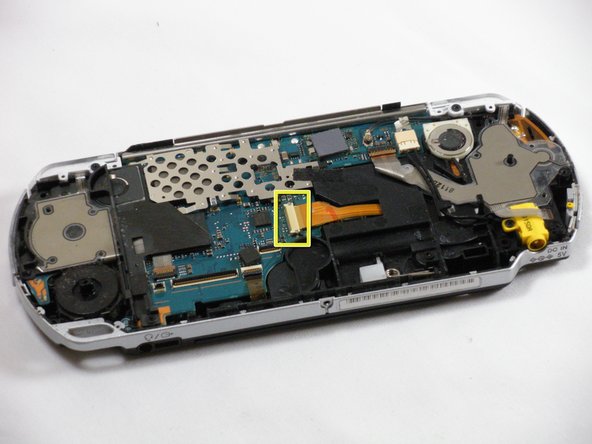
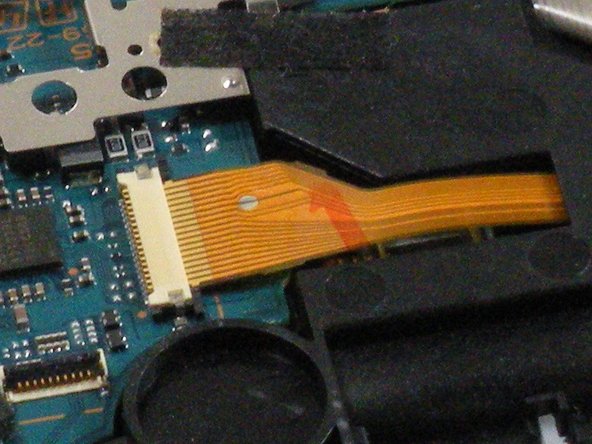
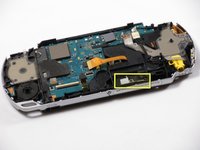
Carefully disconnect the UMD drive ribbon cable from the logic board. Use the PSP opening tools to push the black tabs on the connector horizantally to free the cable.
-
At this point it is useful to tape the loose metal parts with some masking tape so they don't fall out whilst you have the PSP the other way up.
-
-
-
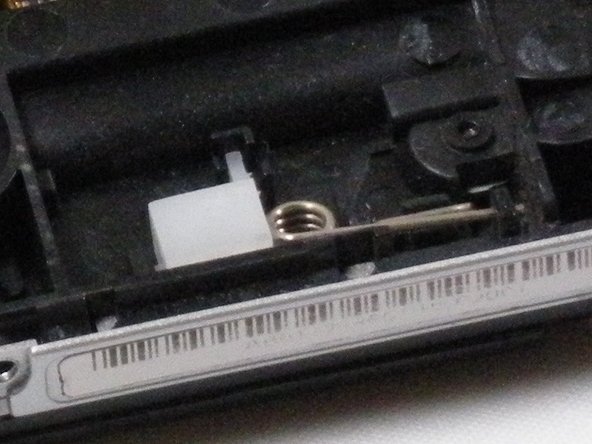
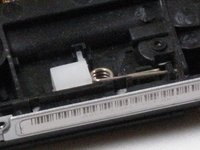
With the front side of the PSP facing you, locate small white plastic box with metal spring attached.
-
Remove the white plastic box and spring from the PSP.
-
-
-
Position the PSP so that the UMD Device is facing upwards.
-
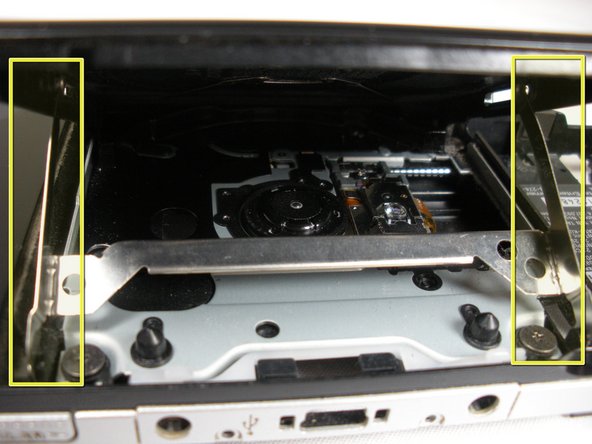
With the UMD drive open, locate the aluminum UMD eject bracket. Pinch upper arms inwards to dislocate them from the UMD door.
-
The UMD eject bracket can now be easily pulled out.
-
Gently pry on the left side of the UMD door to remove it.
-
-
-
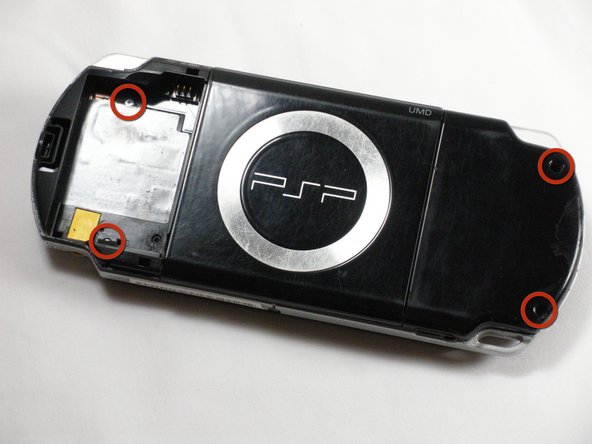
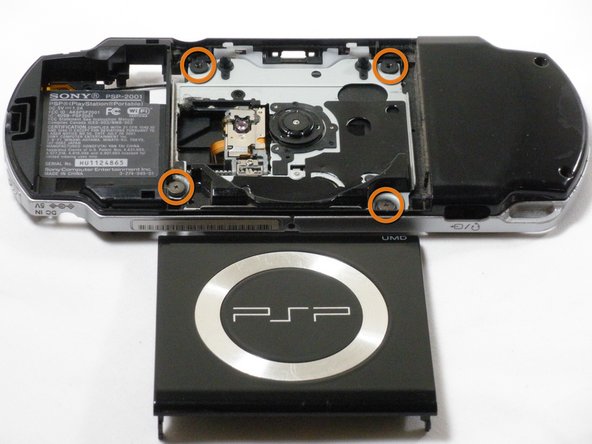
With the UMD door off, locate and remove the four 4mm Phillips screws that hold in the UMD Drive in place.
-
-
-
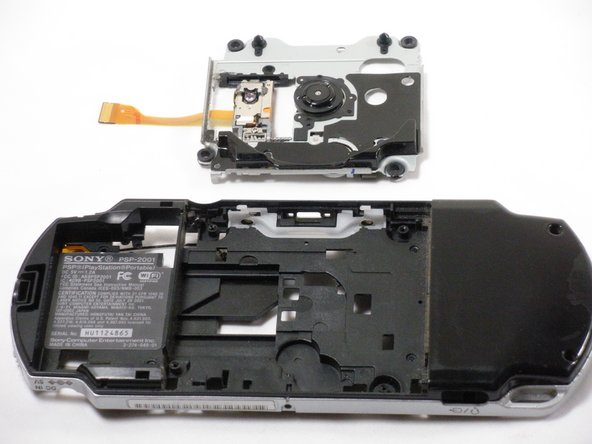
With the four screws unscrewed, the UMD Drive can be removed. Gently lift the drive from its housing.
-


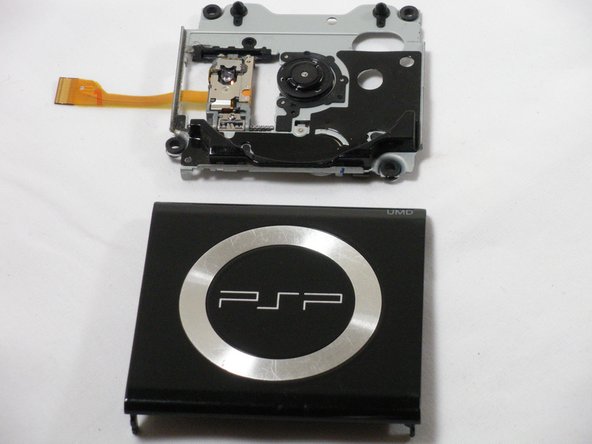


To reassemble your device, follow these instructions in reverse order.
