
PSP Go Trigger buttons Replacement

What you need

  1. PSP Go Trigger buttons Replacement, PSP Go Trigger buttons Replacement: step 1, image 1 of 2 PSP Go Trigger buttons Replacement, PSP Go Trigger buttons Replacement: step 1, image 2 of 2
    • Unscrew the four Phillips screws on the back of the PSP Go.

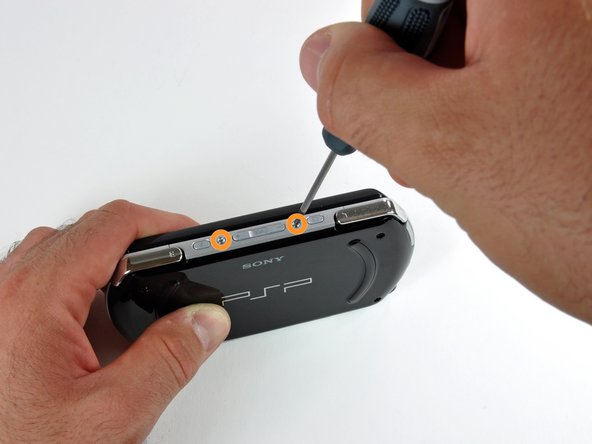
    • Rotate the PSP so you can see the top of the device.

    • Unscrew the two Phillips screws next to the volume buttons.

  2. PSP Go Trigger buttons Replacement: step 2, image 1 of 2 PSP Go Trigger buttons Replacement: step 2, image 2 of 2
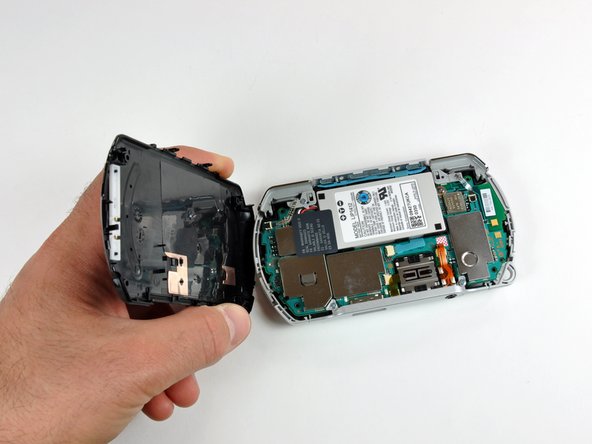
    • Use a plastic opening tool around the perimeter of the back cover to loosen it on all sides.

    • Open the back cover by gently lifting the right side, and rotating it to the left side (as if you were opening a book).

    • Be careful not to rotate the back cover from the bottom, as you will break the plastic screw holes on top of the device.

  3. PSP Go Trigger buttons Replacement: step 3, image 1 of 1
    • Pull the top cover upwards gently from its housing.

  4. PSP Go Trigger buttons Replacement: step 4, image 1 of 1
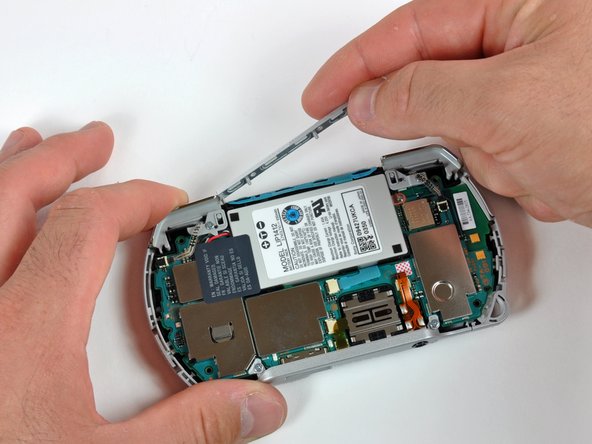
    • The top cover will most likely come off during the repair, so might as well take it off now. Pull it upwards gently from its housing.

  5. PSP Go Trigger buttons Replacement: step 5, image 1 of 1
    • The procedure is exactly the same for the left trigger button.

    • Use a plastic opening tool to gently flip up the left trigger connector.

  6. PSP Go Trigger buttons Replacement: step 6, image 1 of 2 PSP Go Trigger buttons Replacement: step 6, image 2 of 2
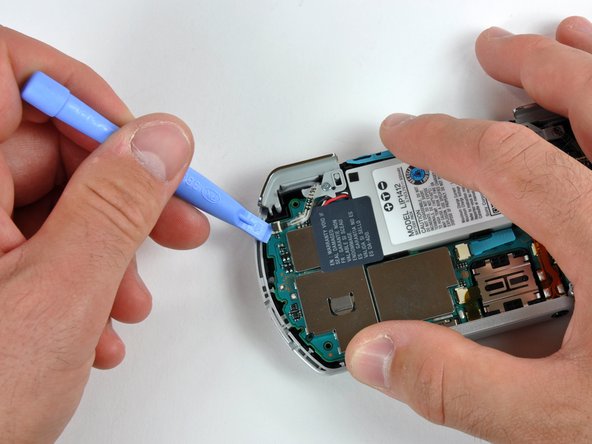
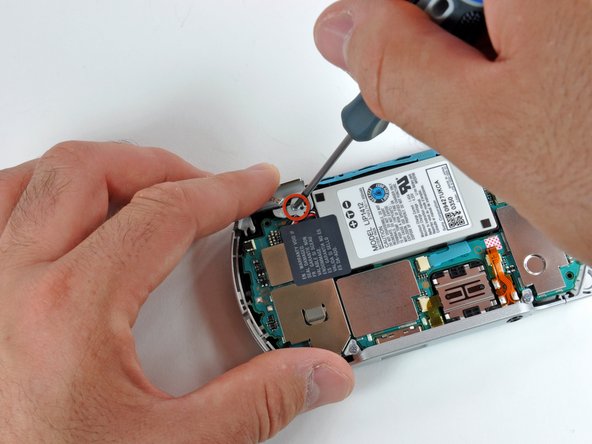
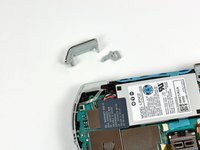
    • Unscrew the lone Phillips screw holding the trigger in place. Remove both trigger and retaining plate from the PSP Go.

    • If necessary, repeat steps 2 and 3 to remove the right trigger button.

System

Member since: 09/24/09

2,562 Guides authored

View Statistics:

Past 24 Hours: 0

Past 7 Days: 0

Past 30 Days: 0

All Time: 37