/

Panasonic Lumix DMC-FX01 On/ Off and Settings Button cover replacement

What you need

  1. Panasonic Lumix DMC-FX01 On/ Off and Settings Button cover replacement, Panasonic Lumix DMC-FX01 On/ Off and Settings Button cover replacement: step 1, image 1 of 1
    • Locate the memory card and battery card latch on the bottom of the camera.

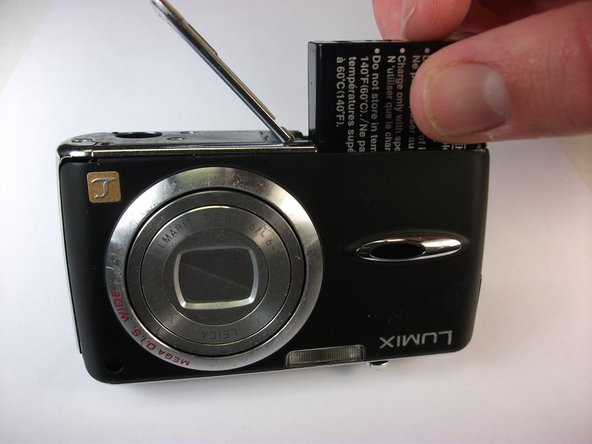
    • Slide the latch to the open position.

  2. Panasonic Lumix DMC-FX01 On/ Off and Settings Button cover replacement: step 2, image 1 of 1
    • Open the battery latch, and slide the battery release lever to the right.

  3. Panasonic Lumix DMC-FX01 On/ Off and Settings Button cover replacement: step 3, image 1 of 1
    • Remove the battery from the camera.

  4. Panasonic Lumix DMC-FX01 On/ Off and Settings Button cover replacement: step 4, image 1 of 1
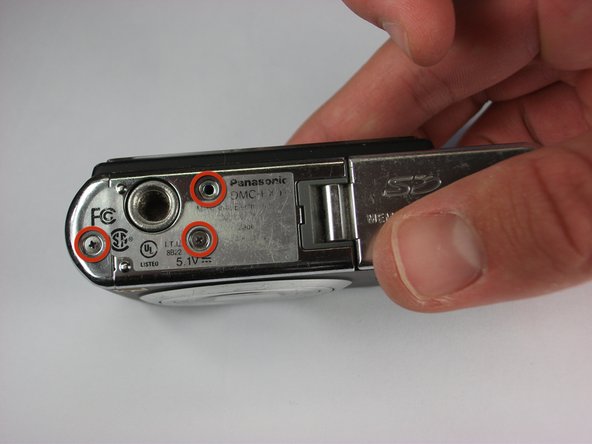
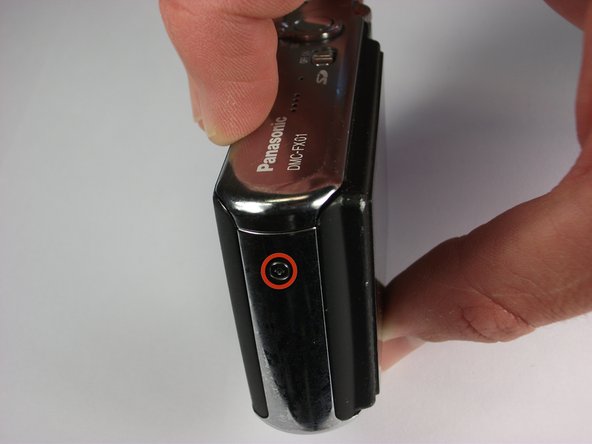
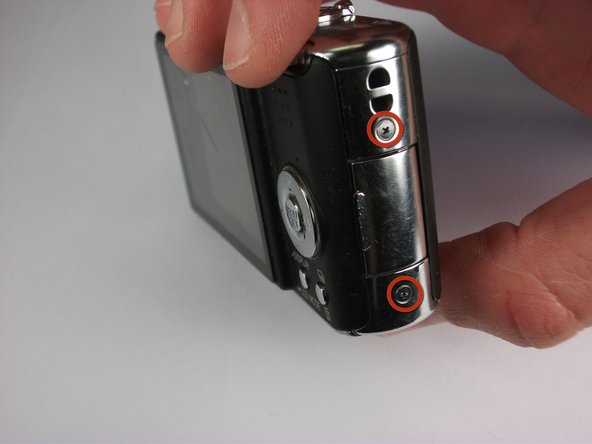
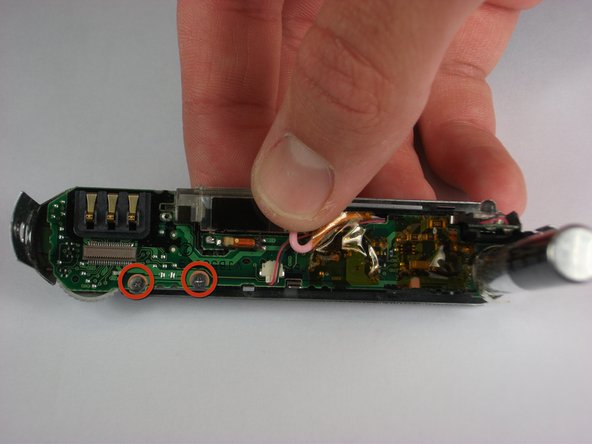
    • Using a size #00 Phillips screwdriver, remove the three 4.58 mm screws on the bottom of the camera.

    • Use this screwdriver for all screws in the device.

  5. Panasonic Lumix DMC-FX01 On/ Off and Settings Button cover replacement: step 5, image 1 of 1
    • Remove the 3.15 mm screw on the left side of the camera.

  6. Panasonic Lumix DMC-FX01 On/ Off and Settings Button cover replacement: step 6, image 1 of 2 Panasonic Lumix DMC-FX01 On/ Off and Settings Button cover replacement: step 6, image 2 of 2
    • Remove the left side casing.

  7. Panasonic Lumix DMC-FX01 On/ Off and Settings Button cover replacement: step 7, image 1 of 1
    • Remove the two 3.15 mm screws on the right side of the camera.

  8. Panasonic Lumix DMC-FX01 On/ Off and Settings Button cover replacement: step 8, image 1 of 1
    • Remove the bottom right panel.

  9. Panasonic Lumix DMC-FX01 On/ Off and Settings Button cover replacement: step 9, image 1 of 2 Panasonic Lumix DMC-FX01 On/ Off and Settings Button cover replacement: step 9, image 2 of 2
    • Gently remove the back casing.

    • Start at the bottom and carefully pry towards the top to get this piece free.

  10. Panasonic Lumix DMC-FX01 On/ Off and Settings Button cover replacement: step 10, image 1 of 1
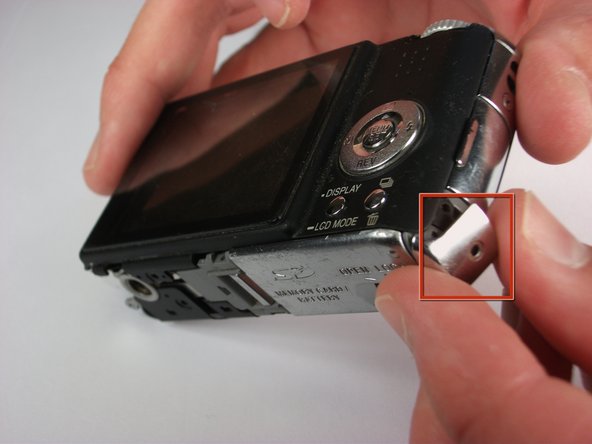
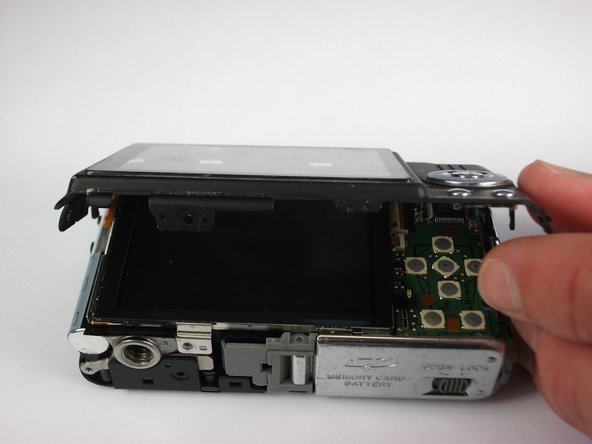
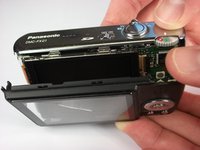
    • Gently lift up the LCD screen.

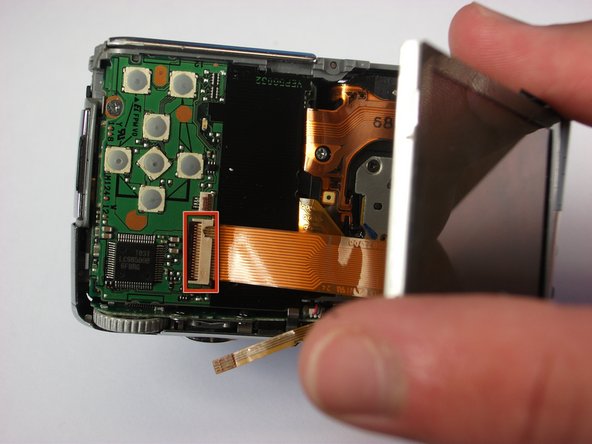
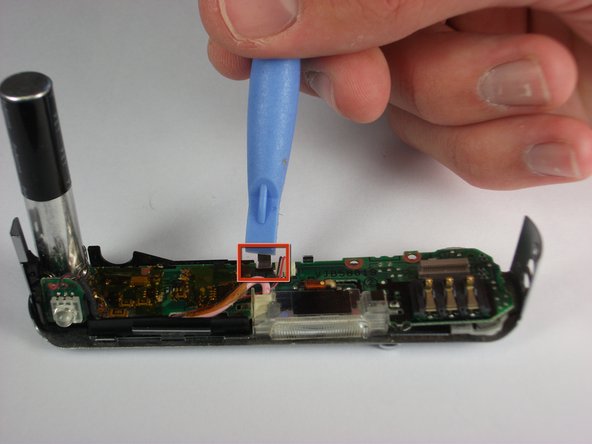
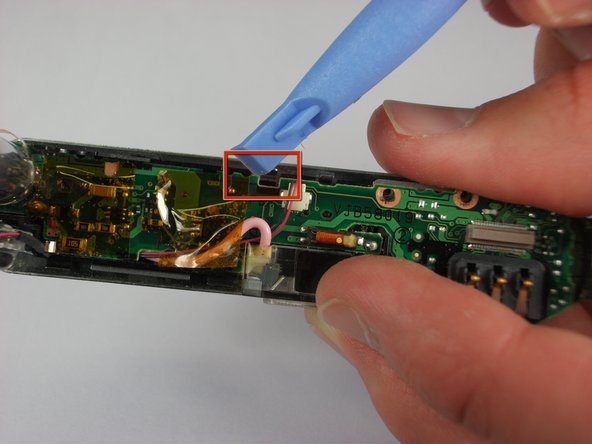
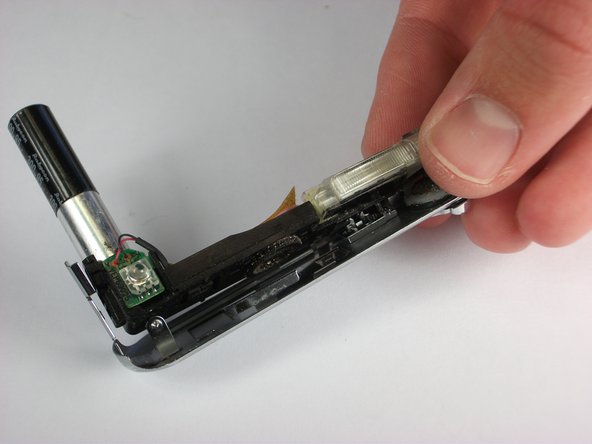
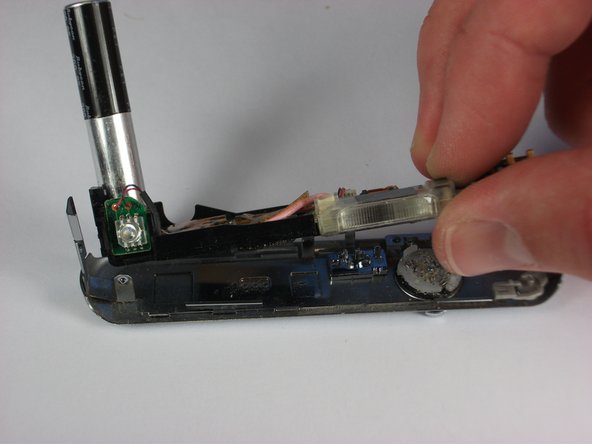
    • Using a plastic prying tool, flip up the latch that holds the thin ribbon in place.

    • It should fall out on its own or with a gentle tug.

  11. Panasonic Lumix DMC-FX01 On/ Off and Settings Button cover replacement: step 11, image 1 of 1
    • Gently tug the thicker ribbon to remove it from its housing.

  12. Panasonic Lumix DMC-FX01 On/ Off and Settings Button cover replacement: step 12, image 1 of 2 Panasonic Lumix DMC-FX01 On/ Off and Settings Button cover replacement: step 12, image 2 of 2
    • Carefully remove the upper assembly, which houses the buttons and the flash battery.

  13. Panasonic Lumix DMC-FX01 On/ Off and Settings Button cover replacement: step 13, image 1 of 1
    • Remove the two 3mm screws.

  14. Panasonic Lumix DMC-FX01 On/ Off and Settings Button cover replacement: step 14, image 1 of 2 Panasonic Lumix DMC-FX01 On/ Off and Settings Button cover replacement: step 14, image 2 of 2
    • Pry bars back gently as shown.

    • Fingers can be used but tool is shown for clarity.

  15. Panasonic Lumix DMC-FX01 On/ Off and Settings Button cover replacement: step 15, image 1 of 2 Panasonic Lumix DMC-FX01 On/ Off and Settings Button cover replacement: step 15, image 2 of 2
    • After, releasing all the components, gently remove the flash assembly from the casing.

  16. Panasonic Lumix DMC-FX01 On/ Off and Settings Button cover replacement: step 16, image 1 of 1
    • Remove the 1.2 mm screw from the settings wheel.

  17. Panasonic Lumix DMC-FX01 On/ Off and Settings Button cover replacement: step 17, image 1 of 1
    • Replace buttons.

    • Replace the "On/ Off" button with the prongs facing away from the flash.

Conclusion

To reassemble your device, follow these instructions in reverse order.

System

Member since: 09/24/09

2,562 Guides authored

0 Comments

Add Comment

View Statistics:

Past 24 Hours: 0

Past 7 Days: 0

Past 30 Days: 0

All Time: 0