/

Panasonic Lumix DMC-FX01 Rear Casing Replacement

What you need

  1. Panasonic Lumix DMC-FX01 Rear Casing Replacement, Panasonic Lumix DMC-FX01 Rear Casing Replacement: step 1, image 1 of 1
    • Locate the memory card and battery card latch on the bottom of the camera.

    • Slide the latch to the open position.

  2. Panasonic Lumix DMC-FX01 Rear Casing Replacement: step 2, image 1 of 1
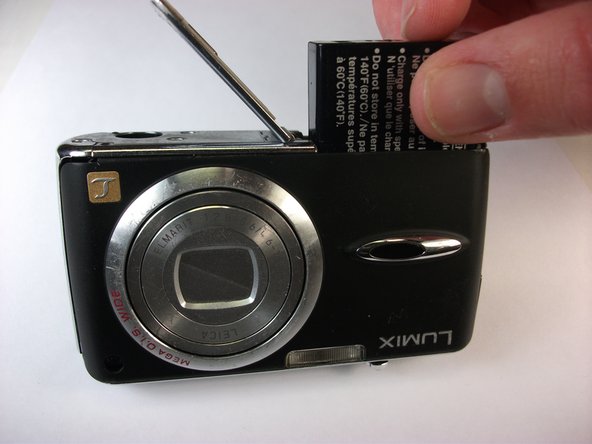
    • Open the battery latch, and slide the battery release lever to the right.

  3. Panasonic Lumix DMC-FX01 Rear Casing Replacement: step 3, image 1 of 1
    • Remove the battery from the camera.

  4. Panasonic Lumix DMC-FX01 Rear Casing Replacement: step 4, image 1 of 1
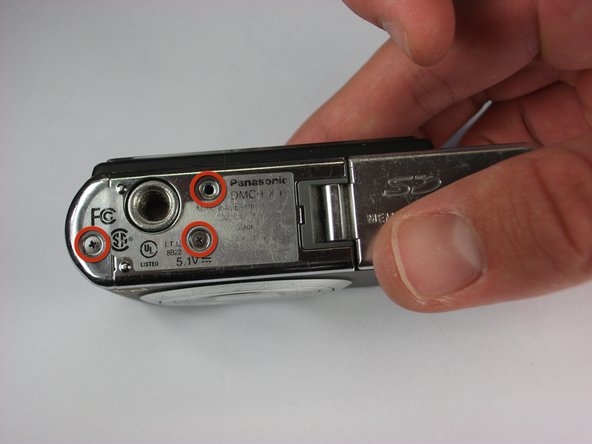
    • Using a size #00 Phillips screwdriver, remove the three 4.58 mm screws on the bottom of the camera.

    • Use this screwdriver for all screws in the device.

  5. Panasonic Lumix DMC-FX01 Rear Casing Replacement: step 5, image 1 of 1
    • Remove the 3.15 mm screw on the left side of the camera.

  6. Panasonic Lumix DMC-FX01 Rear Casing Replacement: step 6, image 1 of 2 Panasonic Lumix DMC-FX01 Rear Casing Replacement: step 6, image 2 of 2
    • Remove the left side casing.

  7. Panasonic Lumix DMC-FX01 Rear Casing Replacement: step 7, image 1 of 1
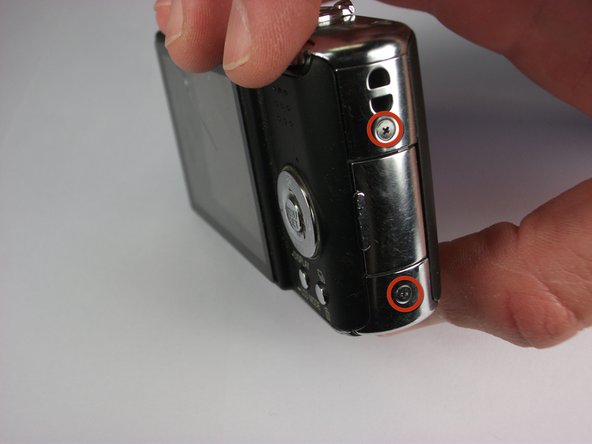
    • Remove the two 3.15 mm screws on the right side of the camera.

  8. Panasonic Lumix DMC-FX01 Rear Casing Replacement: step 8, image 1 of 1
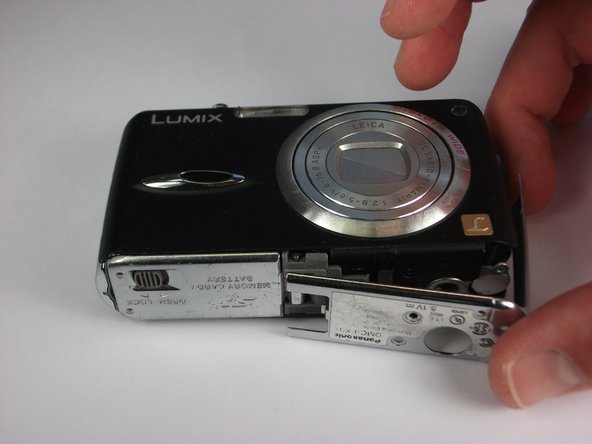
    • Remove the bottom right panel.

  9. Panasonic Lumix DMC-FX01 Rear Casing Replacement: step 9, image 1 of 2 Panasonic Lumix DMC-FX01 Rear Casing Replacement: step 9, image 2 of 2
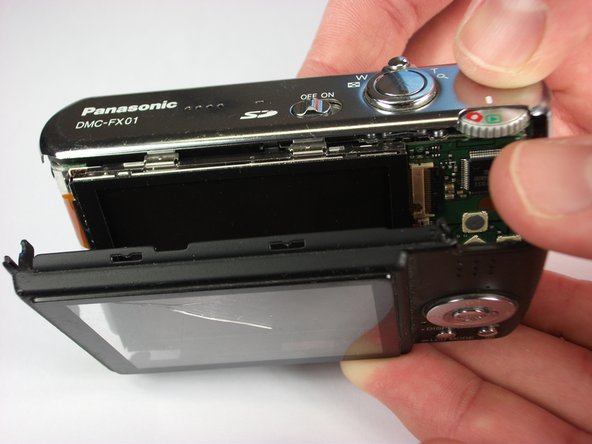
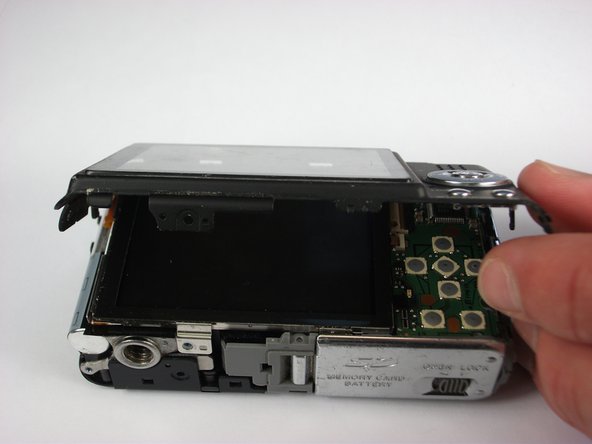
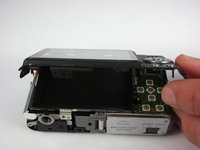
    • Gently remove the back casing.

    • Start at the bottom and carefully pry towards the top to get this piece free.

Conclusion

To reassemble your device, follow these instructions in reverse order.

System

Member since: 09/24/09

2,562 Guides authored

0 Comments

Add Comment

View Statistics:

Past 24 Hours: 0

Past 7 Days: 0

Past 30 Days: 0

All Time: 1