-
-
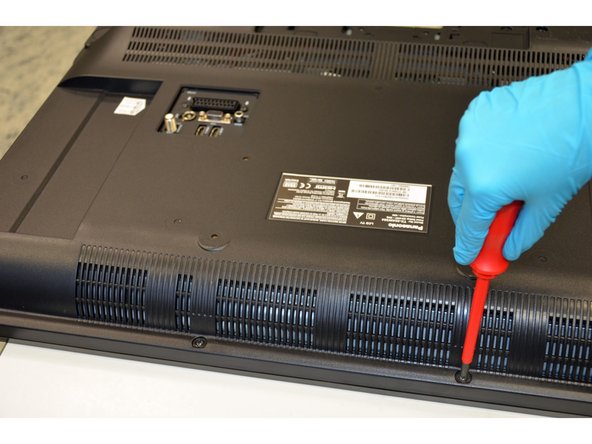
Start the TV opening from the back side. The back cover is fastened with PH#2 screws (green marking).
-
Using PH#1 screwdriver, finish loosening the last two screws, embedded in the connectors' housing.
-
Manually pry open the sixteen clips and pull out the back cover.
-
-
-
Remove cables: Detach all eleven connectors (red boxes) and three clips (blue boxes), and rip off the tapes used to fix the cables to the metal casing.
-
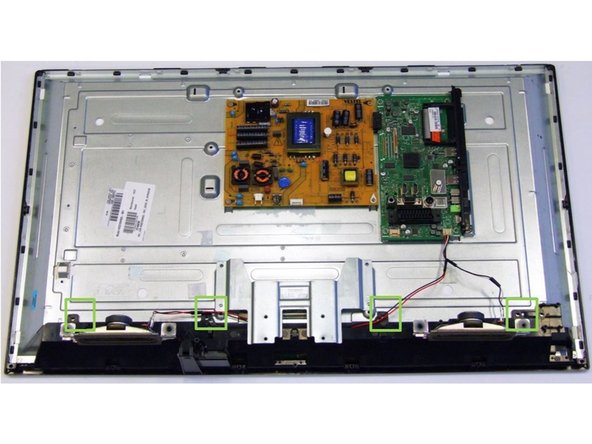
To remove the PCBs, pull out the twelve PH#1 screws (green boxes).
-
-
-
To access the LCD panel, first loose four PH#1 screws.
-
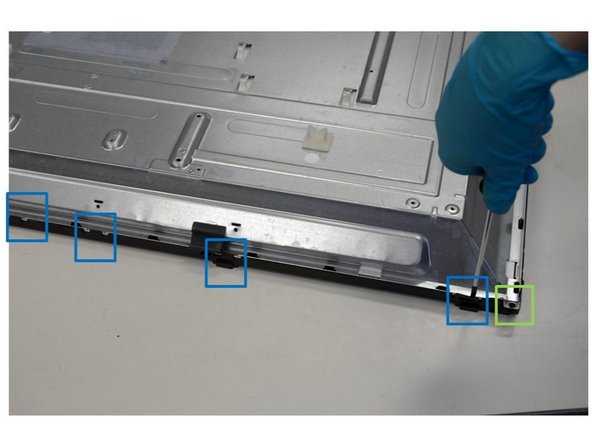
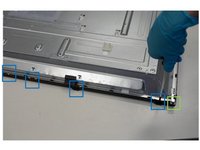
Next, using slotted screwdriver, release eighteen clips that fix the front frame (blue boxes).
-
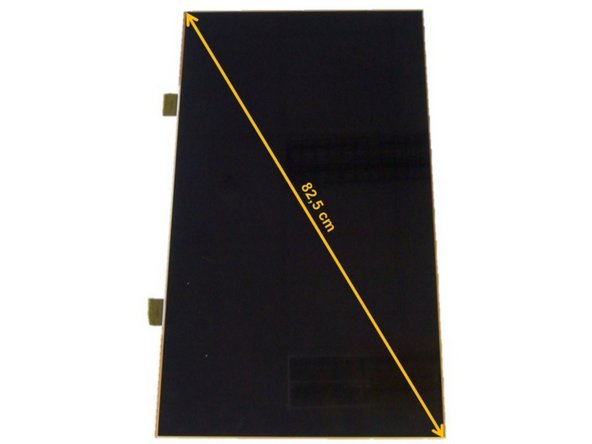
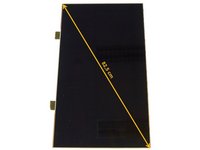
Carefully turn the screen upwards and remove the LCD panel.
-
-
-
Manually pull the frame off by levering the eighteen clips.
-
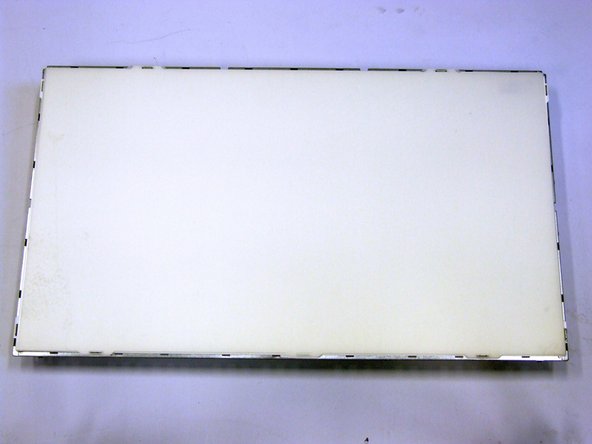
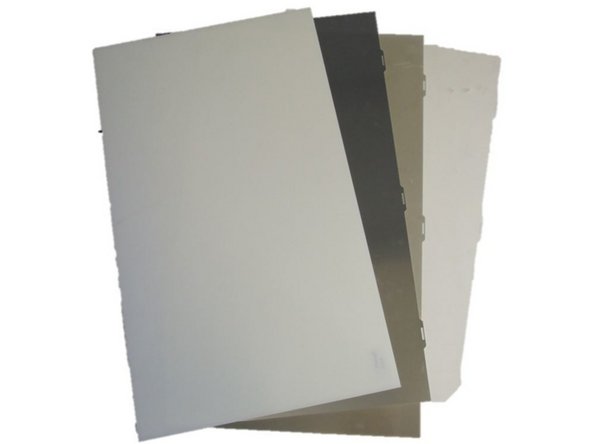
Remove the polarized foils.
-
-
-
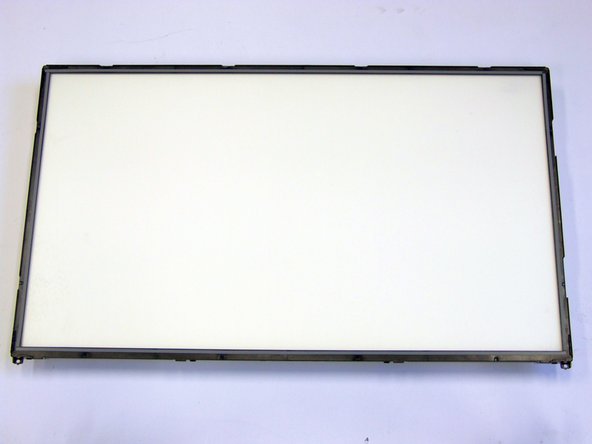
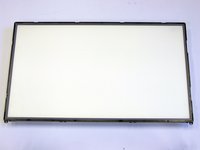
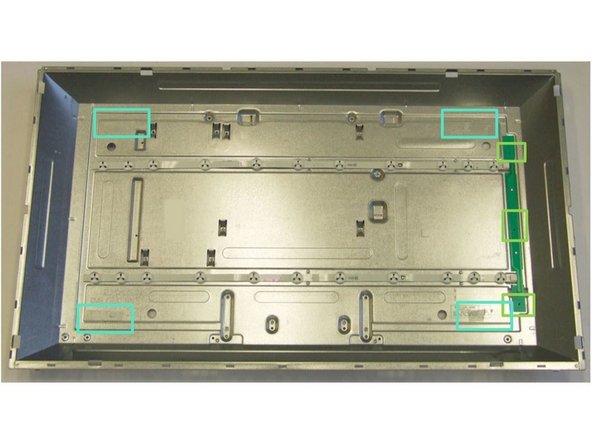
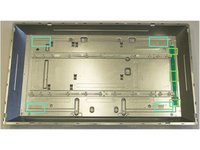
Remove the protective foil from the two-sided adhesives (marked in blue) and access the backlight unit.
-
Next, by releasing the three PH#1 screws, remove the small PCBs.
-
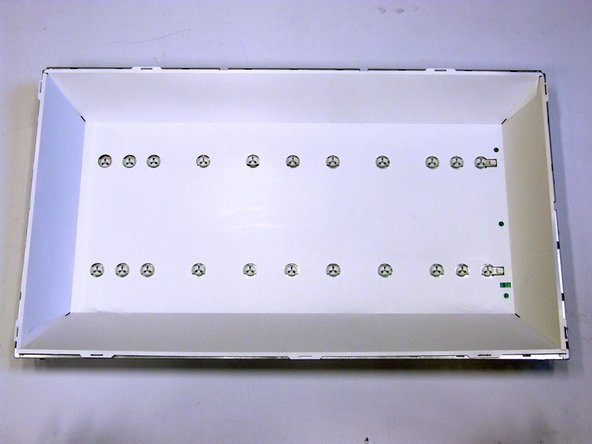
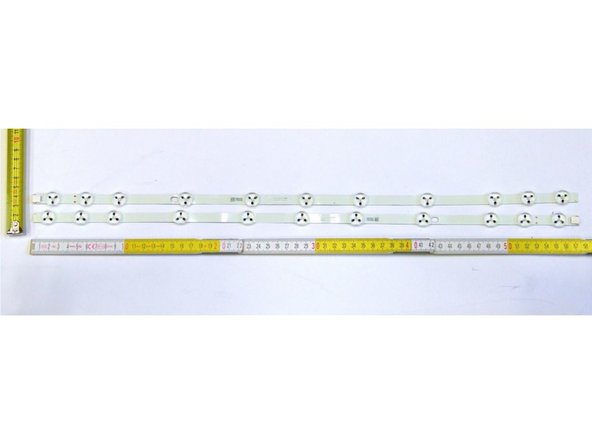
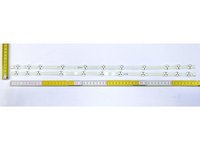
Using slotted screwdriver, remove the LED stripes.
-
Finish Line


