Panasonic Toughbook CF-29 Keyboard Replacement

What you need

    1. Panasonic Toughbook CF-29 Keyboard Replacement, Panasonic Toughbook CF-29 Keyboard Replacement: step 1, image 1 of 1
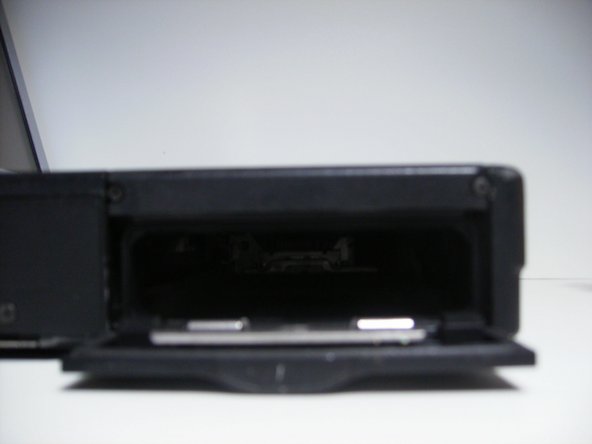
      • Locate the bay door for the battery on the left side of the laptop.

      Add Comment

    2. Panasonic Toughbook CF-29 Keyboard Replacement: step 2, image 1 of 2 Panasonic Toughbook CF-29 Keyboard Replacement: step 2, image 2 of 2
      • Slide the latch to the right and then down to unlock it.

      • Pull out the battery.

      Add Comment

    3. Panasonic Toughbook CF-29 Keyboard Replacement: step 3, image 1 of 1
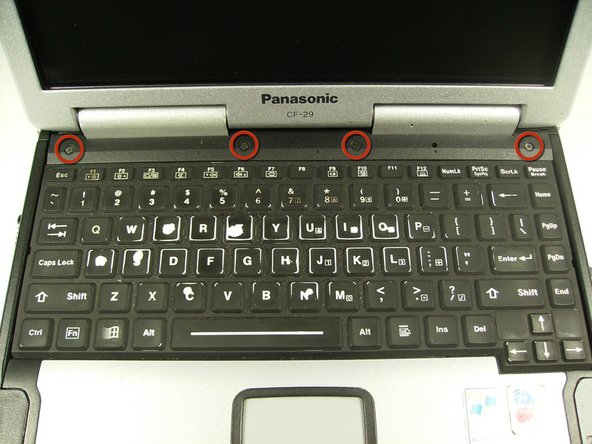
      • Remove the four screws above the keyboard using a Phillips #0 screwdriver.

      Add Comment

    4. Panasonic Toughbook CF-29 Keyboard Replacement: step 4, image 1 of 1
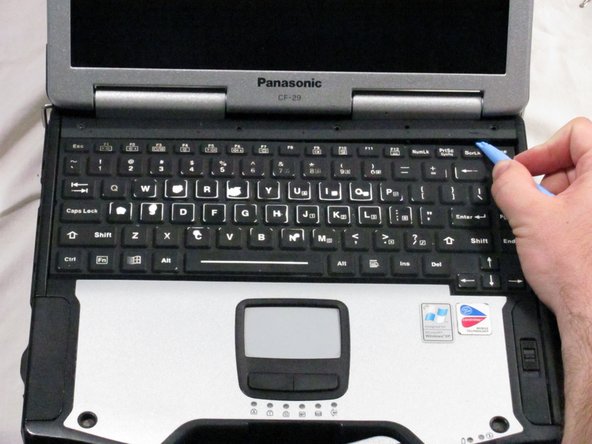
      • Pry up the black panel covering the top of the keyboard.

      Add Comment

    5. Panasonic Toughbook CF-29 Keyboard Replacement: step 5, image 1 of 1
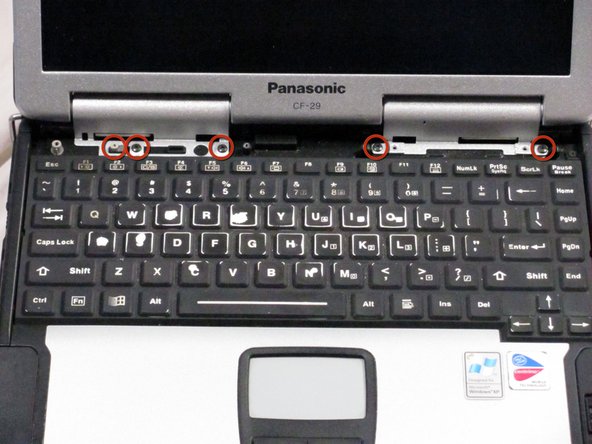
      • Remove the five silver screws shown.

      Add Comment

    6. Panasonic Toughbook CF-29 Keyboard Replacement: step 6, image 1 of 1
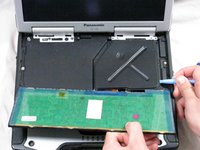
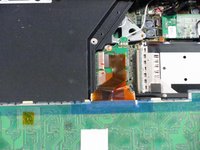
      • Pull up keyboard and place it face down on the trackpad

      • Be careful not to put tension in the ribbon cables attached to the underside of the keyboard

      Add Comment

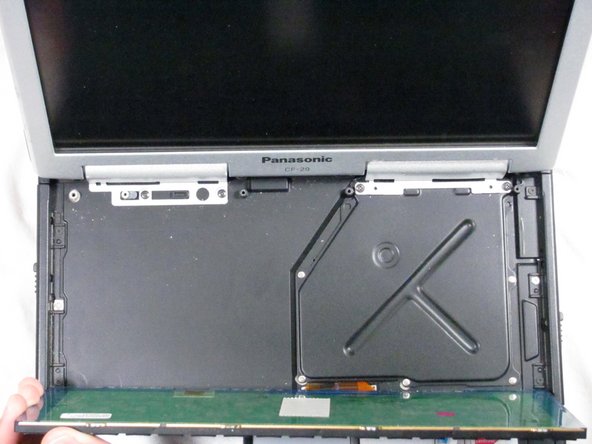
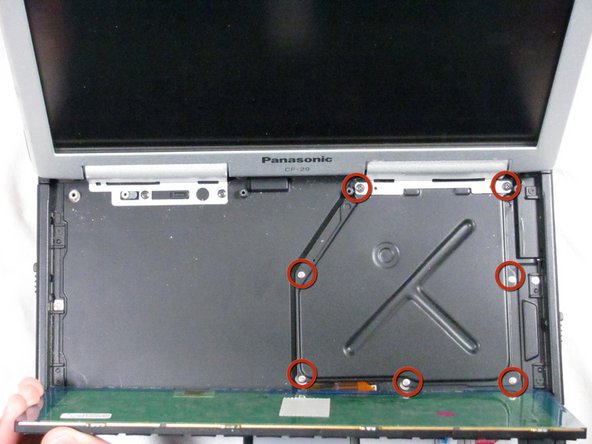
    7. Panasonic Toughbook CF-29 Keyboard Replacement: step 7, image 1 of 1
      • Remove screws shown from cover plate

      Add Comment

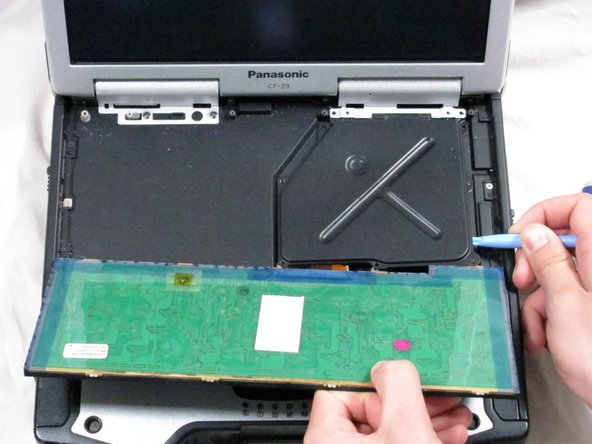
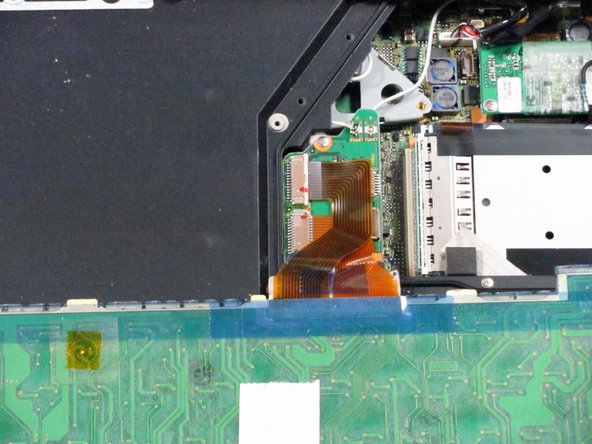
    8. Panasonic Toughbook CF-29 Keyboard Replacement: step 8, image 1 of 2 Panasonic Toughbook CF-29 Keyboard Replacement: step 8, image 2 of 2
      • Pull cover plate out of place revealing the ribbon cable connections to the motherboard

      Add Comment

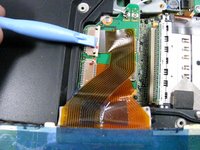
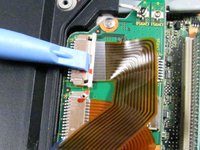
    9. Panasonic Toughbook CF-29 Keyboard Replacement: step 9, image 1 of 2 Panasonic Toughbook CF-29 Keyboard Replacement: step 9, image 2 of 2
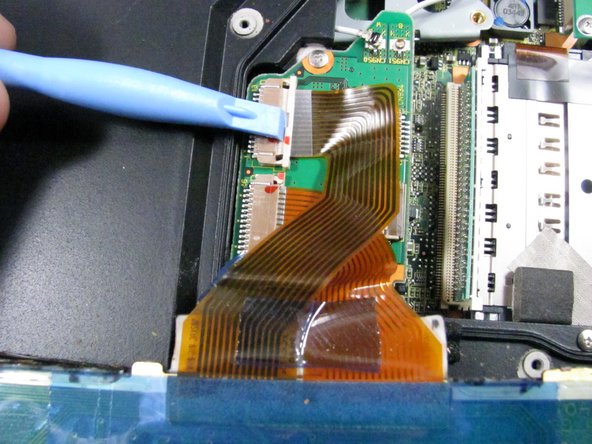
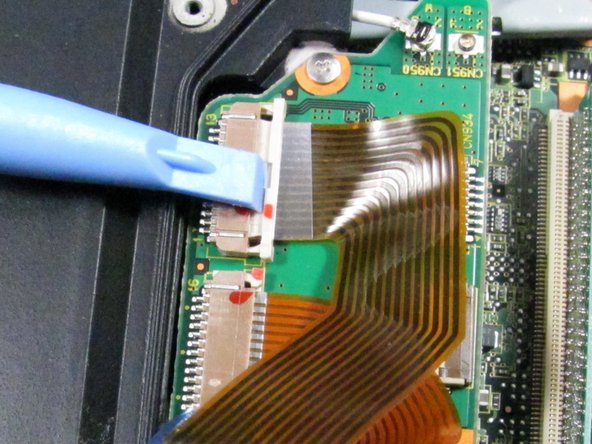
      • Remove the ribbon cable farthest from you.

      • Push the white tab (as shown in the second photo) to release the ribbon cable.

      Add Comment

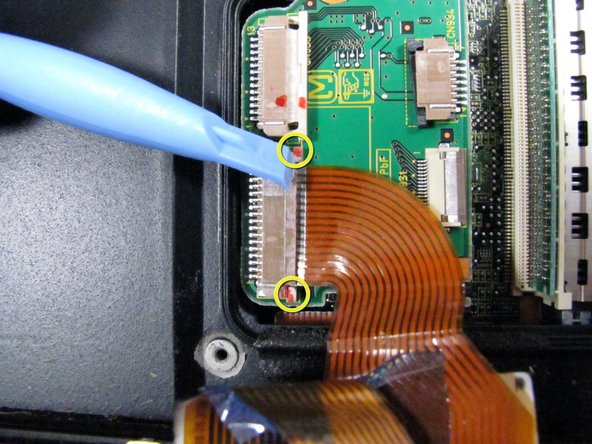
    10. Panasonic Toughbook CF-29 Keyboard Replacement: step 10, image 1 of 1
      • Remove both ribbon cable by pulling 2 white tabs on either side of the cable to the right

      Add Comment

Conclusion

To reassemble your device, follow these instructions in reverse order.

Cancel: I did not complete this guide.

System

Member since: 09/24/09

2,562 Guides authored

0 Guide Comments

Add Comment

View Statistics:

Past 24 Hours: 0

Past 7 Days: 0

Past 30 Days: 0

All Time: 16