
Introduction
Replace the laser assembly in your optical disc drive. Replacing the laser requires you to have or purchase a new laser.
What you need
-
-
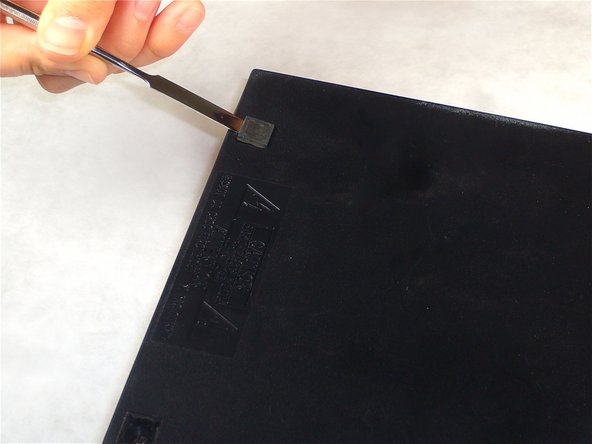
Use the flat edge of a metal spudger to pry the eight flat screw covers out.
-
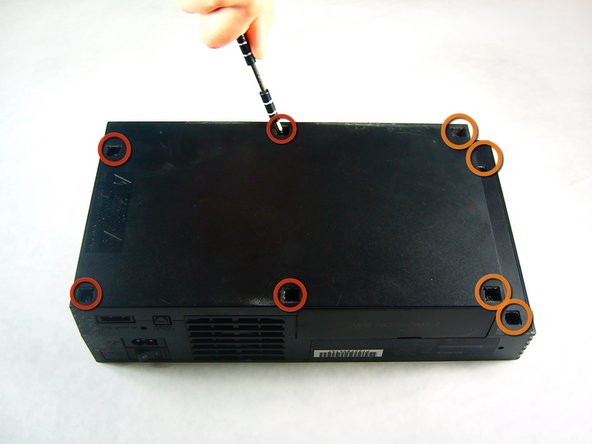
Remove the following eight screws securing the top cover to the bottom case:
-
Four 55.4 mm Philips screws
-
Four 18.0 mm Phillips screws
-
-
-
Some models have a different number of screws and feet. Remove all the feet and screws in the bottom of the case.
-
The 10 screw model has 6 screws in the bottom-most portion and 4 in the upper tray.
-
-
-
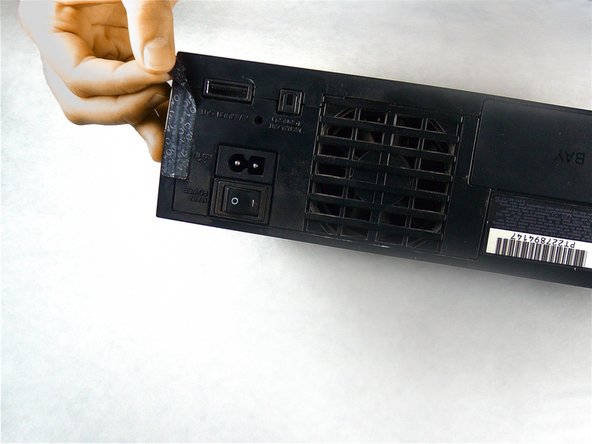
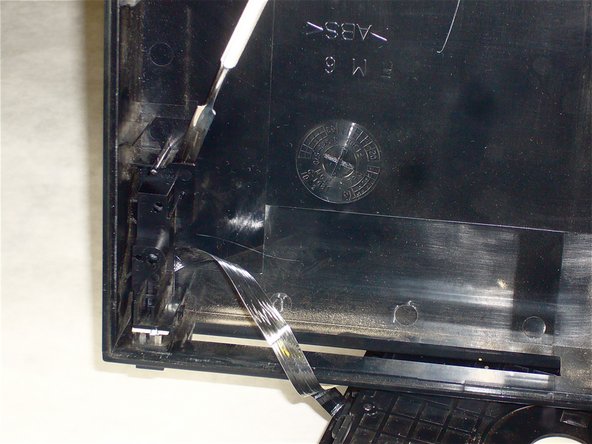
Peel the warranty sticker (located next to the main power switch) straight away from the case.
-
-
-
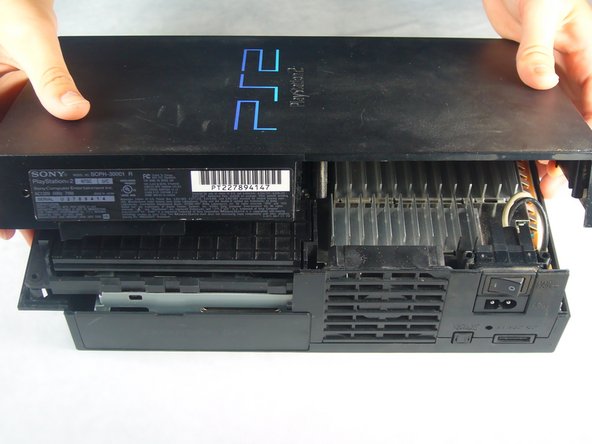
Lift the top cover off the bottom case.
-
Carefully remove the power cord that attaches the top and bottom halves by disconnecting the power cord assembly from the bottom case.
-
-
-
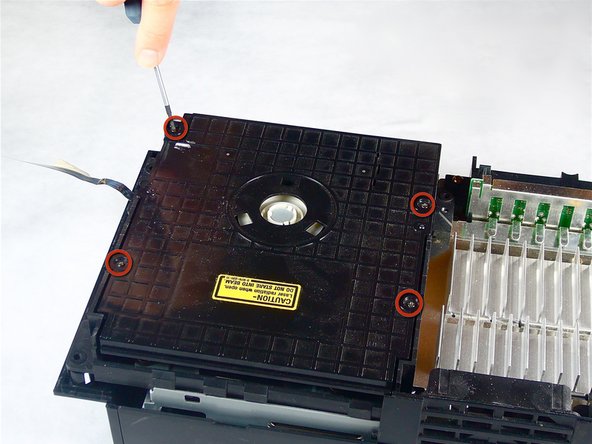
Remove the four 6.4 mm Phillips screws securing the top lid of the optical disc drive.
-
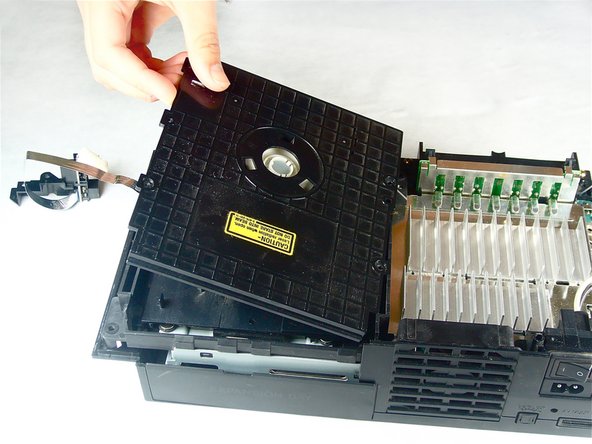
Lift and remove the lid from the optical disc drive.
-
-
-
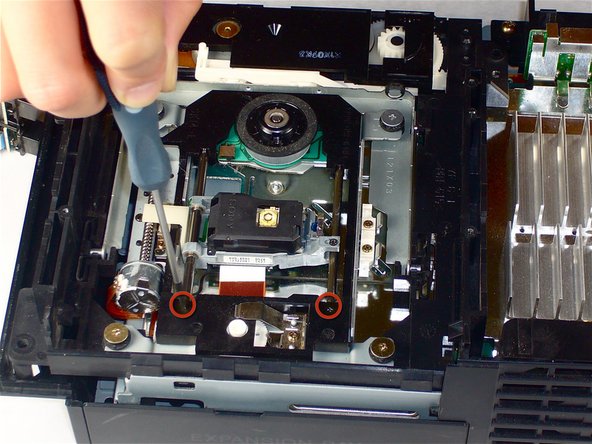
Remove the two 7.2 mm Phillips black screws securing the metal silver rails that hold the laser in place.
-
-
-
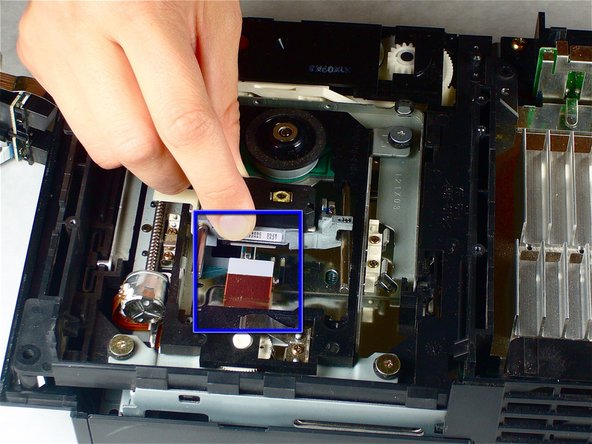
Use your fingernail to flip up the retaining flap on the optical disc drive laser ribbon cable.
-
Pull the optical disc drive laser ribbon cable straight away and out of its socket.
-


To reassemble your device, follow these instructions in reverse order.
To reassemble your device, follow these instructions in reverse order.
