
Introduction
Use this guide to replace a broken or faulty Blu-ray Drive in your PlayStation 3. This guide shows only how to replace the original style of Blu-ray drive, KEM-400.
What you need
-
-
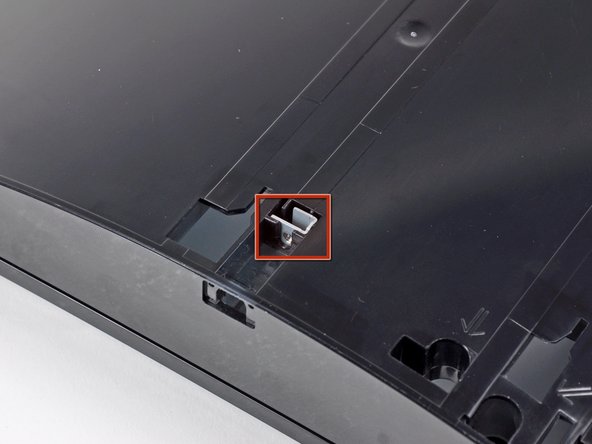
Use the tip of a spudger to remove the black rubber screw cover from the side of the PS3.
-
-
-
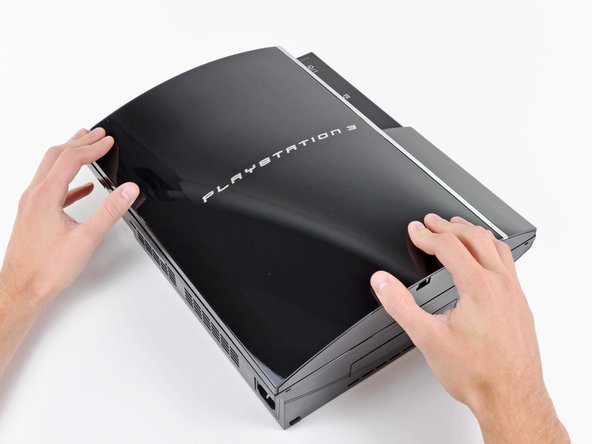
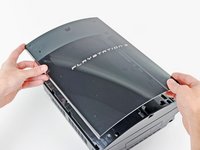
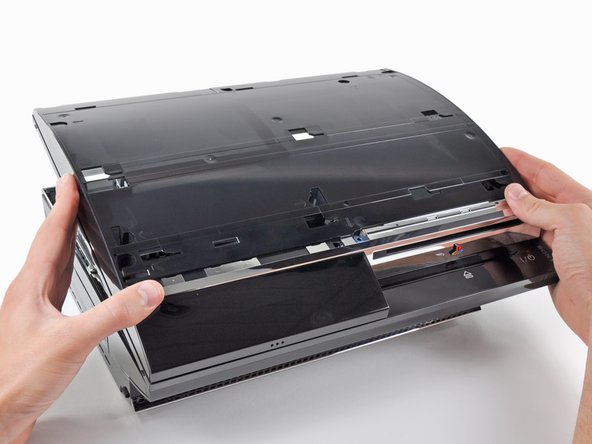
Lift the top cover from its rear edge and rotate it toward the front of the PS3.
-
Remove the top cover.
-
-
-
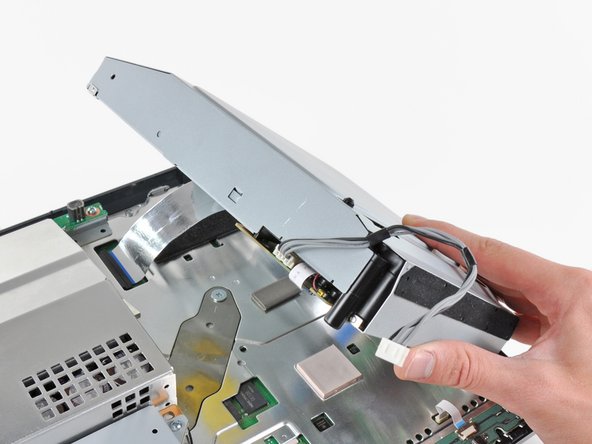
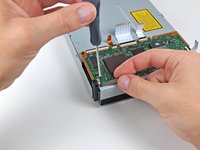
Lift the Blu-ray drive from the edge nearest the power supply and rotate it away from the chassis enough to access its ribbon cable.
-
-
-
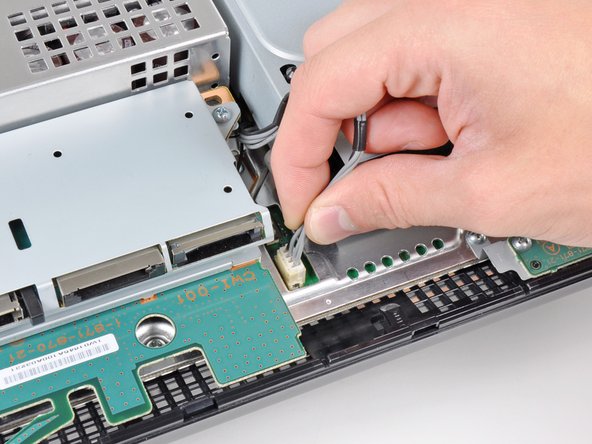
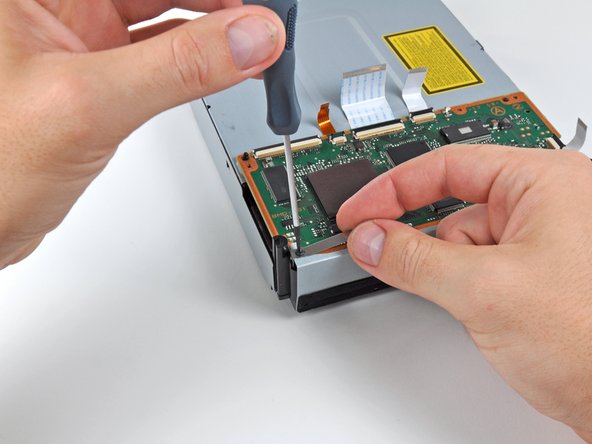
Use your fingernail to flip up the retaining flap on the Blu-ray ribbon cable socket.
-
Pull the ribbon cable out of its socket.
-
Remove the Blu-ray drive from the PS3.
-
-
-
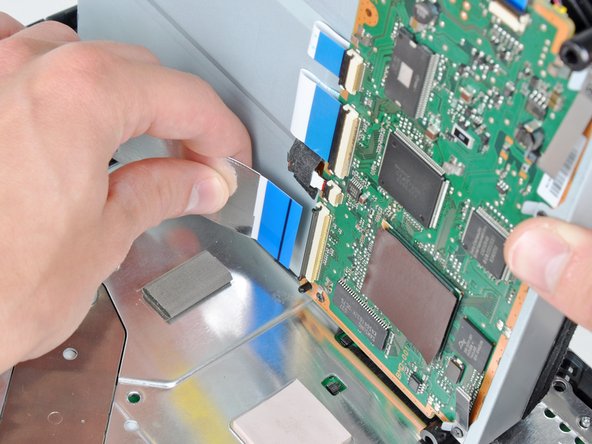
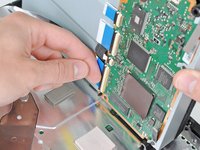
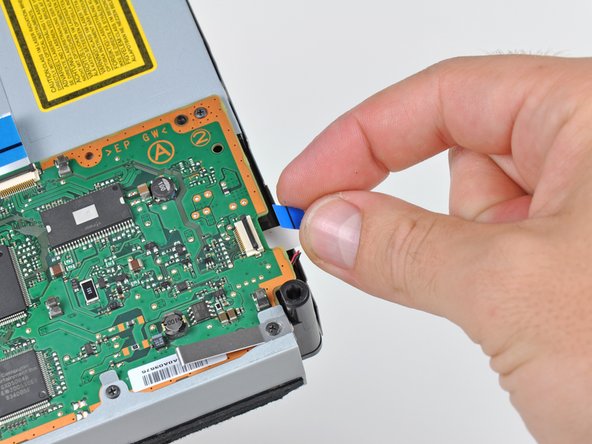
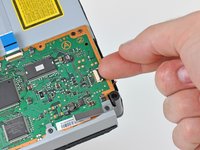
Using your fingernail, lift the flap on the ZIF connector holding the Blu-ray lens motor cable to the Blu-ray control daughterboard.
-
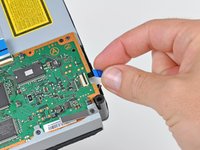
Pull the ribbon cable straight away from its socket on the daughterboard.
-
-
-
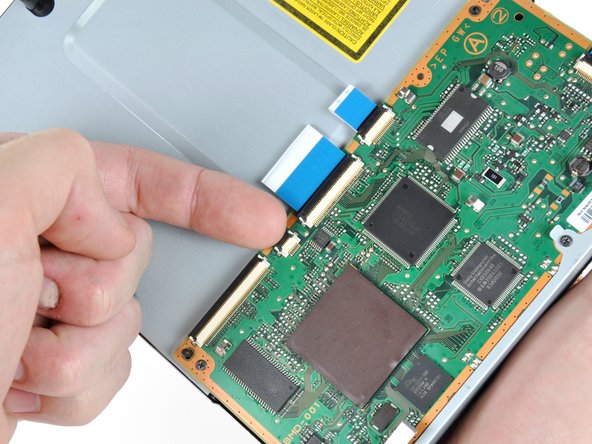
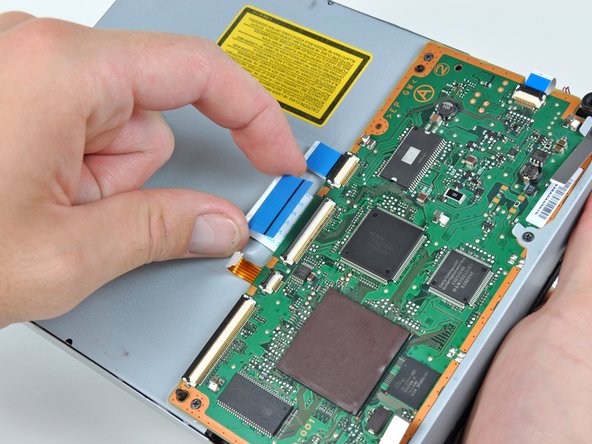
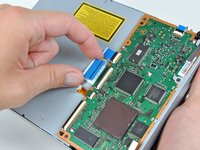
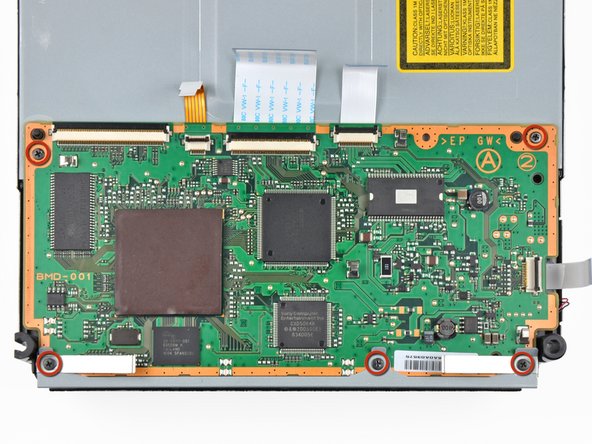
Using your fingernail, lift the flap on the ZIF connector holding the Blu-ray lens Data cable to the Blu-ray control daughterboard.
-
Pull the ribbon cable straight away from its socket on the daughterboard.
-
-
-
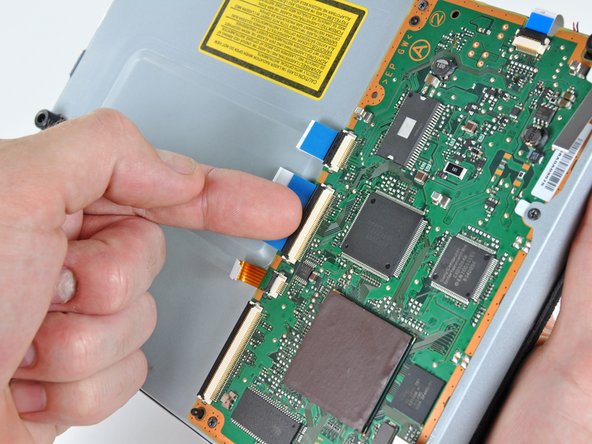
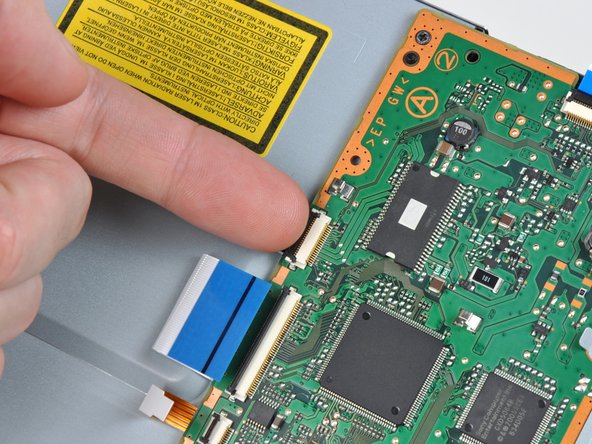
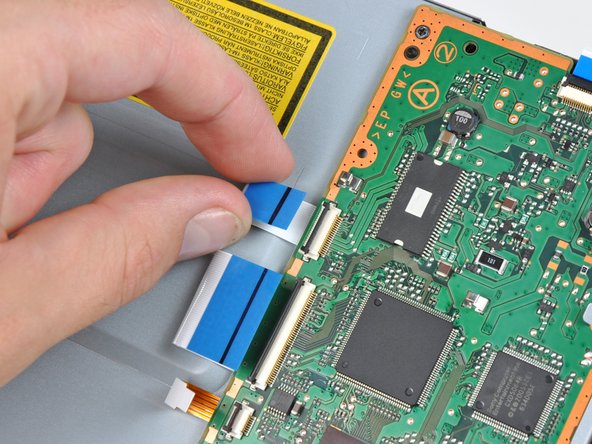
Using your fingernail, lift the flap on the ZIF connector holding the Blu-ray drive motor cable to the Blu-ray control daughterboard.
-
Pull the ribbon cable straight away from its socket on the daughterboard.
-
-
-
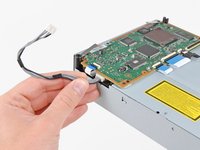
Using your fingernail, lift the flap on the ZIF connector holding the Blu-ray IR sensor cable to the Blu-ray control daughterboard.
-
Pull the ribbon cable straight away from its socket on the daughterboard.
-
-
-
Remove the five 8.4mm phillips screws securing the Blu-ray control board to the Blu-ray drive.
-
-
-
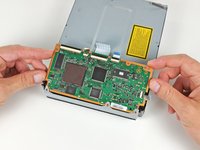
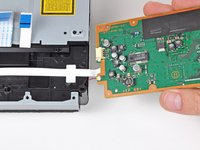
Carefully lift the daughterboard from the rear edge.
-
Slide the daughterboard out from under the top case.
-
-
-
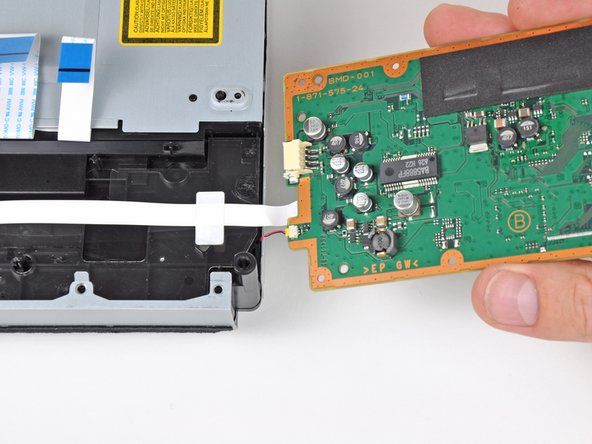
Carefully turn the daughterboard over, making sure to not tear the attached cable.
-
Pull the IR Sensor cable straight away from its socket on the board.
-
Blu-Ray drive remains.
-


To reassemble your device, follow these instructions in reverse order.
