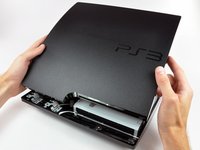
PlayStation 3 Slim Top Cover Replacement

What you need

    1. PlayStation 3 Slim Top Cover Replacement, PlayStation 3 Slim Top Cover Replacement: step 1, image 1 of 1
      • Turn the PS3 over and lay it on its backside.

      • Carefully peel the warranty sticker up off the lower case to reveal a hidden screw cover.

      • To avoid activating the VOID that may come up, heat the sticker carefully to remove and replace it cleanly.

      Add Comment

    2. PlayStation 3 Slim Top Cover Replacement: step 2, image 1 of 2 PlayStation 3 Slim Top Cover Replacement: step 2, image 2 of 2
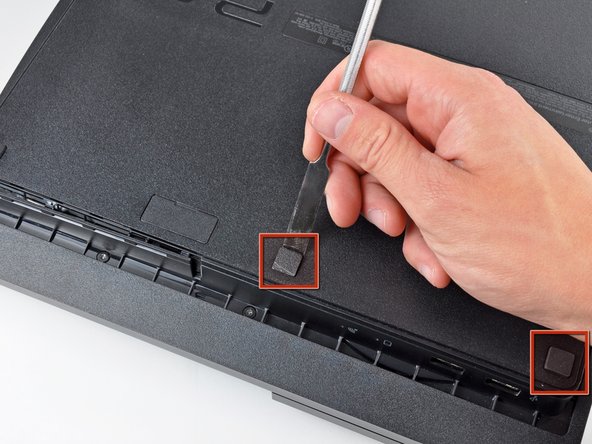
      • Use the flat end of a metal spudger to pry up the seven screw covers around the edge of the lower case.

      Add Comment

    3. PlayStation 3 Slim Top Cover Replacement: step 3, image 1 of 1
      • Remove the seven 37 mm Phillips screws securing the top cover to the lower case.

      Add Comment

    4. PlayStation 3 Slim Top Cover Replacement: step 4, image 1 of 1
      • Remove the four 13.3 mm T8 security Torx screws beneath the Blu-ray drive opening. (Some models may only have three screws)

      Add Comment

    5. PlayStation 3 Slim Top Cover Replacement: step 5, image 1 of 2 PlayStation 3 Slim Top Cover Replacement: step 5, image 2 of 2
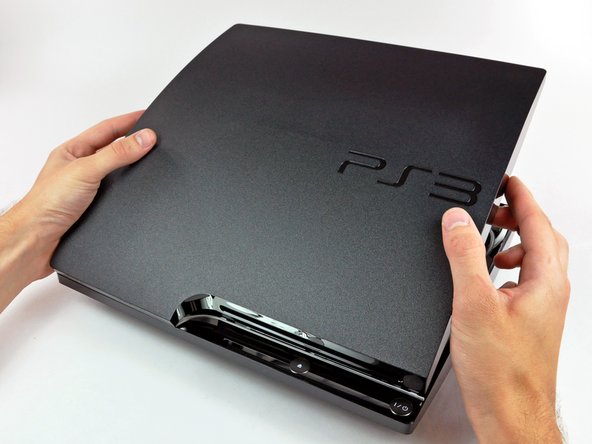
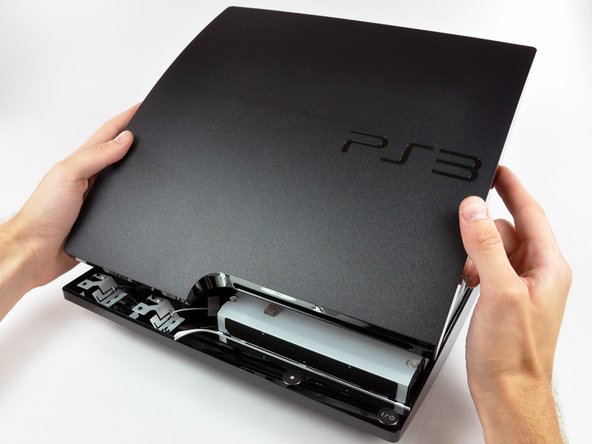
      • Lift the top cover from its rear edge and rotate it toward the front of the PS3.

      • Lift the top cover off the PS3.

      Add Comment

Conclusion

To reassemble your device, follow these instructions in reverse order.

Cancel: I did not complete this guide.

System

Member since: 09/24/09

2,562 Guides authored

0 Guide Comments

Add Comment

View Statistics:

Past 24 Hours: 0

Past 7 Days: 0

Past 30 Days: 1

All Time: 382