
Introduction
The Power Mac G4 MDD had various heatsinks based of the processor, it had a pure copper heatsink for the dual 1.42Ghz model, and a thick finned heatsink for earlier models, and the later models had a thin aluminum finned heatsink.
What you need
-
-
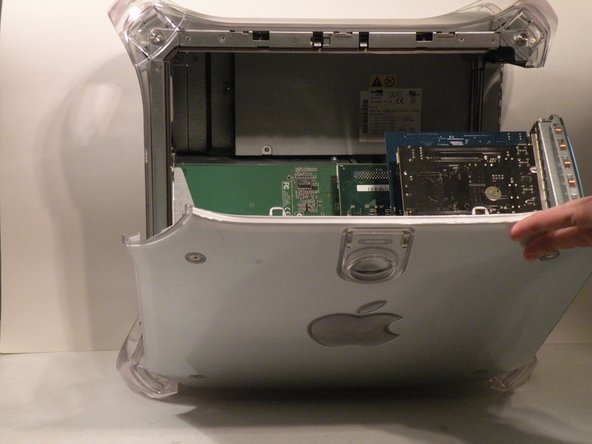
The Power Mac G4 MDD: the last, and the fastest G4-based Mac. This computer boasted up to a Dual 1.42GHz PowerPC G4 CPU (though I have a single 1.25GHz).
-
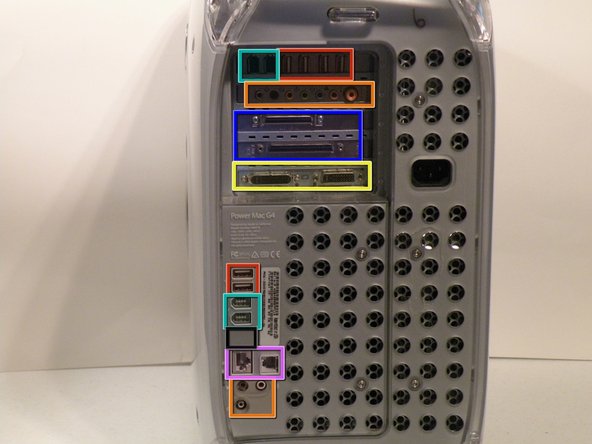
Six USB ports.
-
Four FireWire ports.
-
Assorted SCSI (SCSI50/SCSI68)
-
Assorted Audio
-
Video (ADC & DVI)
-
Networking (RJ-45 Ethernet/56k Modem)
-
Some later model MDD's (such as the dual 1.42GHz) Have a FireWire 800 Port Here:
-
-
-
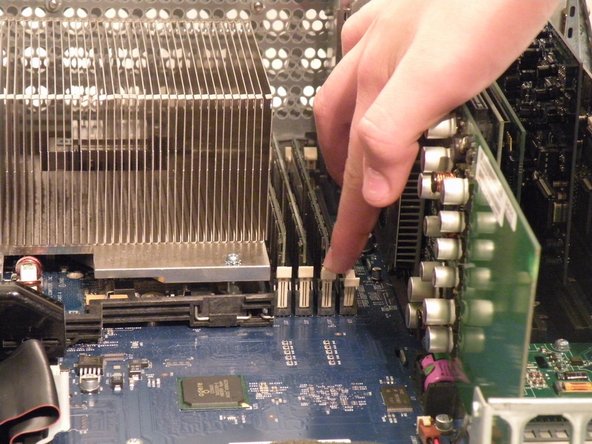
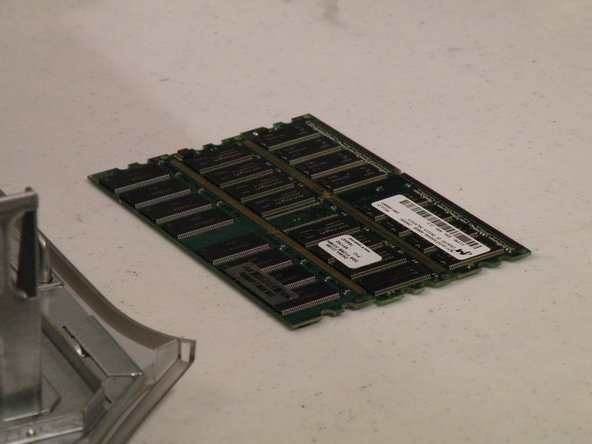
The ram is between the graphics card, and the CPU, and removal is simple. Push the tabs down on both sides, this will free the ram, then lift it out.
-
The MDD Uses A Maximum of 2GB PC2700 DDR,(512MB X4) and had 4 slots for ram.
-
-
-
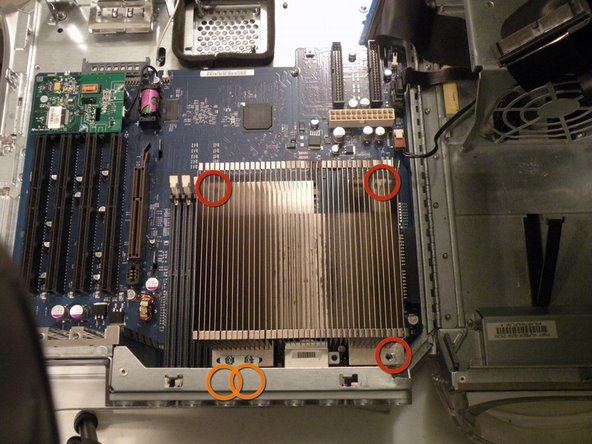
Now, remove these three Phillips screws:
-
As there are two Phillips screws well, there are two that you can see in the photo, but you want to remove the screws that are behind them.
-
-
-
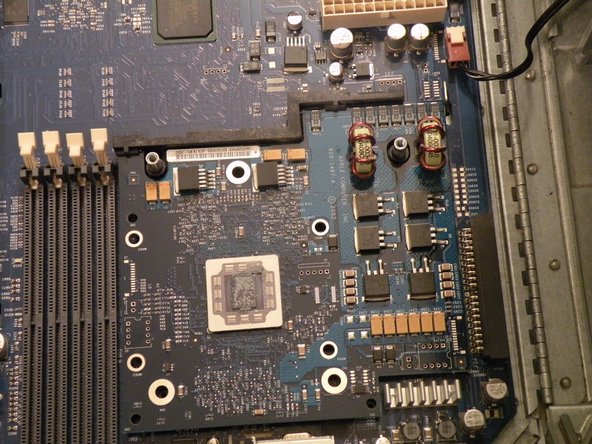
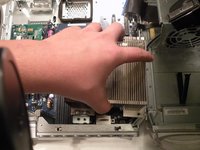
Now, lift the heatsink up off the computer, it is pretty heavy, because it's a giant block of aluminum.
-
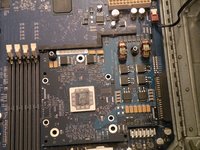
As you may be able to tell, i have applied a replacement coat of Arctic Silver 5 to keep my MDD cooler than the stock paste, it really does a great job too!
-
-
-
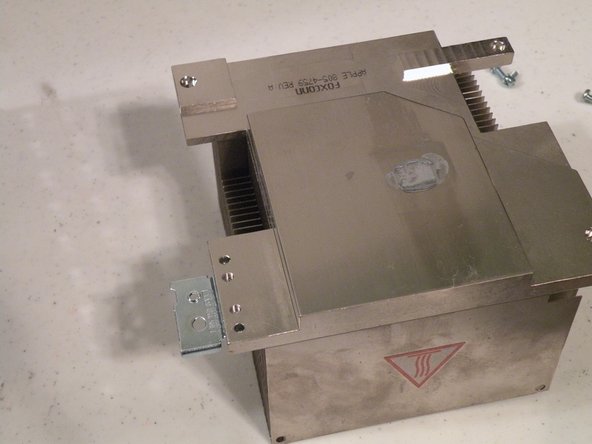
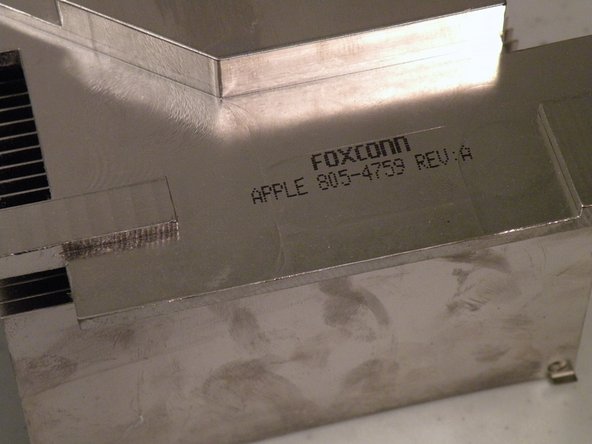
The incredibly large heatsink, this thing is 5 Lbs of solid aluminum. Just like every other part in this, and many other Macs, the heatsink is made by: ...you guessed it, Foxconn.
-


To reassemble your device, follow these instructions in reverse order.
