
Introduction
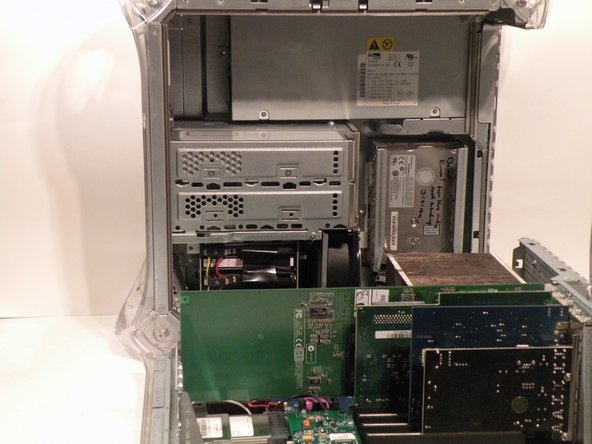
The Power Mac G4 MDD Uses two system fans, an optical fan (for the optical drives), and a main system fan (cools the CPU, the hard drives, and the graphics card).
What you need
-
-
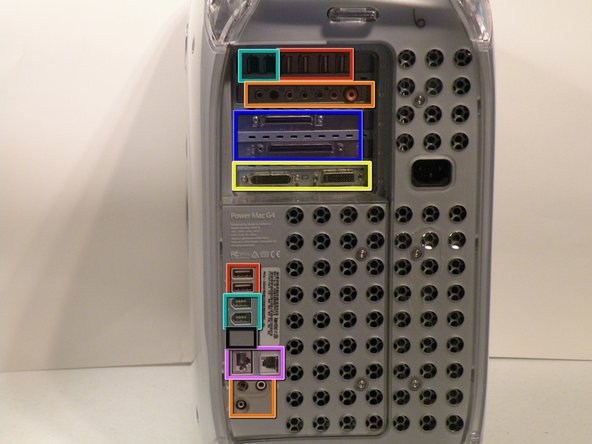
The Power Mac G4 MDD: the last, and the fastest G4-based Mac. This computer boasted up to a Dual 1.42GHz PowerPC G4 CPU (though I have a single 1.25GHz).
-
Six USB ports.
-
Four FireWire ports.
-
Assorted SCSI (SCSI50/SCSI68)
-
Assorted Audio
-
Video (ADC & DVI)
-
Networking (RJ-45 Ethernet/56k Modem)
-
Some later model MDD's (such as the dual 1.42GHz) Have a FireWire 800 Port Here:
-
-
-
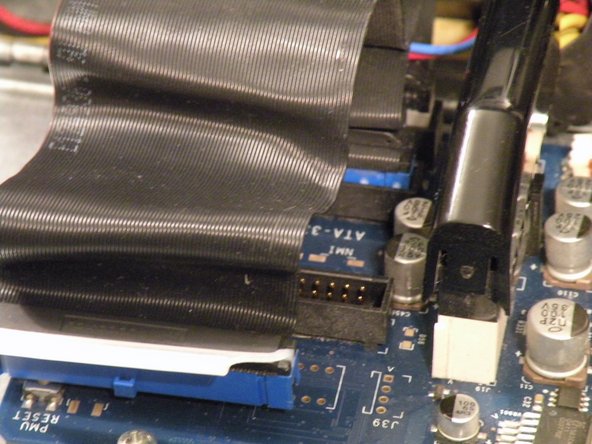
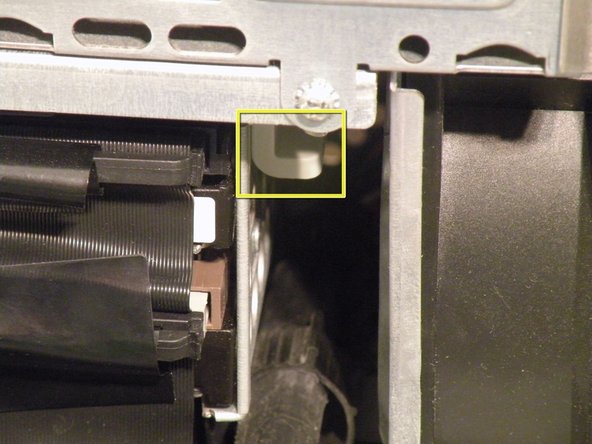
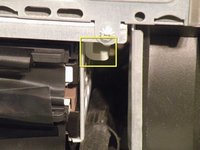
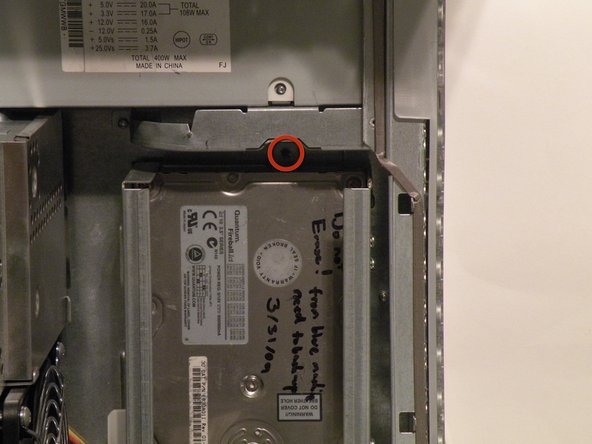
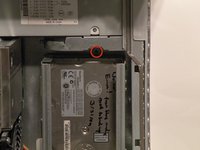
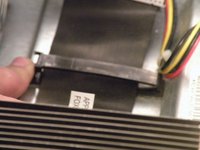
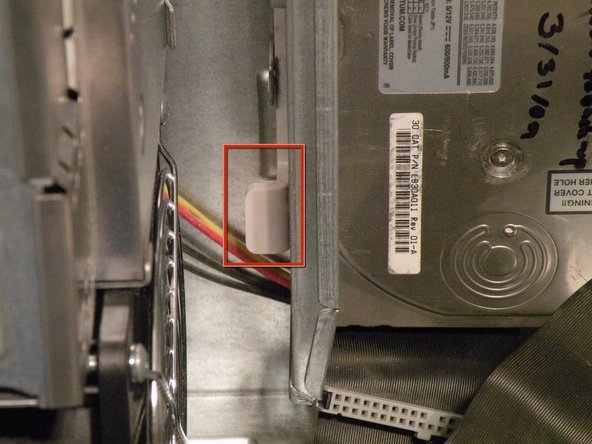
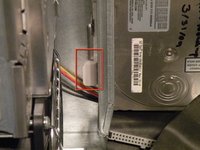
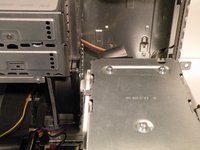
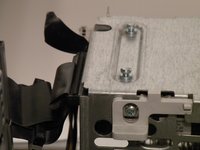
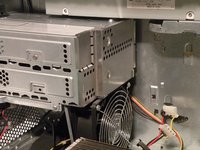
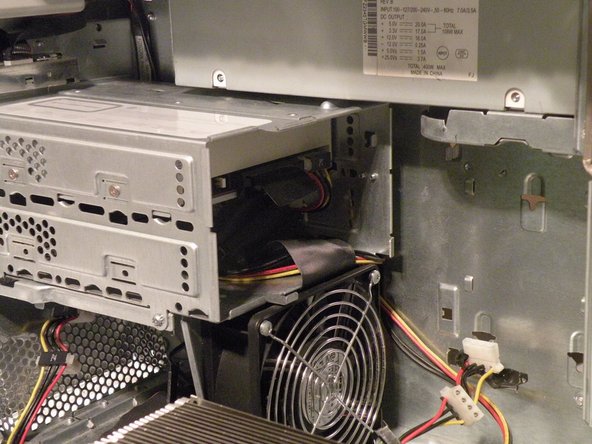
It's likely that there is a cable clip holding the ribbon cable to the case.
-
To remove it, push the end, and it should pop up.
-
-
-
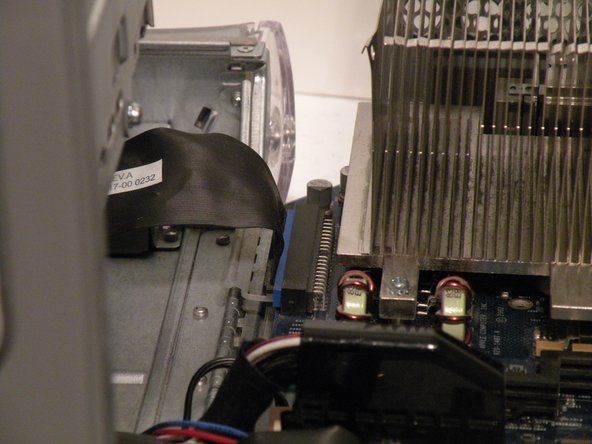
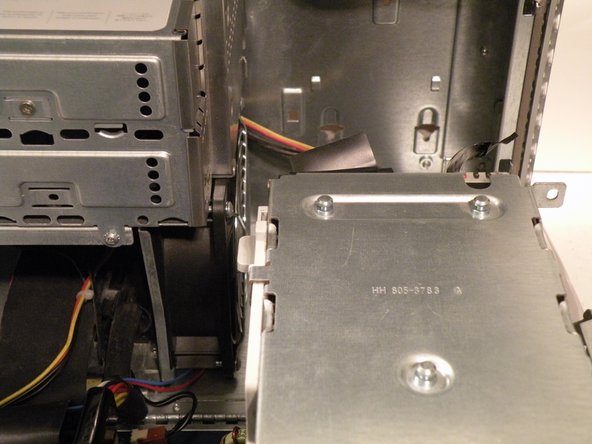
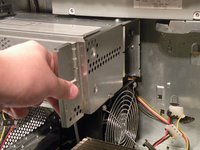
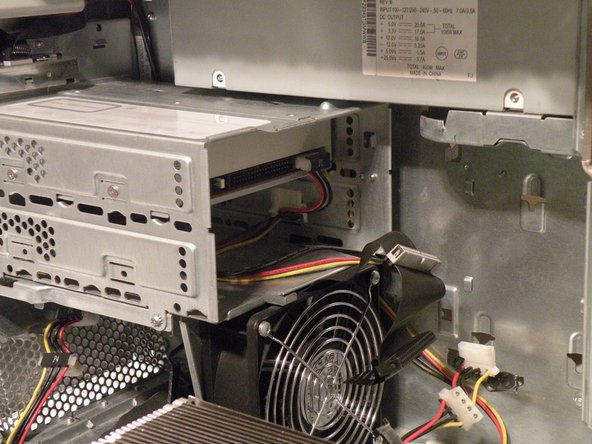
With the clip free, pull on this tab, lift the cage up, until it clicks, and pull it away.
-
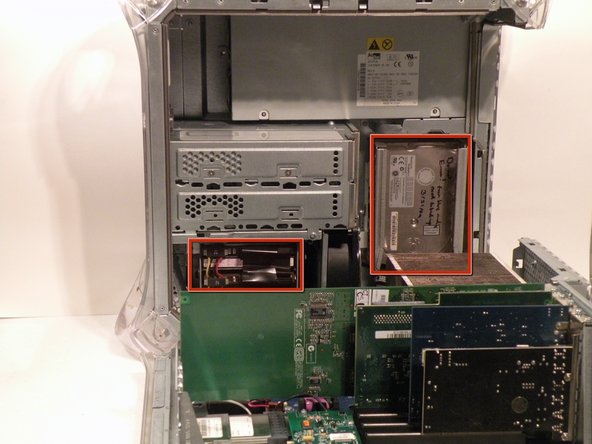
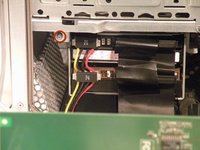
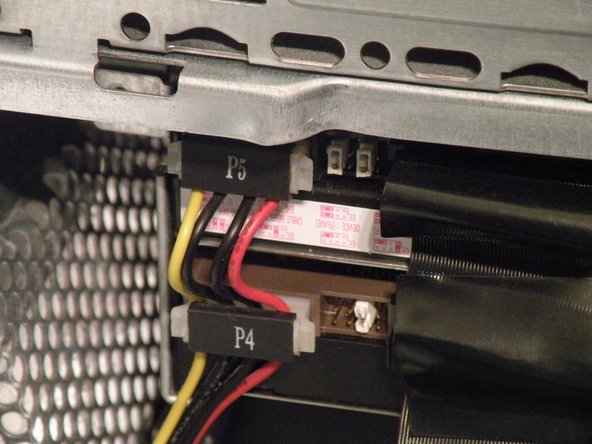
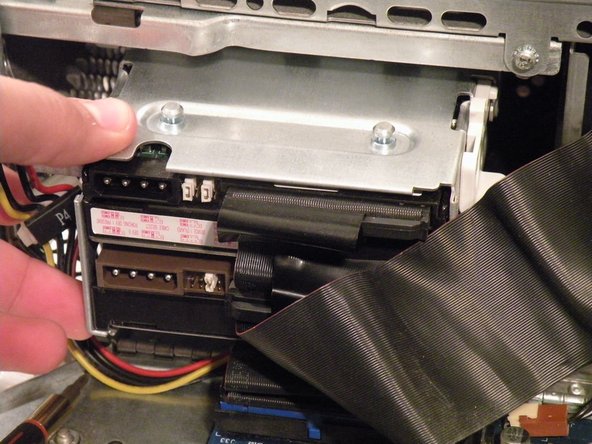
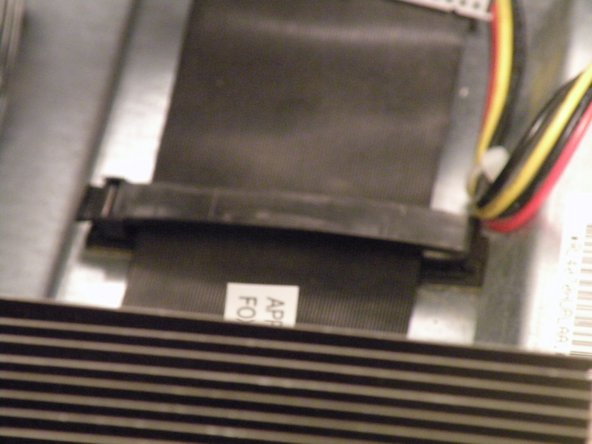
Now, set the cage on top of the CPU, and remove the power connectors.
-
-
-
Once the cables are free, set the drive cage aside.
-
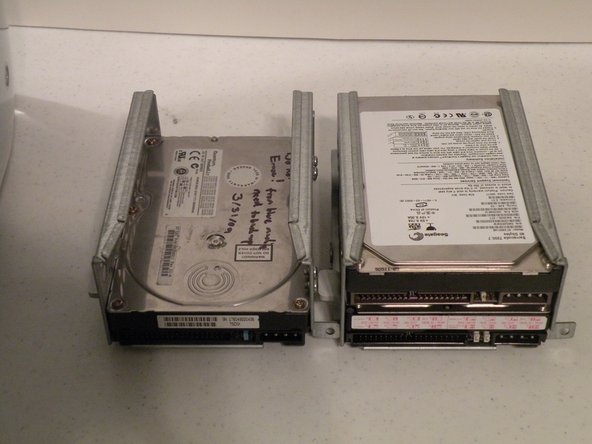
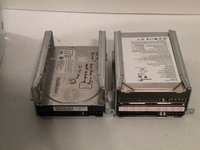
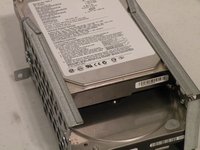
To remove the hard drives from the cages, remove the four screws on the sides of the cage that are connected to the drives, than slide the drives out.
-
The two cages are cross compatible and can be put in either rack.
-
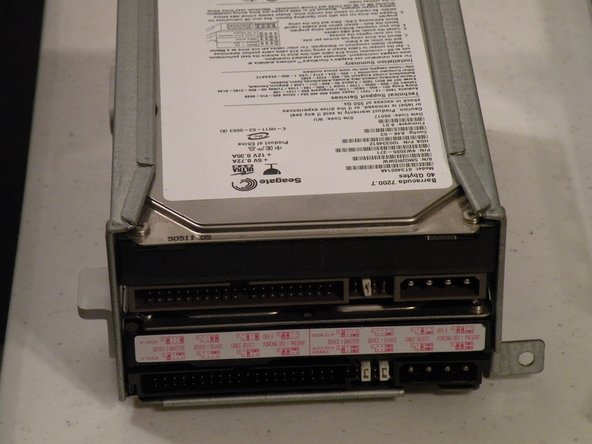
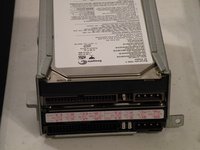
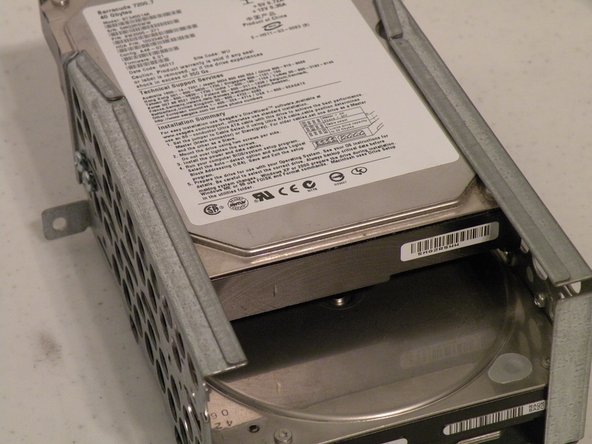
The MDD does not have a 128GB drive limit like older macs, My MDD has 3 Drives (A 400GB Hitatchi Deskstar, 40GB Seagate Baracuda 7200.7, and a 30GB Quantum Fireball LCT).
-
Note the ID jumpers on the two drive set. One is set to Master, the other to slave. A single drive can be set to Cable Select.
-
-
-
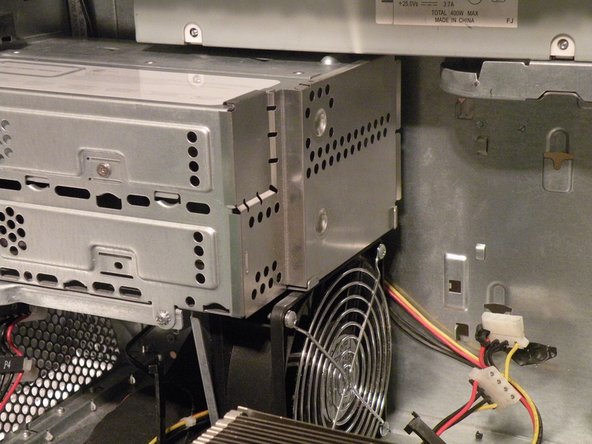
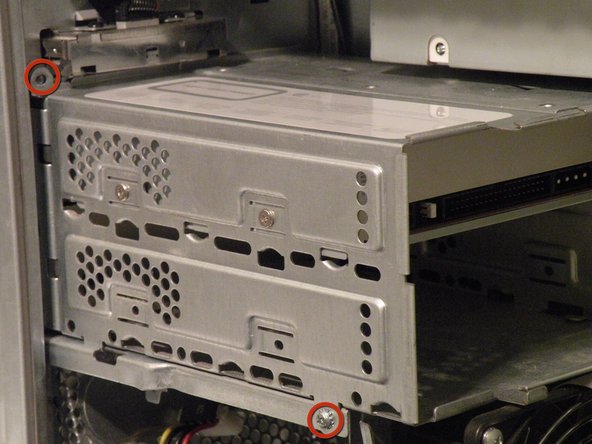
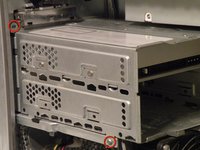
Remove these two Phillips screws:
-
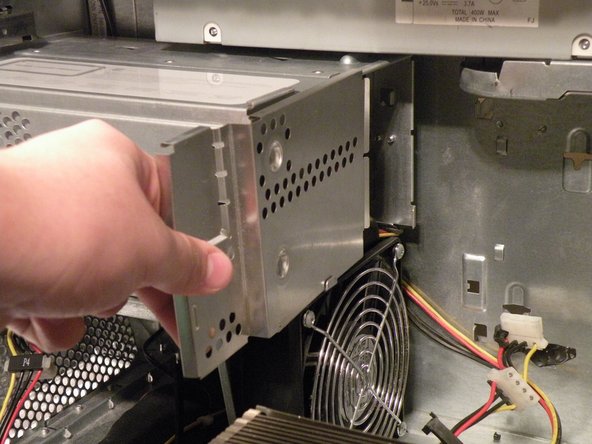
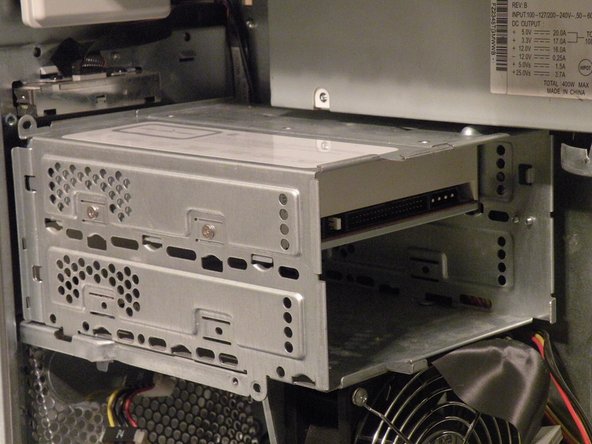
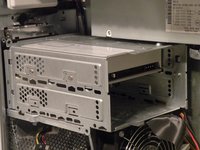
Now, pull the cage away from the front until it is free.
-
Now, lift the cage out.
-
-
-
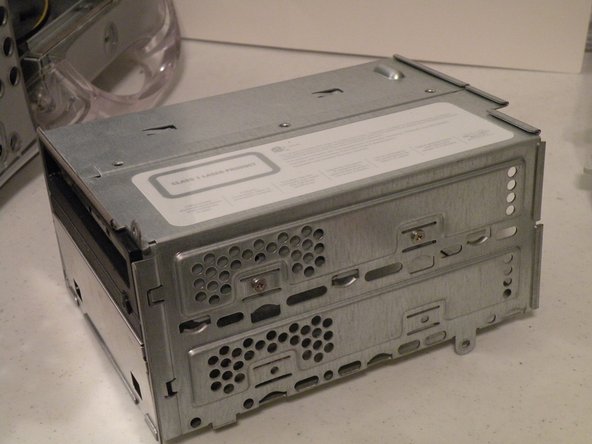
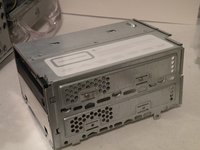
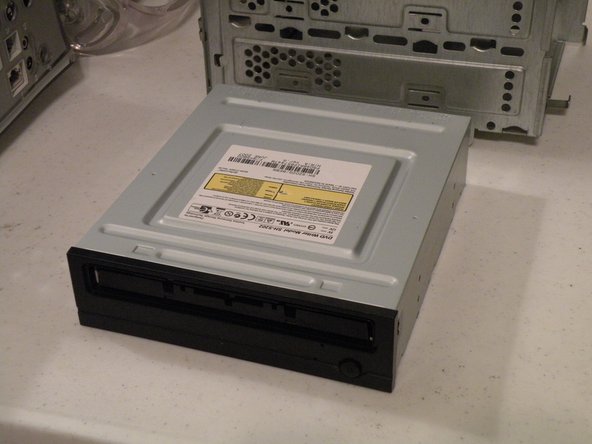
To remove the drive from the cage, remove the four screws on the side of the drive, and pull the drive out of the cage.
-
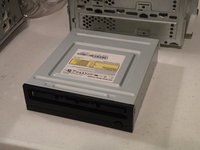
My MDD has a 3rd Party 22X SuperDrive, for burning DVD's in Leopard (Thank You Generic Drive Support!)
-
-
-
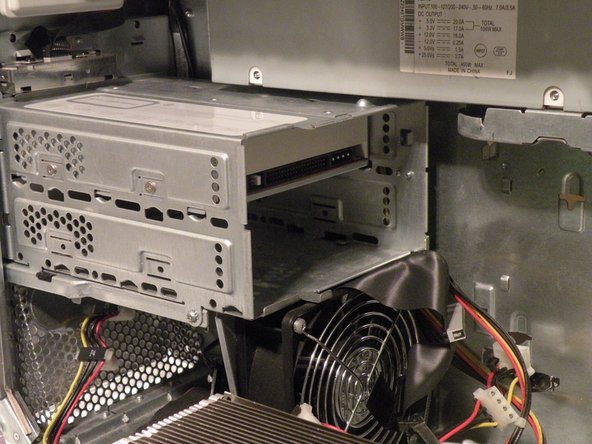
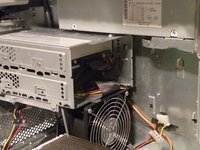
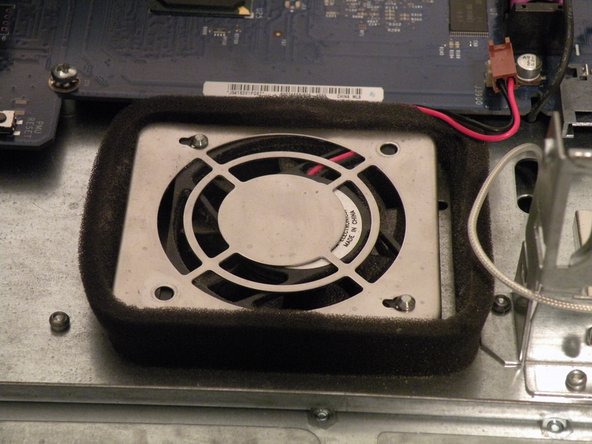
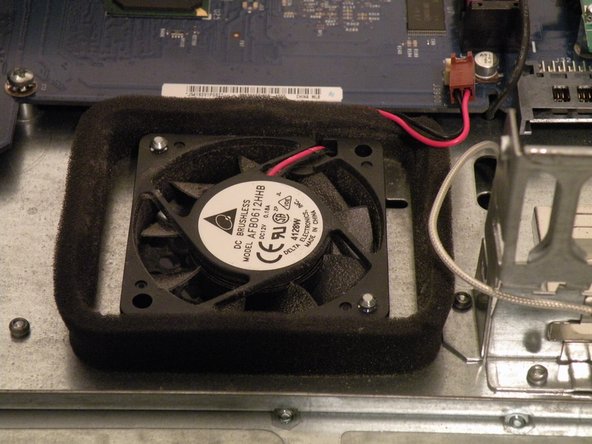
Optical Fan:
-
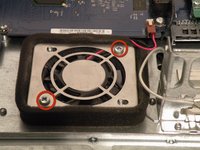
Remove these two Phillips screws:
-
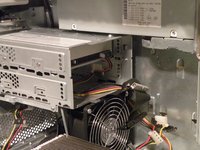
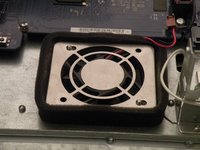
Now, slide the plate towards the case, and lift it up, and off.
-
-
-
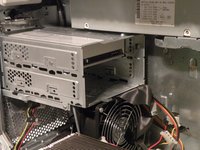
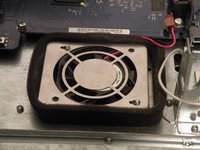
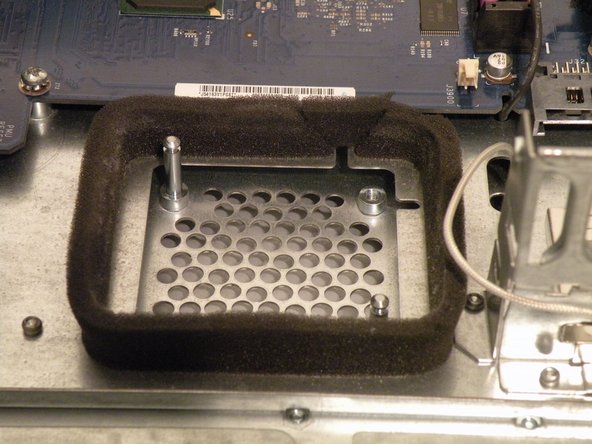
Once the cover is removed, disconnect the power cable and thread it under the dust shield.
-
Now, lift the fan straight up and out.
-
-
-
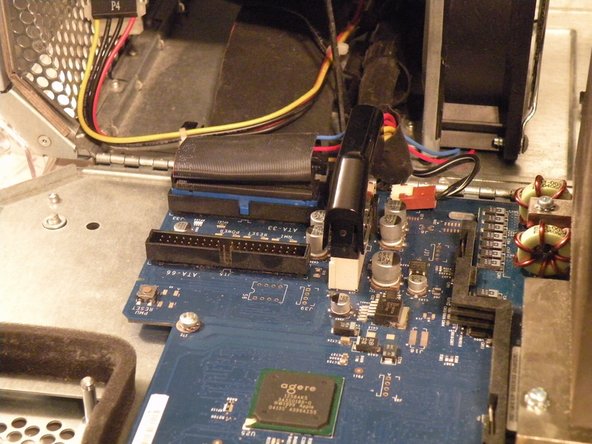
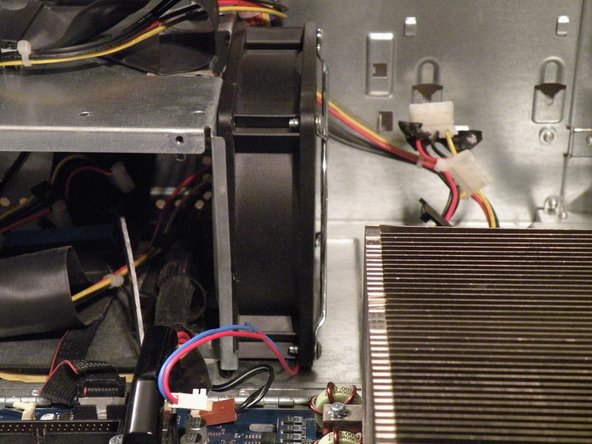
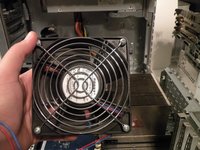
System Fan:
-
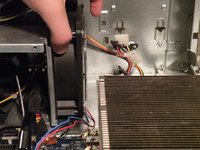
Disconnect the optical drive IDE cable from the logic board.
-
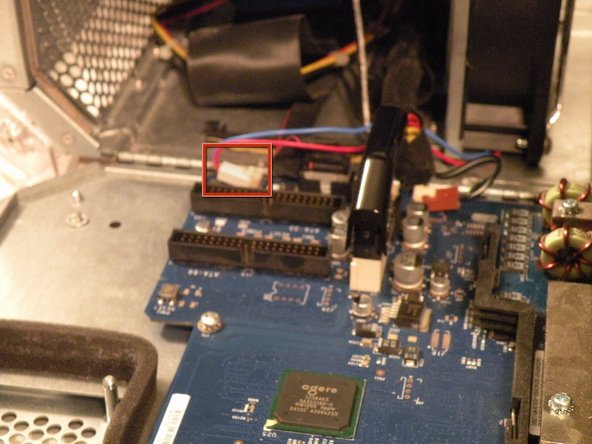
Now, remove the system fan cable.
-
-
-
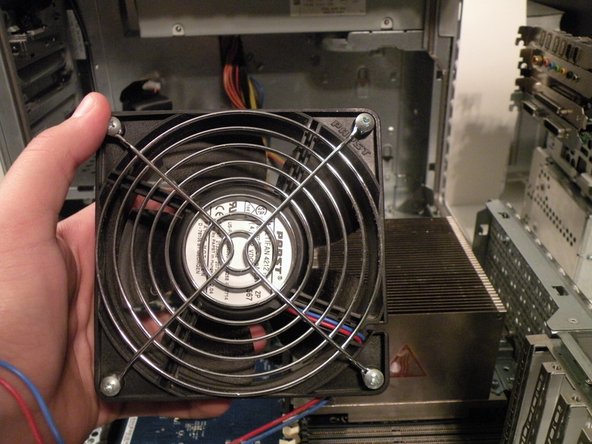
Now, grab the system fan by the sides and pull it up, it should come free, the system fan is very large and loud, compared to standard sized fans.
-


To reassemble your device, follow these instructions in reverse order.
