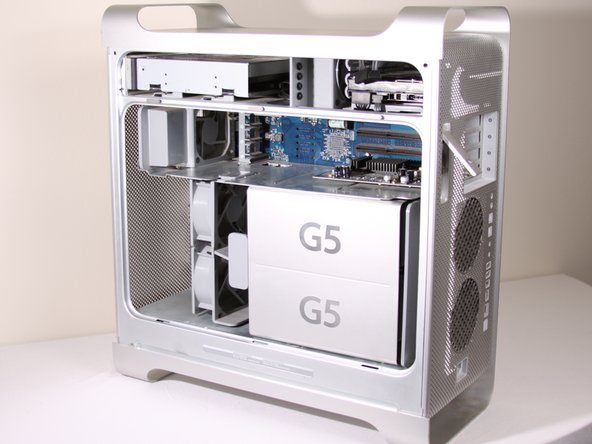
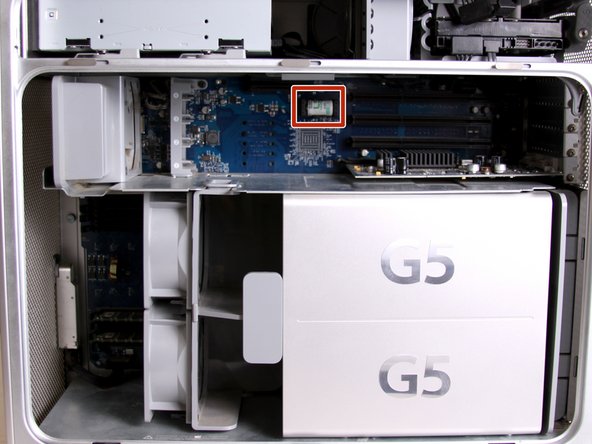
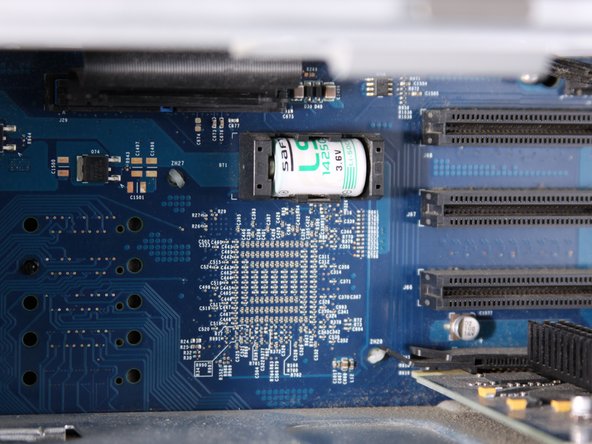
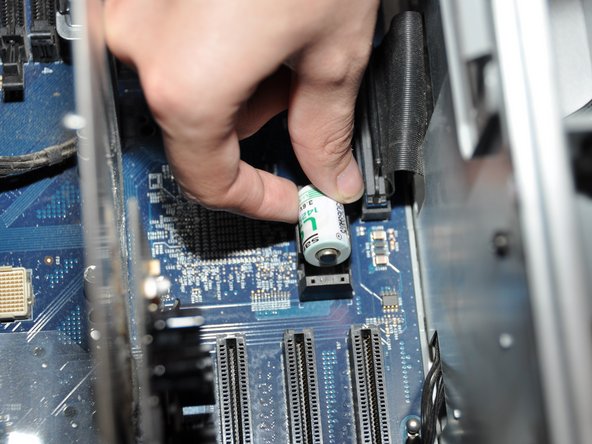
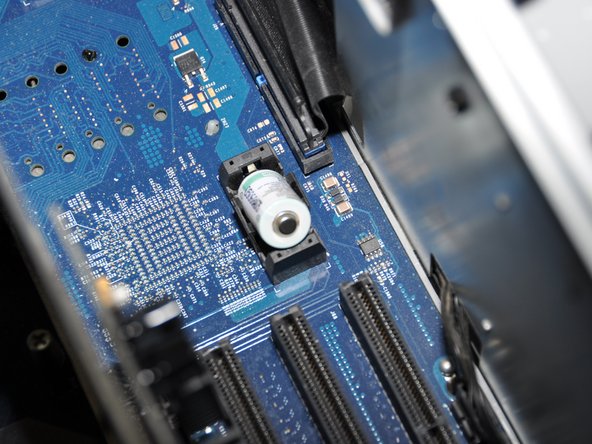
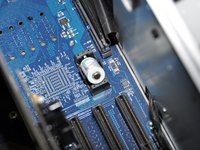
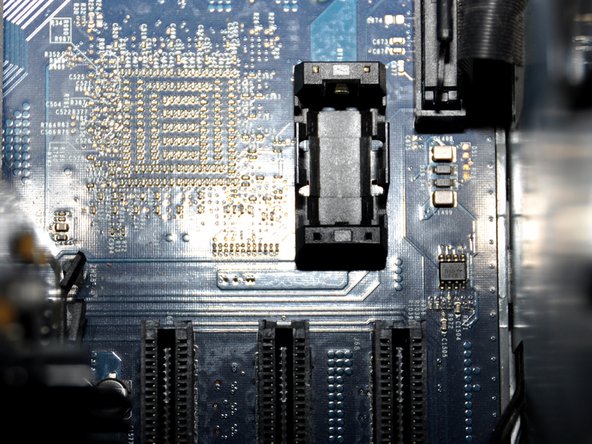
/

Power Mac G5 PRAM Battery Replacement

  1. Power Mac G5 PRAM Battery Replacement, Power Mac G5 PRAM Battery Replacement: step 1, image 1 of 1
    • To avoid electrocution, shut down the computer. Do not open the computer or attempt to install any items inside it while the computer is on.

    • To avoid being shocked, wait at least 10 minutes to allow the computer's internal components to cool.

  2. Power Mac G5 PRAM Battery Replacement: step 2, image 1 of 1
    • Remove all the cables, including the power cables before opening the unit.

  3. Power Mac G5 PRAM Battery Replacement: step 3, image 1 of 2 Power Mac G5 PRAM Battery Replacement: step 3, image 2 of 2
    • Lift the tab to unlock the side panel.

    • The panel should fall out. If the panel does not fall out by itself pull a little from the edges.

  4. Power Mac G5 PRAM Battery Replacement: step 4, image 1 of 3 Power Mac G5 PRAM Battery Replacement: step 4, image 2 of 3 Power Mac G5 PRAM Battery Replacement: step 4, image 3 of 3
    • Remove the air deflector (the clear plastic cover) by pulling on the handle.

  5. Power Mac G5 PRAM Battery Replacement: step 5, image 1 of 1
    • Locate the battery inside the desktop.

  6. Power Mac G5 PRAM Battery Replacement: step 6, image 1 of 3 Power Mac G5 PRAM Battery Replacement: step 6, image 2 of 3 Power Mac G5 PRAM Battery Replacement: step 6, image 3 of 3
    • Remove the battery by lifting the battery from the battery terminal.

    • Be careful to note which end is positive and which is negative. The positive end should be facing away from the PCI slots.

    • It is important to lift the battery as straight up as possible to avoid damage to battery or terminal.

    • The first photo shows the correct battery position. The last two photos show the battery facing the WRONG WAY! Remember, the positive end should be facing AWAY from the PCI slots, NOT towards them.

  7. Power Mac G5 PRAM Battery Replacement: step 7, image 1 of 1
    • The area should look like this after the battery is removed.

    • Be sure to properly dispose of the old battery after removal (take it to the nearest hazardous waste center).

    • Only insert LS1425OC 3.6V battery to prevent damage to the logic board.

Conclusion

To reassemble your device, follow these instructions in reverse order.

System

Member since: 09/24/09

2,562 Guides authored

0 Comments

Add Comment

View Statistics:

Past 24 Hours: 0

Past 7 Days: 0

Past 30 Days: 0

All Time: 8