
Introduction
Use this guide to replace/upgrade the RAM in your Power Mac G5.


Conclusion
To reassemble your device, follow these instructions in reverse order.

Use this guide to replace/upgrade the RAM in your Power Mac G5.

To avoid electrocution, shut down the computer. Do not open the computer or attempt to install any items inside it while the computer is on.
To avoid being shocked, wait at least 10 minutes to allow the computer's internal components to cool.
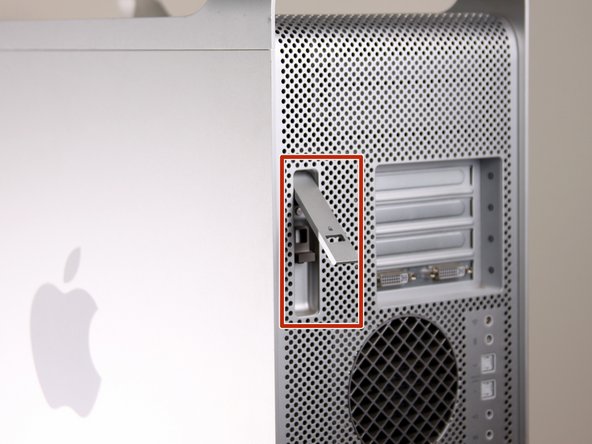
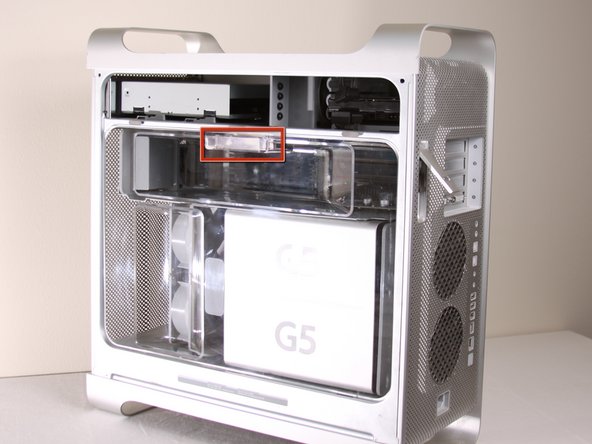
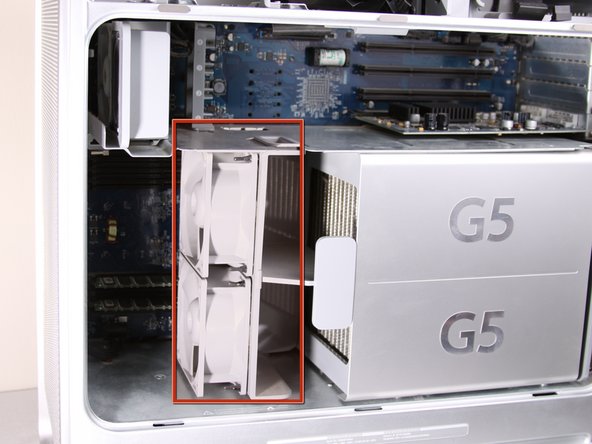
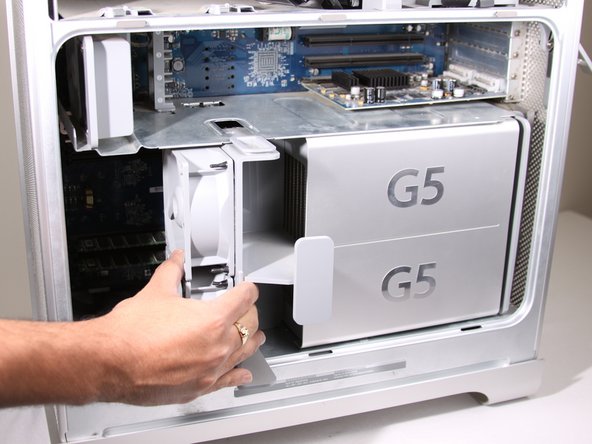
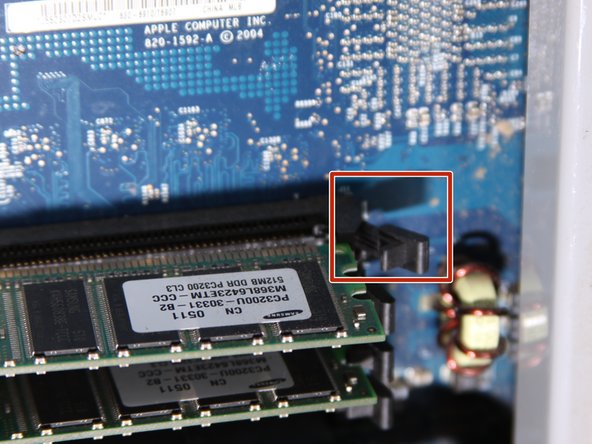
Lift the tab to unlock the side panel.
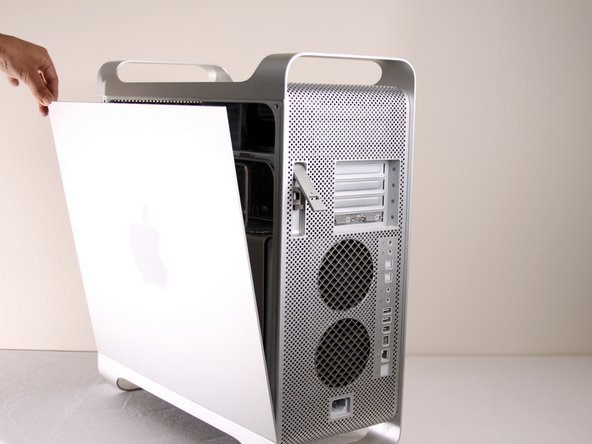
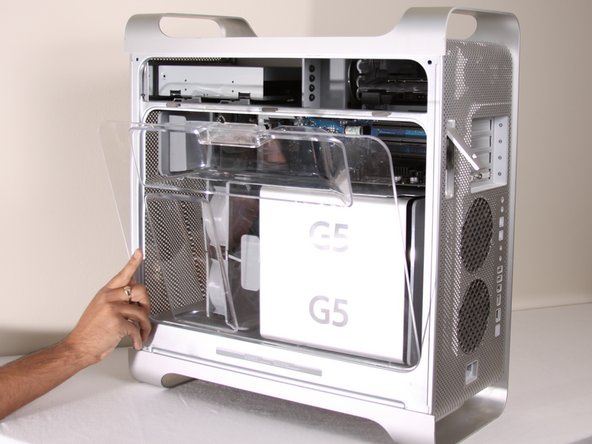
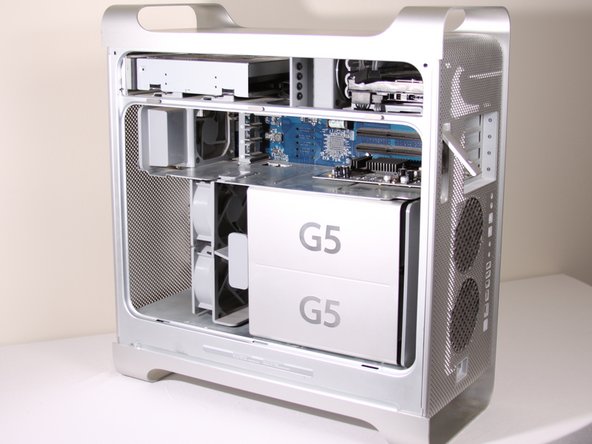
The panel should fall out. If the panel does not fall out by itself pull a little from the edges.
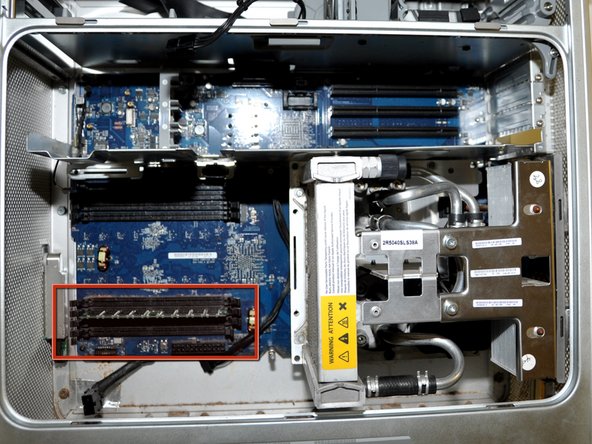
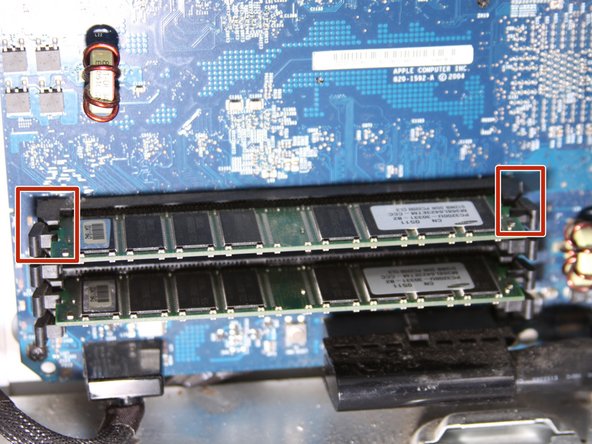
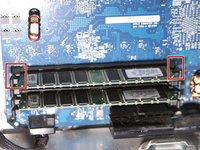
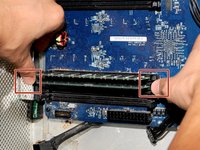
Use your thumbs to push the RAM ejector pins to the sides.
The RAM module should pop up slightly.
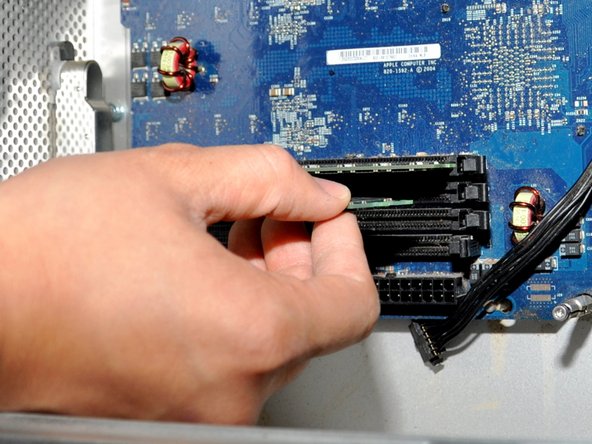
Remove the RAM module from the DIMM slot.
The RAM modules must be installed in pairs, with one module per bank (top and bottom).
When reinstalling the RAM, make sure to note the notch on the DIMM slot. This notch needs to line up with the corresponding gap on the RAM module.
To reassemble your device, follow these instructions in reverse order.
Choose a size and copy the code below to embed this guide as a small widget on your site / forum.
Past 24 Hours: 0
Past 7 Days: 0
Past 30 Days: 0
All Time: 9