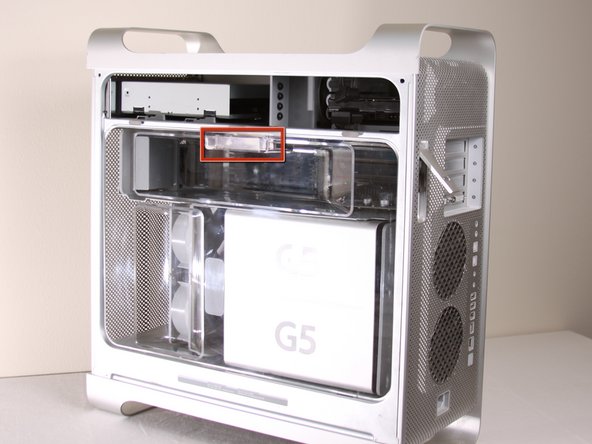
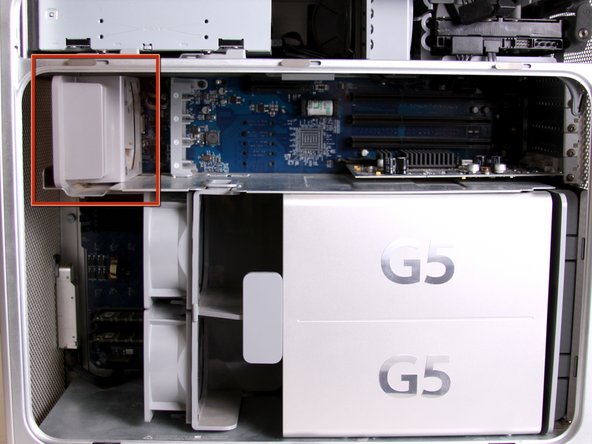
/

Power Mac G5 Top Left Cooling Fan Unit Replacement

  1. Power Mac G5 Top Left Cooling Fan Unit Replacement, Power Mac G5 Top Left Cooling Fan Unit Replacement: step 1, image 1 of 1
    • To avoid electrocution, shut down the computer. Do not open the computer or attempt to install any items inside it while the computer is on.

    • To avoid being shocked, wait at least 10 minutes to allow the computer's internal components to cool.

  2. Power Mac G5 Top Left Cooling Fan Unit Replacement: step 2, image 1 of 1
    • Remove all the cables, including the power cables before opening the unit.

  3. Power Mac G5 Top Left Cooling Fan Unit Replacement: step 3, image 1 of 2 Power Mac G5 Top Left Cooling Fan Unit Replacement: step 3, image 2 of 2
    • Lift the tab to unlock the side panel.

    • The panel should fall out. If the panel does not fall out by itself pull a little from the edges.

  4. Power Mac G5 Top Left Cooling Fan Unit Replacement: step 4, image 1 of 3 Power Mac G5 Top Left Cooling Fan Unit Replacement: step 4, image 2 of 3 Power Mac G5 Top Left Cooling Fan Unit Replacement: step 4, image 3 of 3
    • Remove the air deflector (the clear plastic cover) by pulling on the handle.

  5. Power Mac G5 Top Left Cooling Fan Unit Replacement: step 5, image 1 of 1
    • Locate the top left cooling fan unit.

  6. Power Mac G5 Top Left Cooling Fan Unit Replacement: step 6, image 1 of 1
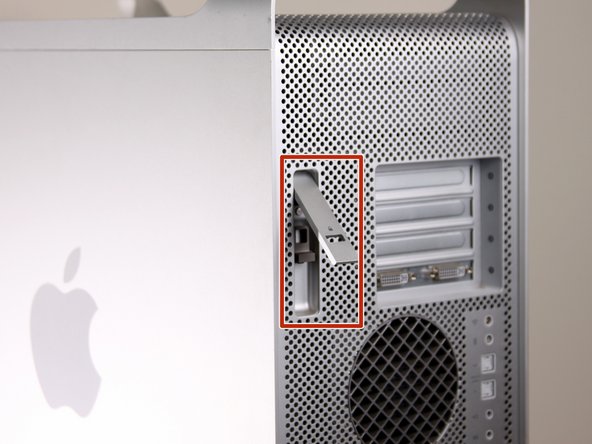
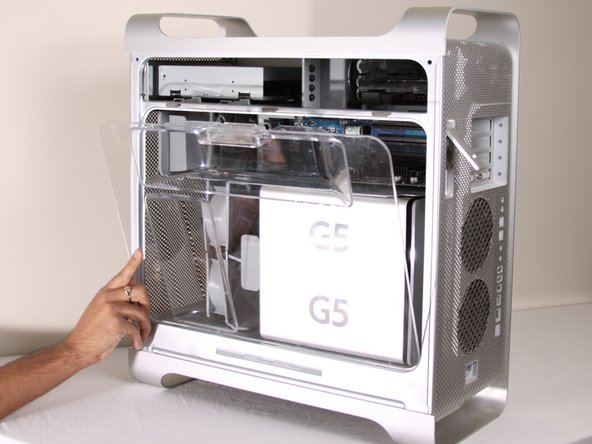
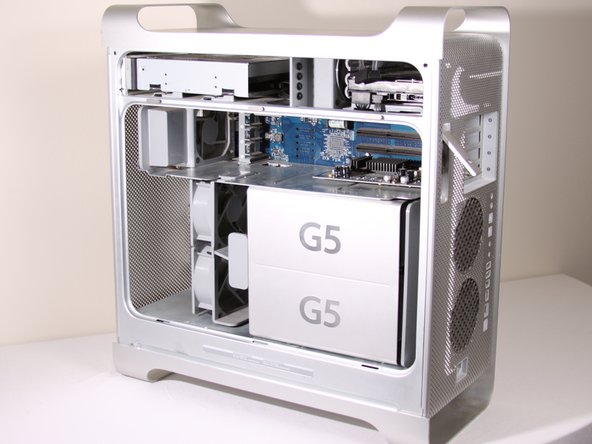
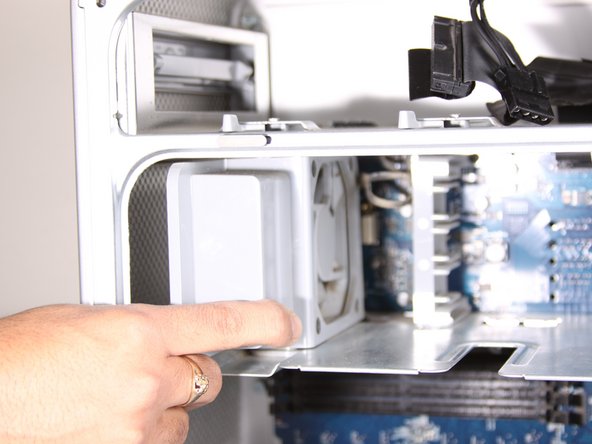
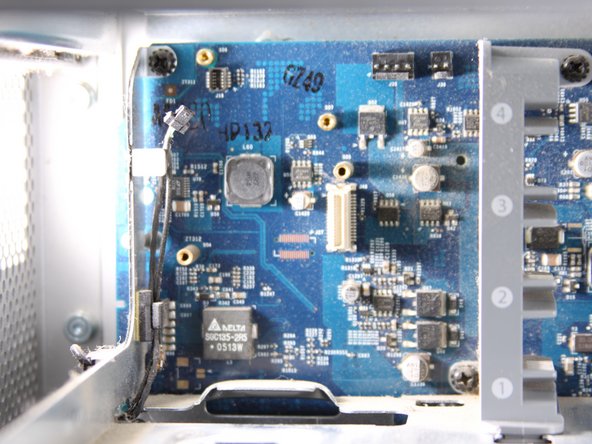
    • Pull the fan straight out from its slot. You will need to remove two cables from the motherboard.

    • It may be easier to reach the cables if you remove the PCI guide (next to the fan unit) first.

  7. Power Mac G5 Top Left Cooling Fan Unit Replacement: step 7, image 1 of 1
    • After pulling out the fan unit, the area should look like this.

Conclusion

To reassemble your device, follow these instructions in reverse order.

System

Member since: 09/24/09

2,562 Guides authored

0 Comments

Add Comment

View Statistics:

Past 24 Hours: 0

Past 7 Days: 0

Past 30 Days: 0

All Time: 0