
Introduction
Removal of the track pad panel is necessary to reach the hard drive and track pad.
What you need
-
-
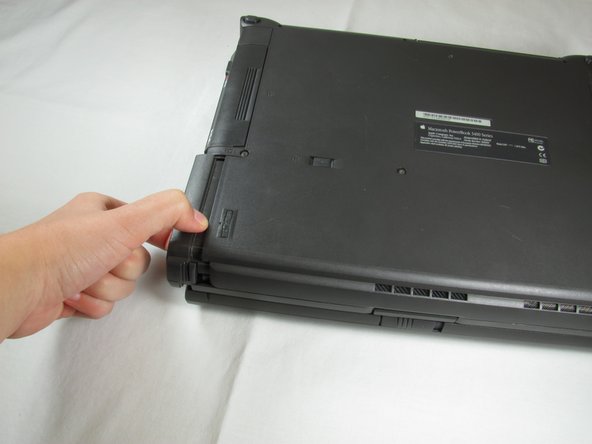
Close the screen and turn the PowerBook over. Orient the computer so the text of the label is right side up.
-
-
-
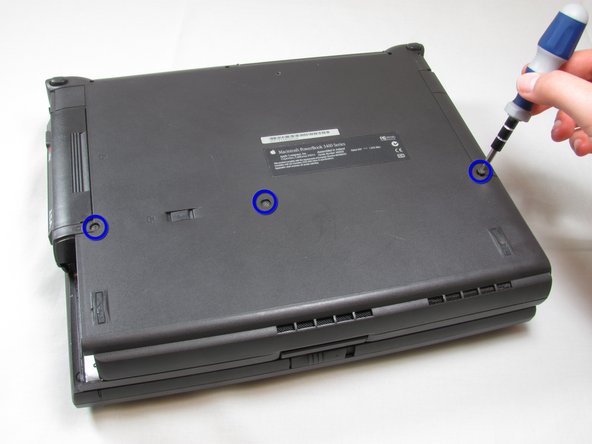
With a T8 torx screwdriver, remove the three 24mm torx screws along the middle of the back panel.
-
-
-
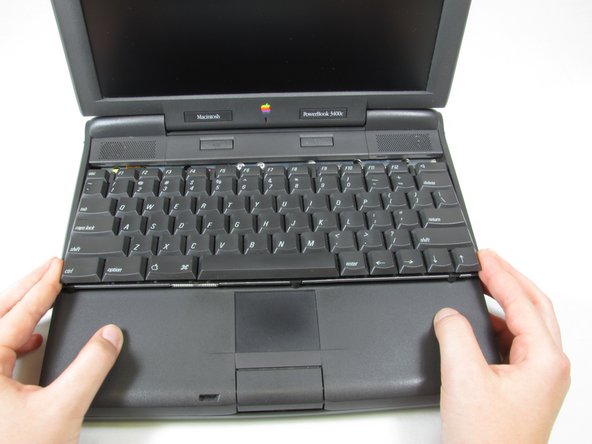
Turn the computer over and open the display. You should see that the keyboard is loose.
-
Carefully lift the front of the keyboard up slightly and then slide the keyboard towards yourself.
-
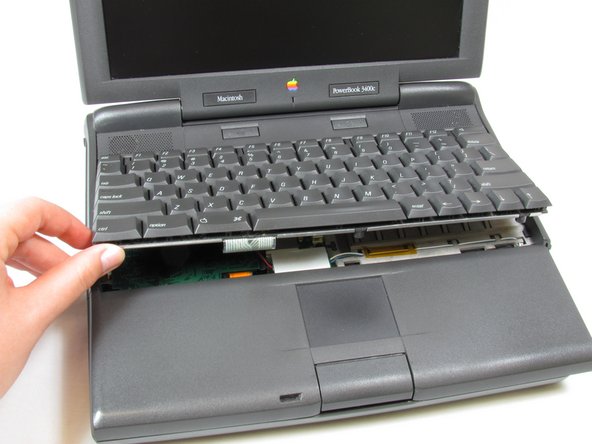
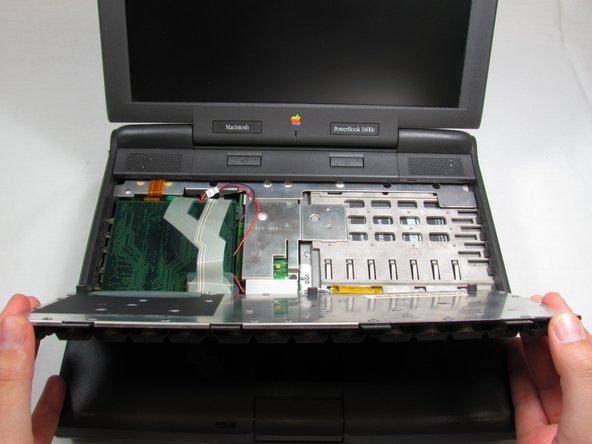
Then carefully lift the top half of the keyboard and rotate it towards yourself.
-
-
-
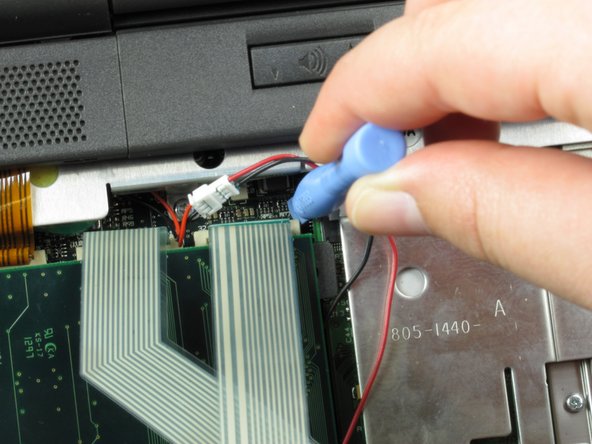
Loosen the ribbon cables connecting the keyboard to the computer by using a plastic opening tool to lift the tabs on either side of the cable port.
-
Gently remove the ribbons from its tabs
-
-
-
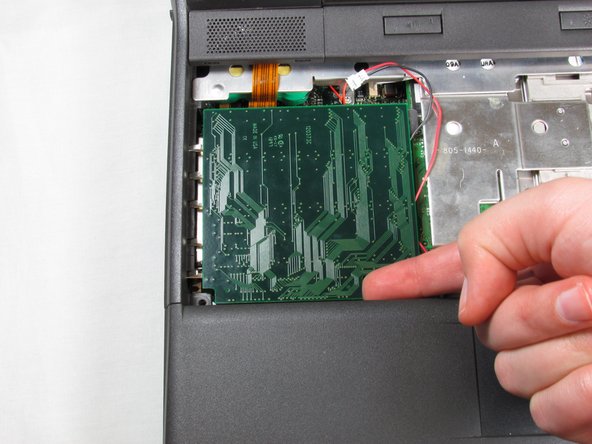
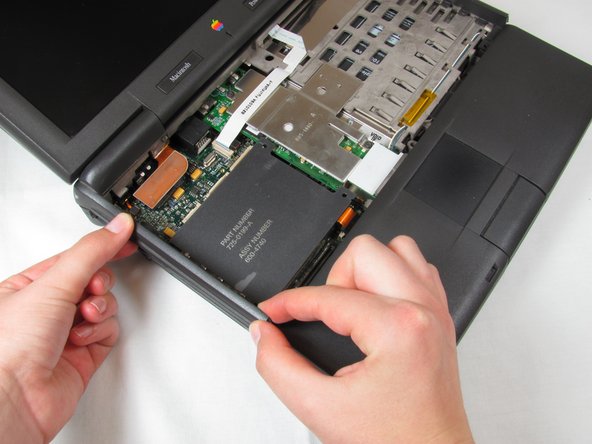
Push the display screen back to give yourself enough space to remove the side panels.
-
Remove the panels on either side by gently but firmly pulling up on them with both hands.
-
-
-
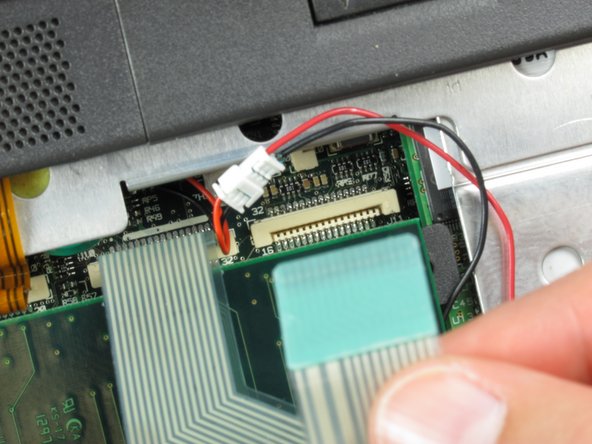
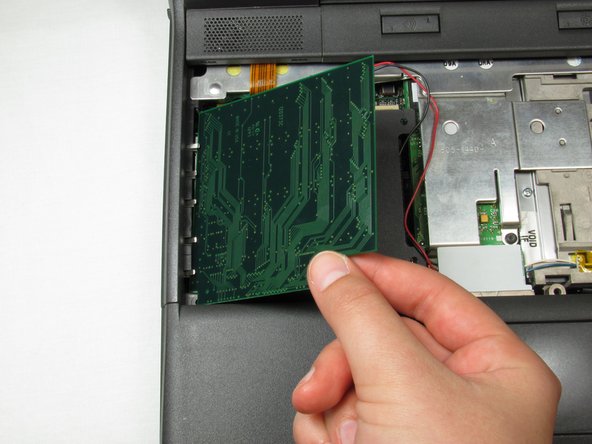
Use the plastic opening tool to lift up the tabs on either side of the ribbon cable port and then gently pull the ribbon cable free.
-
-
-
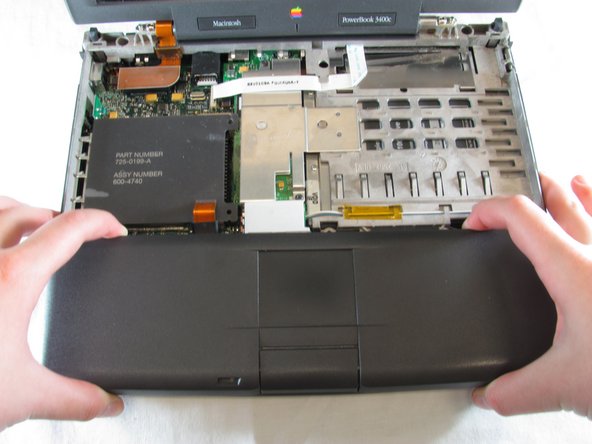
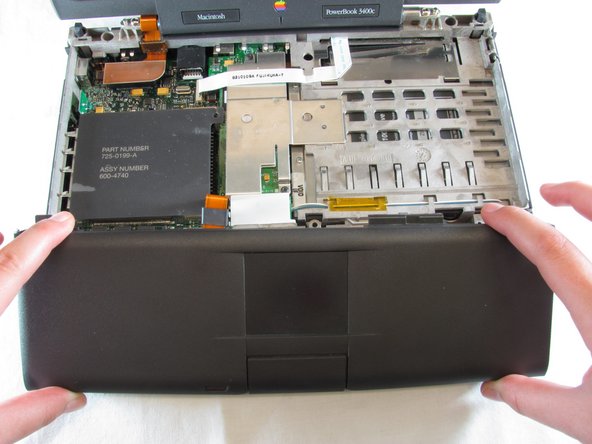
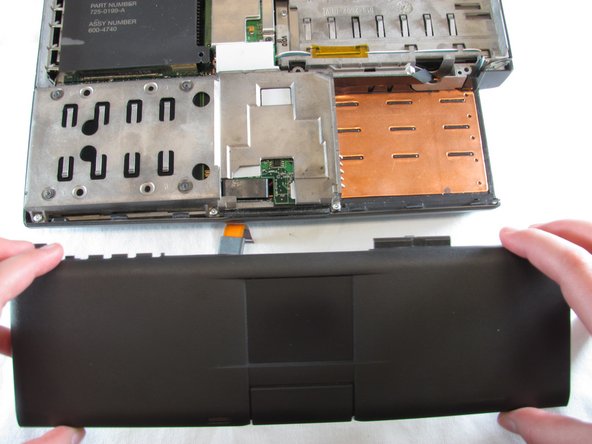
With your index finger and your thumb, squeeze the track pad panel to loosen the clamps. Then slide the panel towards yourself.
-


To reassemble your device, follow these instructions in reverse order.
To reassemble your device, follow these instructions in reverse order.
