
Introduction
Your track pad is one of the most important parts of your PowerBook's user interface. If the track pad is damaged you will need to use an external mouse or replace the track pad. This is one of the hardest parts to get to in the computer. Before attempting, make sure you will be able to keep the removed parts organized to aid in reassembly.
What you need
-
-
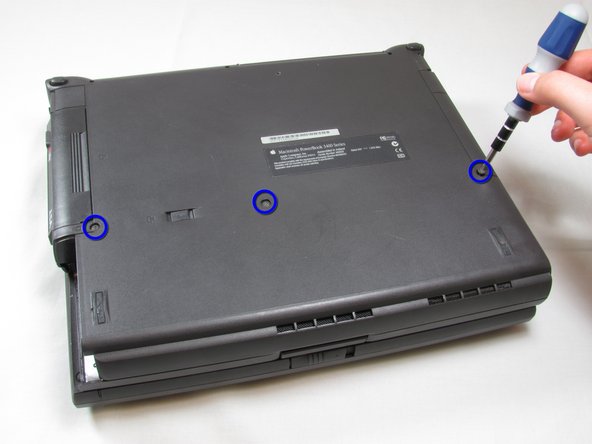
Close the screen and turn the PowerBook over. Orient the computer so the text of the label is right side up.
-
-
-
With a T8 torx screwdriver, remove the three 24mm torx screws along the middle of the back panel.
-
-
-
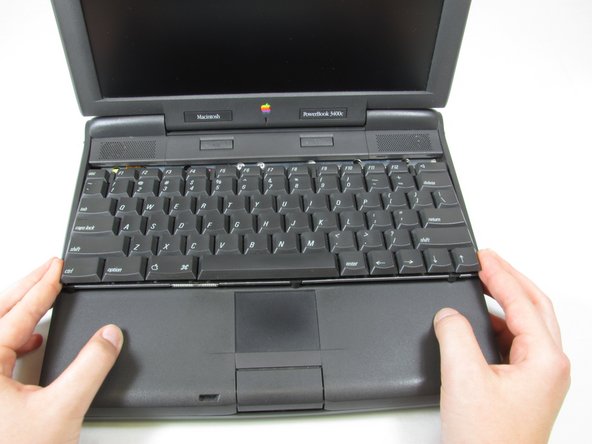
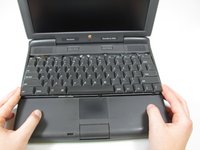
Turn the computer over and open the display. You should see that the keyboard is loose.
-
Carefully lift the front of the keyboard up slightly and then slide the keyboard towards yourself.
-
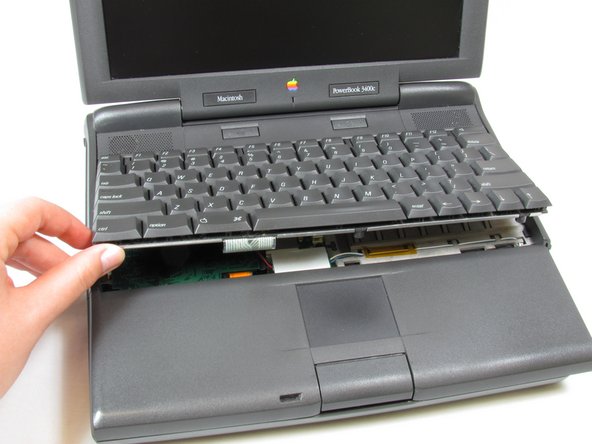
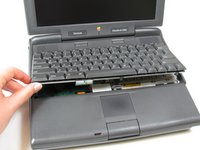
Then carefully lift the top half of the keyboard and rotate it towards yourself.
-
-
-
Loosen the ribbon cables connecting the keyboard to the computer by using a plastic opening tool to lift the tabs on either side of the cable port.
-
Gently remove the ribbons from its tabs
-
-
-
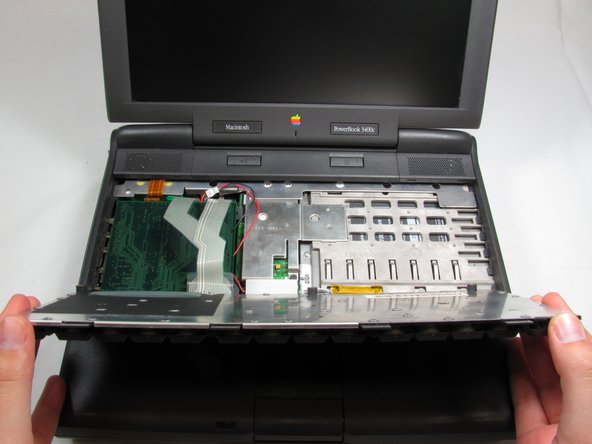
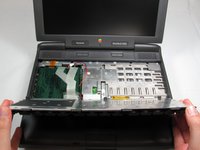
Push the display screen back to give yourself enough space to remove the side panels.
-
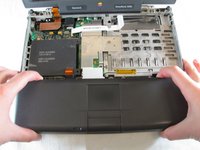
Remove the panels on either side by gently but firmly pulling up on them with both hands.
-
-
-
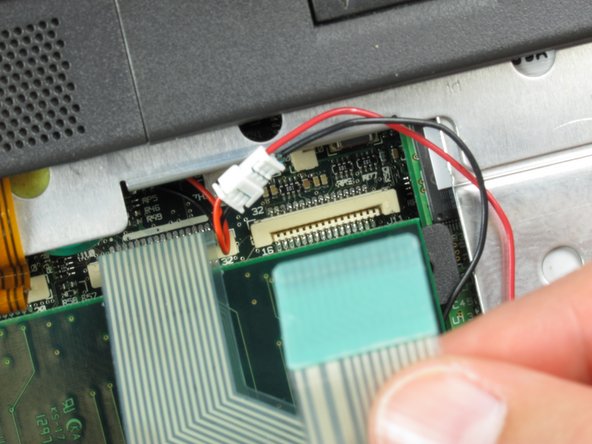
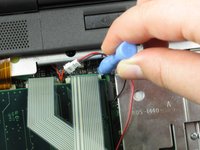
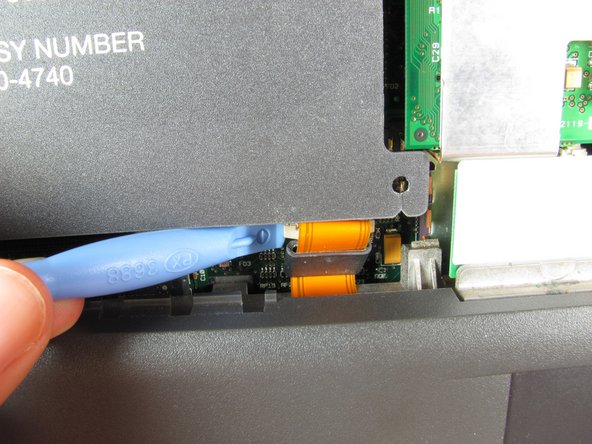
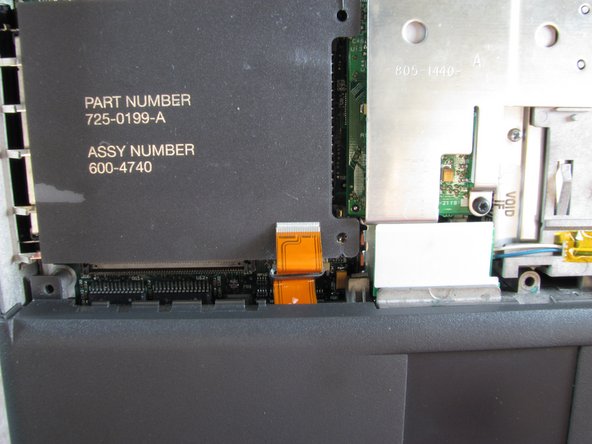
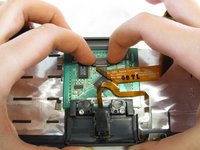
Use the plastic opening tool to lift up the tabs on either side of the ribbon cable port and then gently pull the ribbon cable free.
-
-
-
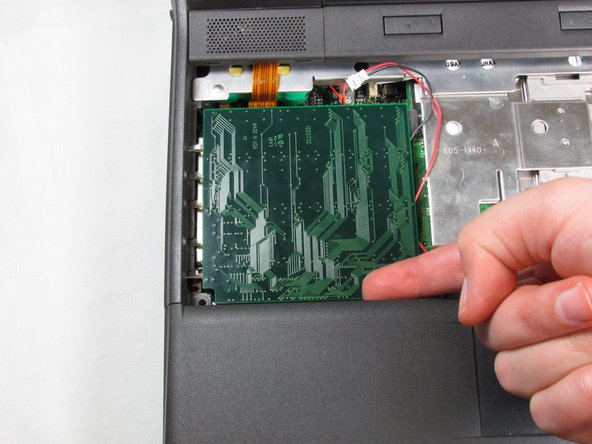
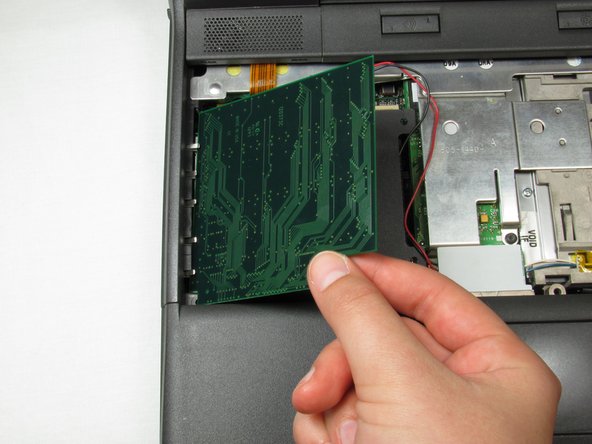
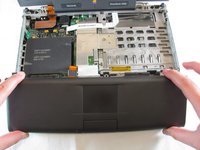
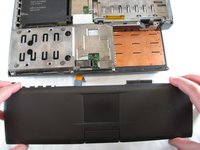
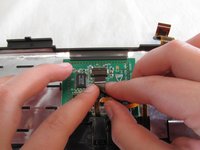
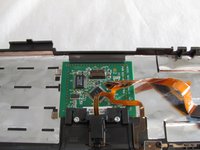
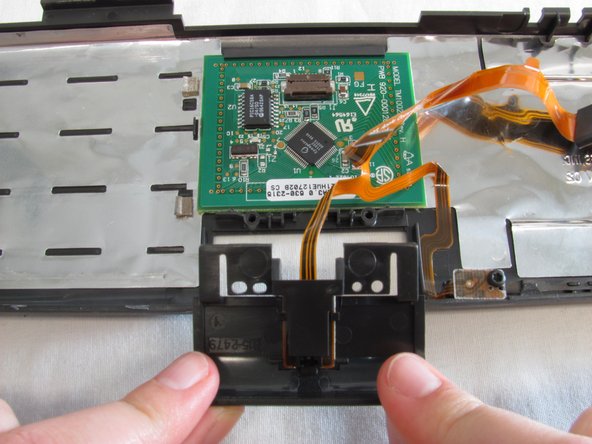
With your index finger and your thumb, squeeze the track pad panel to loosen the clamps. Then slide the panel towards yourself.
-
-
-
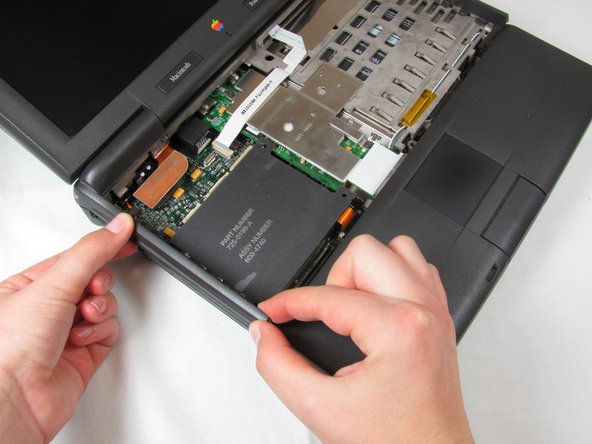
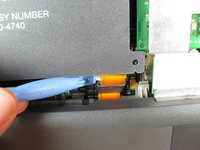
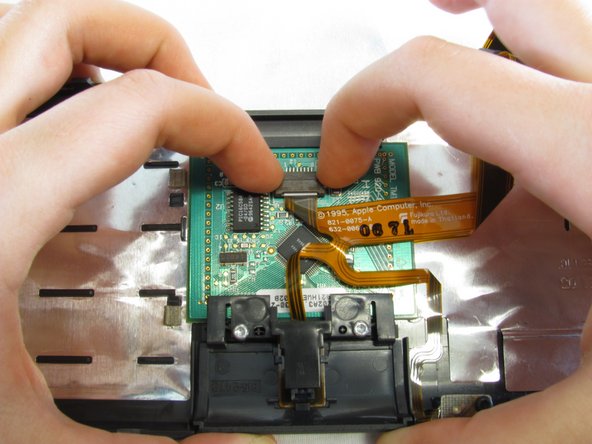
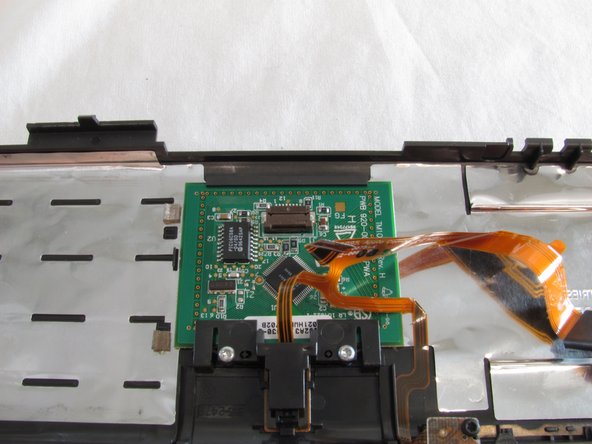
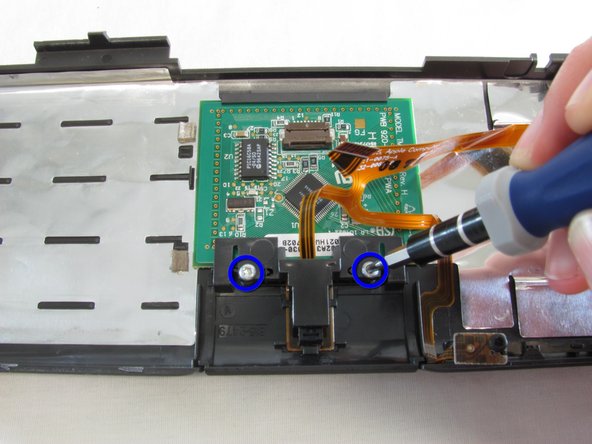
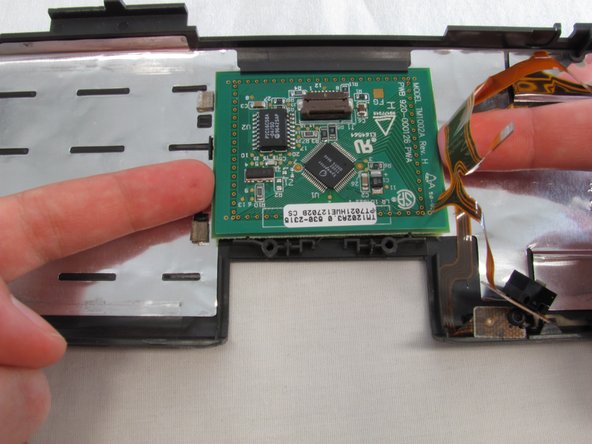
Push the buttons on the side of the ribbon cable port on the track pad to release the ribbon cable. Then gently pull the ribbon cable free.
-


To reassemble your device, follow these instructions in reverse order.
