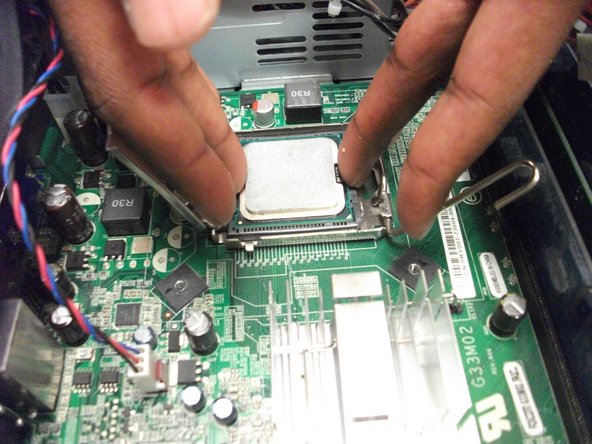
/

Removing Dell Inspiron 530 Processor

What you need

  1. Removing Dell Inspiron 530 Processor, Removing Dell Inspiron 530 Processor: step 1, image 1 of 1
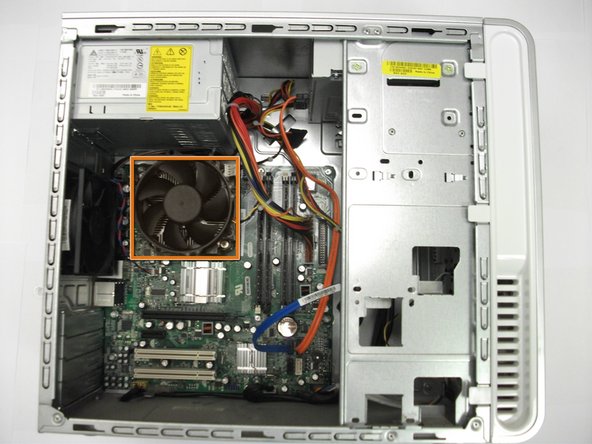
    • Place the case on its side.

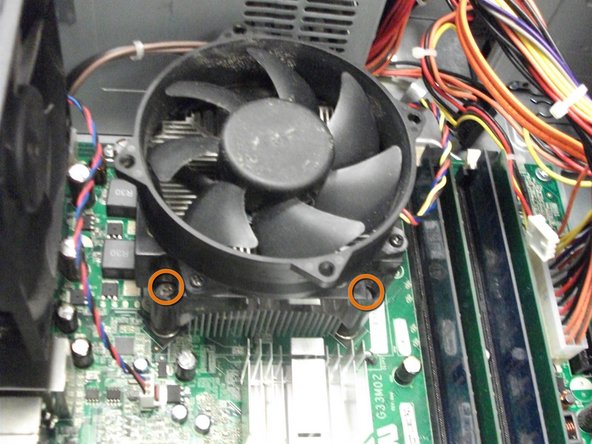
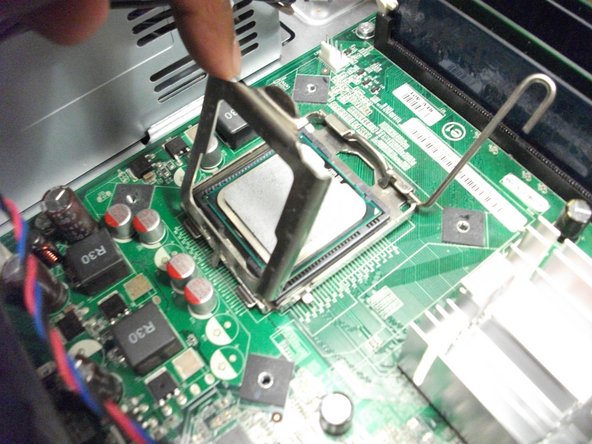
    • Locate and remove the two 13.1 mm thumbscrews.

  2. Removing Dell Inspiron 530 Processor: step 2, image 1 of 1
    • Slide the side panel towards the back and remove.

  3. Removing Dell Inspiron 530 Processor: step 3, image 1 of 1
    • Locate the processor's heat sink and fan.

  4. Removing Dell Inspiron 530 Processor: step 4, image 1 of 1
    • Remove the fan's power cable from the motherboard.

  5. Removing Dell Inspiron 530 Processor: step 5, image 1 of 1
    • Locate and unscrew the four Phillips #0 screws at the corners of the fan.

    • The screws will not come out completely.

  6. Removing Dell Inspiron 530 Processor: step 6, image 1 of 1
    • Remove the fan and heat sink.

  7. Removing Dell Inspiron 530 Processor: step 7, image 1 of 1
    • Gently press down and release the silver lever.

  8. Removing Dell Inspiron 530 Processor: step 8, image 1 of 1
    • Open the metal casing over the processor.

  9. Removing Dell Inspiron 530 Processor: step 9, image 1 of 1
    • Gently lift up the processor, holding by the edges only.

Conclusion

To reassemble your device, follow these instructions in reverse order.

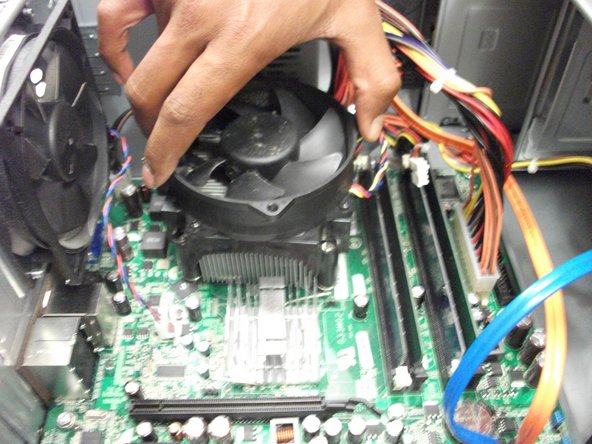
Note: For reassembly on step seven, make sure the corner of the processor with the gold triangle is pointing towards the release lever.

System

Member since: 09/24/09

2,562 Guides authored

0 Comments

Add Comment

View Statistics:

Past 24 Hours: 0

Past 7 Days: 0

Past 30 Days: 0

All Time: 6