
Introduction
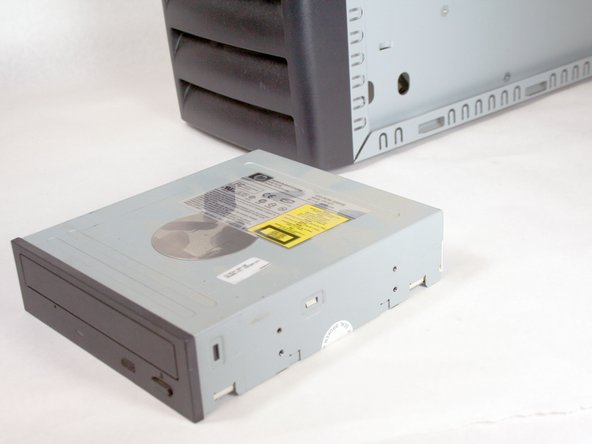
This guide will show you how to remove the optical (cd) drive from your HP Compaq dx2000MT.
What you need
-
-
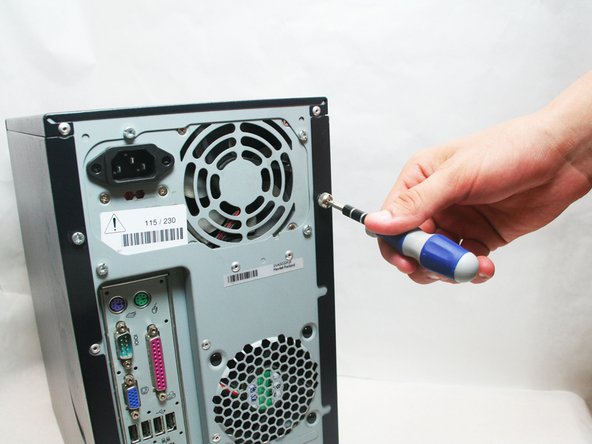
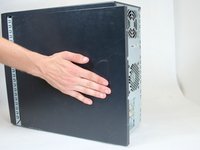
Turn off your computer and remove the power cable by pulling it straight out of its socket.
-
-
-
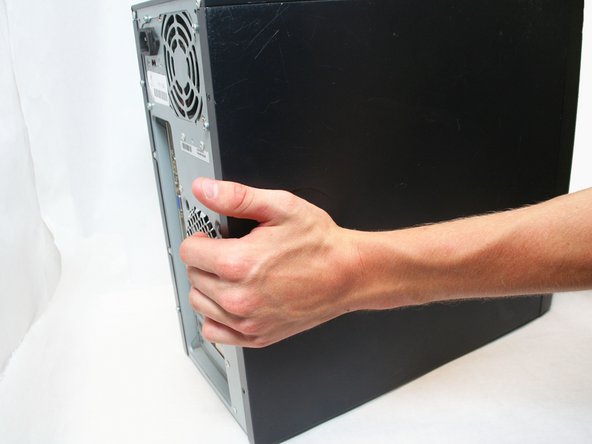
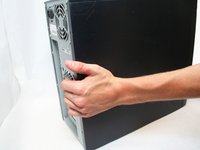
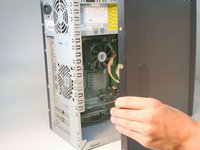
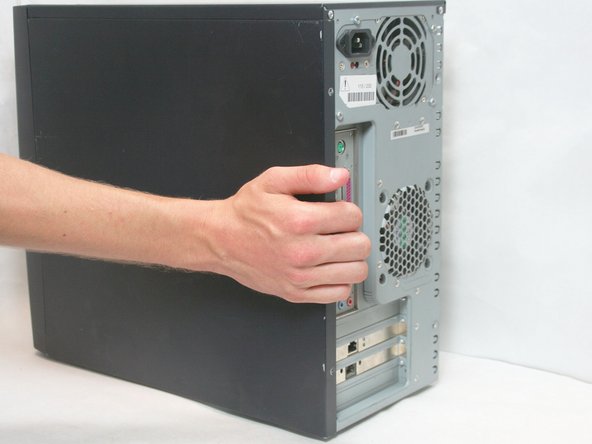
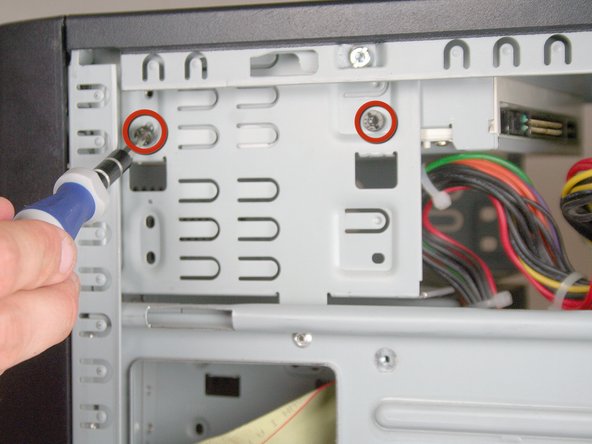
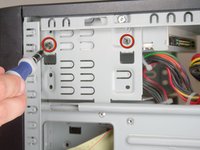
Remove the side case door by pushing towards the rear of the device with your hand.
-
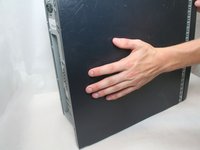
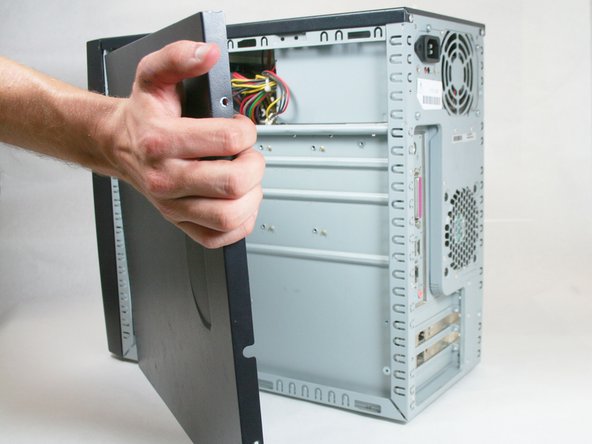
Once you slide the door back, remove it by pulling it outwards from the device.
-
-
-
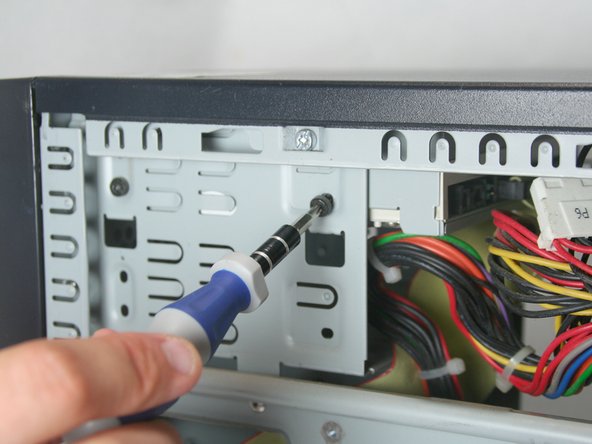
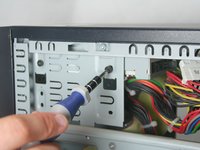
Remove the side case door by pushing towards the rear of the device with your hand.
-
Once you slide the door back, remove it by pulling it outwards from the device.
-
-
-
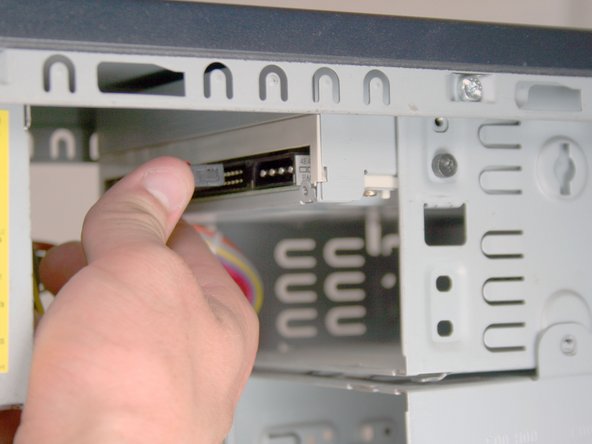
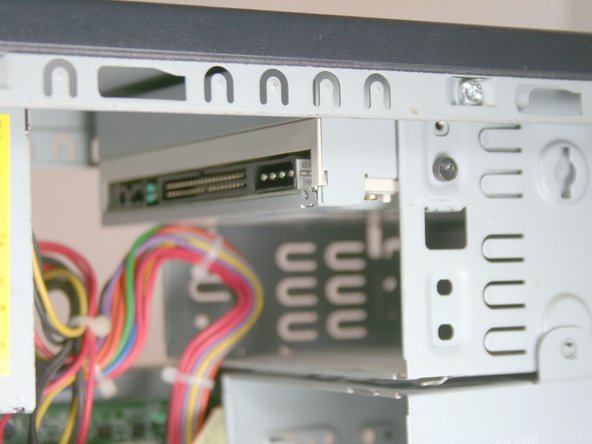
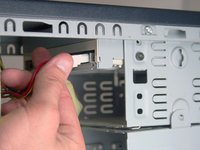
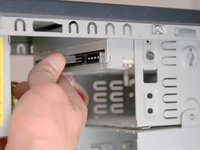
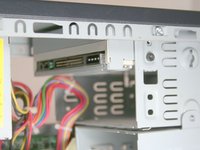
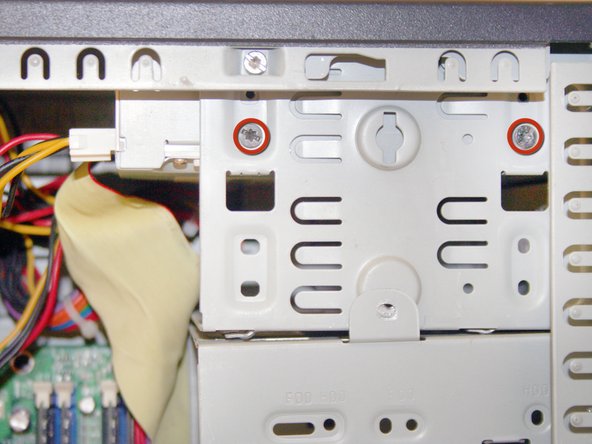
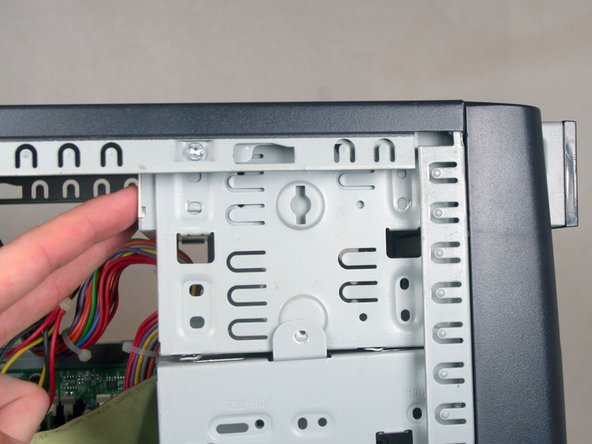
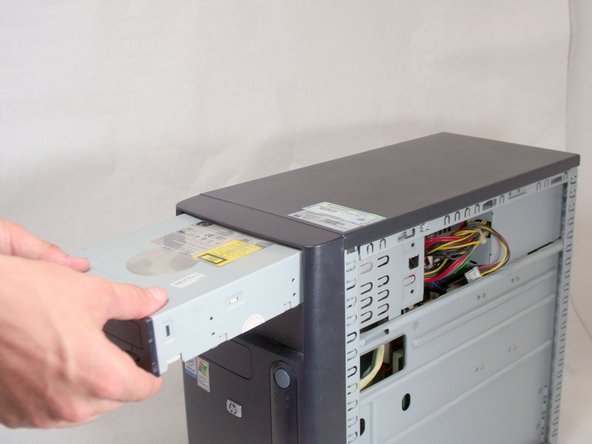
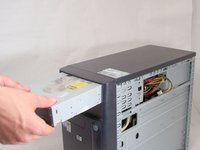
Remove the IDE data cable and the power cable from the optical drive by pulling away from the drive.
-


Conclusion
To reassemble your device, follow these instructions in reverse order.
