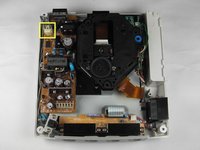
Replacing Sega Dreamcast Power Block (Power Supply)

What you need

  1. Replacing Sega Dreamcast Power Block (Power Supply), Replacing Sega Dreamcast Power Block (Power Supply): step 1, image 1 of 2 Replacing Sega Dreamcast Power Block (Power Supply), Replacing Sega Dreamcast Power Block (Power Supply): step 1, image 2 of 2
    • Verify that the console is disconnected from the AC outlet before you begin.

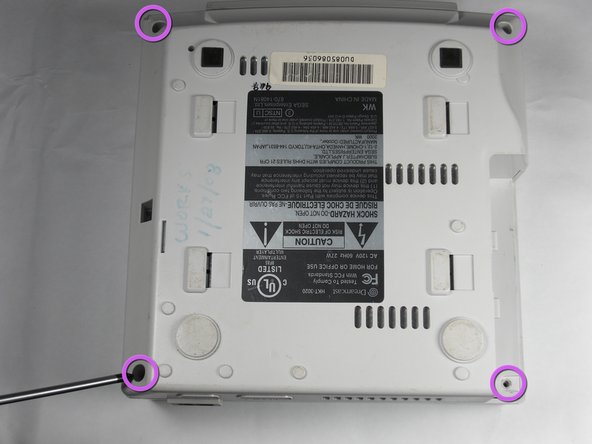
    • Flip the console over on its back.

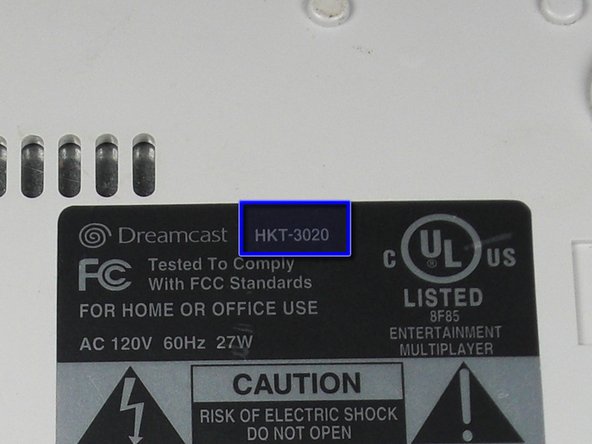
    • Take note of your model number, in case replacement parts are needed.

    Add Comment

  2. Replacing Sega Dreamcast Power Block (Power Supply): step 2, image 1 of 3 Replacing Sega Dreamcast Power Block (Power Supply): step 2, image 2 of 3 Replacing Sega Dreamcast Power Block (Power Supply): step 2, image 3 of 3
    • Remove the expansion bay by applying pressure to the small clip on the expansion bay while prying it away from the console.

    Add Comment

  3. Replacing Sega Dreamcast Power Block (Power Supply): step 3, image 1 of 1
    • Locate and remove all four black 12mm Phillips #02 screws from the underside of the console.

    • The fourth screw is hidden under the expansion bay if it has not already been removed.

    Add Comment

  4. Replacing Sega Dreamcast Power Block (Power Supply): step 4, image 1 of 1
    • Be careful that the internal components do not topple out.

    • Flip the console topside up.

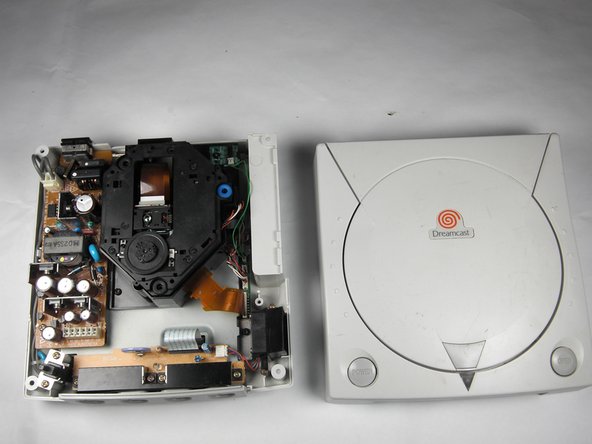
    • Remove the top cover of the chassis by gently lifting the upper portion of the console.

    Add Comment

  5. Replacing Sega Dreamcast Power Block (Power Supply): step 5, image 1 of 2 Replacing Sega Dreamcast Power Block (Power Supply): step 5, image 2 of 2
    • Verify that the console is disconnected from the AC outlet before you begin. If you have just powered off the system, give the capacitors a few minutes to discharge before you begin working.

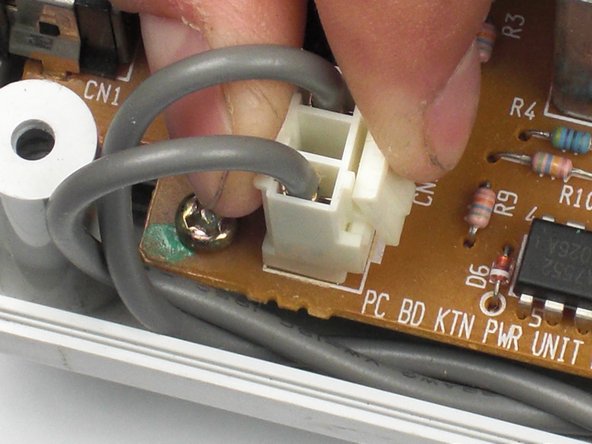
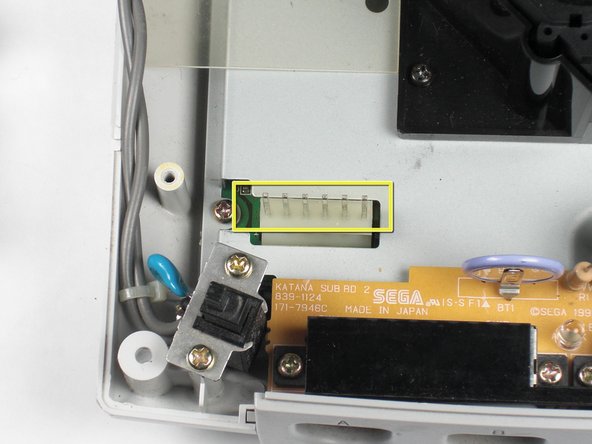
    • Remove the white female pin header by clamping the clip and pulling it up gently from the power board.

    Add Comment

  6. Replacing Sega Dreamcast Power Block (Power Supply): step 6, image 1 of 1
    • Remove the two 10mm Philips #02 screws that are fastened to the power block.

    Add Comment

  7. Replacing Sega Dreamcast Power Block (Power Supply): step 7, image 1 of 2 Replacing Sega Dreamcast Power Block (Power Supply): step 7, image 2 of 2
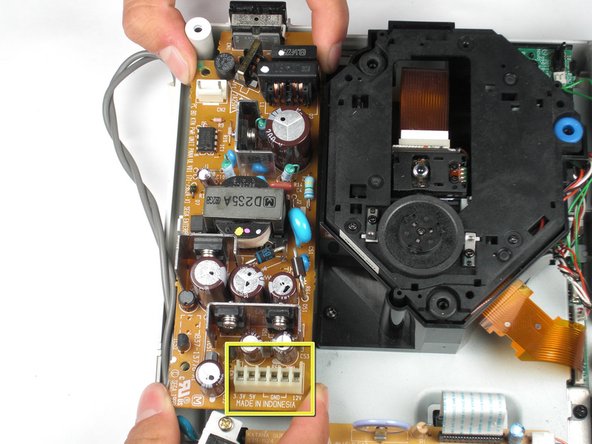
    • Do not bend the male pin header between the mounted head when you remove the power supply from the chassis.

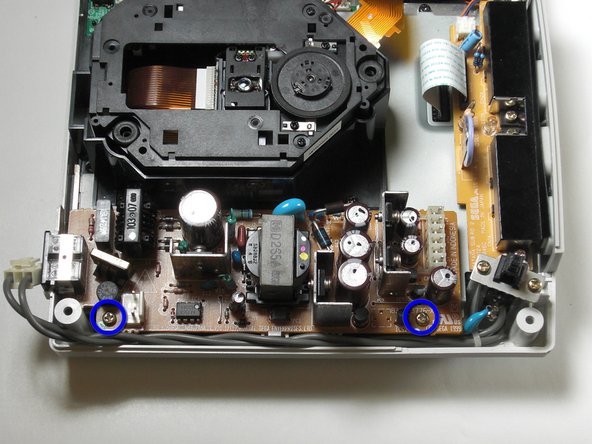
    • Remove the power board by using both hands to gently lift the power board away from the console.

    Add Comment

  8. Replacing Sega Dreamcast Power Block (Power Supply): step 8, image 1 of 1
    • Remove the clear plastic film that is tucked between the power supply and the chassis.

    Add Comment

Conclusion

To reassemble your device, follow these instructions in reverse order.

Cancel: I did not complete this guide.

System

Member since: 09/24/09

2,562 Guides authored

0 Guide Comments

Add Comment

View Statistics:

Past 24 Hours: 0

Past 7 Days: 2

Past 30 Days: 10

All Time: 88